
Last week was an exciting week here on the farm. It was garlic harvest! Well, part one of two for garlic harvest.
This is a much anticipated time on the farm. Garlic is the crop that takes by far the longest to go from being planted to being ready for harvest. Garlic gets planted in the Fall, usually by Halloween, and doesn’t get harvested until the end of July or early August. That’s almost 9 months of growing to create the beautiful bulbs that you all get to enjoy.
A little background about garlic, there are two main types of garlic: hardneck and softneck. Hardneck garlic is what we grow on the farm, while softneck garlic is generally what you find in most grocery stores. Hardneck garlic gets its name from the hard neck or stem that grows in the middle of the bulb. This is actually where the garlic scapes came from (remember those from a few weeks ago?) making it two crops in one. If the scapes are left on the plant, it will eventually create a flower. However, this also results in a very small garlic bulb because the plant has spent all its energy on creating a flower rather than on creating the garlic bulb. By removing the scapes, we redirect the plant’s energy back to creating a big, beautiful bulb. Hardneck garlic needs to experience a hard freeze in order for the individual cloves to form. The freeze initiates the division of the cloves. Without a freeze, you end up with what’s called a “round”. This is one massive garlic clove. Makes for easy peeling, but really difficult to use since I’ve never found a recipe that calls for that much garlic at one time. This is why we have to plant the garlic in the fall, then wait so long before harvesting.
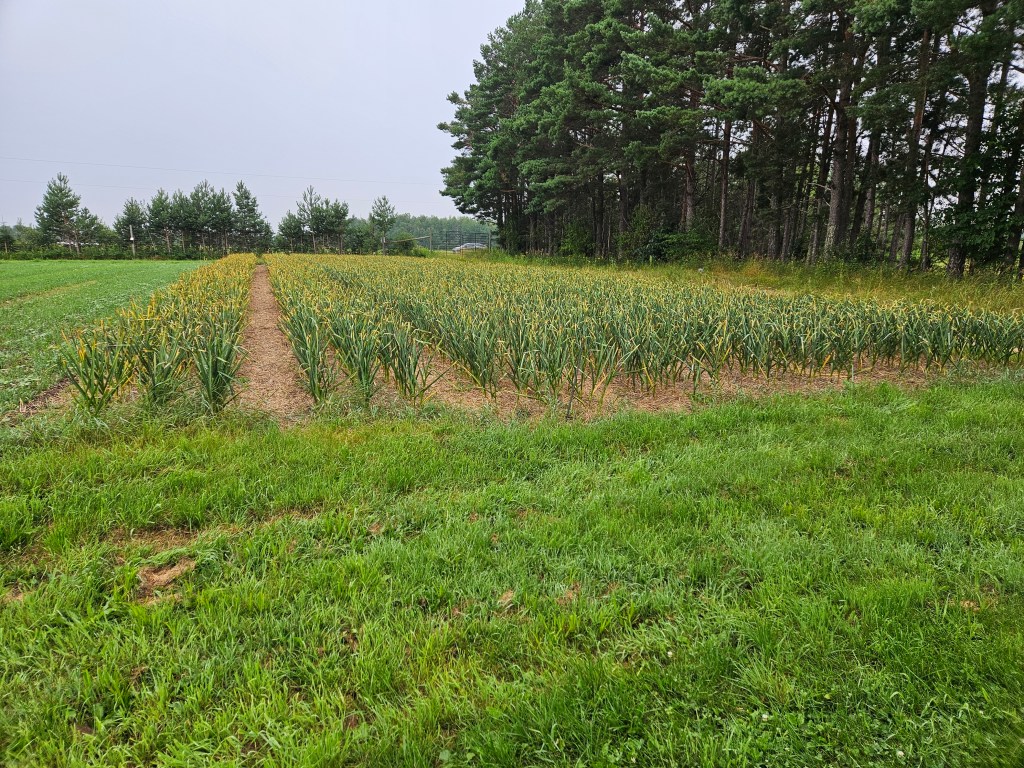
We know the garlic is ready to harvest when about half of the leaves have started to brown and die. If the garlic is harvested too early, the cloves won’t be fully formed and you’ll end up with a small bulb.You also run into the possibility of air pockets between the skin and the cloves which could lead to moisture getting trapped and hindering the drying process. If we wait too long to harvest, the bulb will start splitting which exposes the cloves and prevents the bulb from being stored. It’s a delicate balance. Janaki wasn’t sure if the garlic was ready to harvest, so we decided to harvest half of the garlic that seemed further along, and leave the rest of the garlic for another week to give it more time to mature.
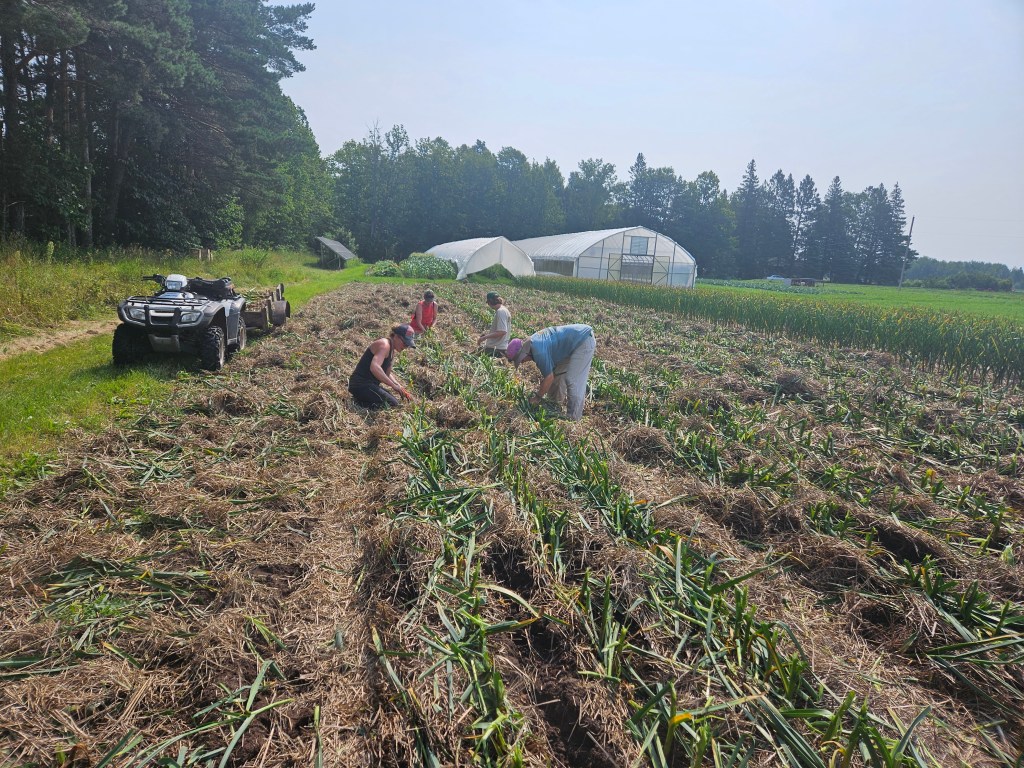
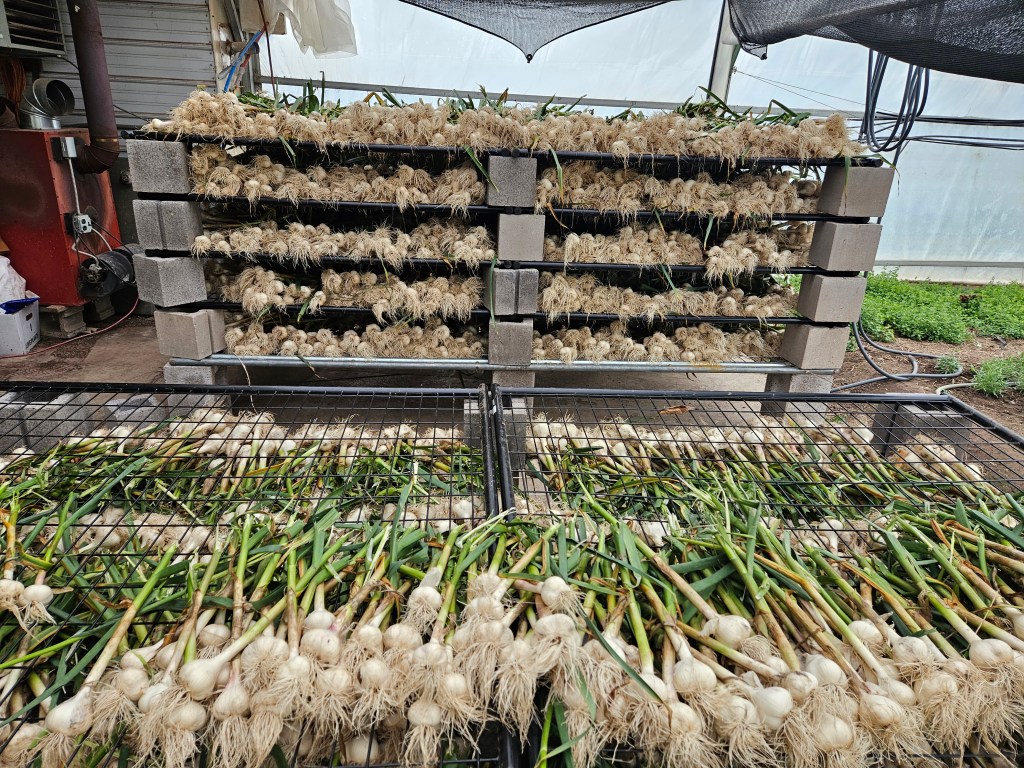
On harvest day, we mow off some of the foliage to make them easier to handle. Then Janaki uses a tractor attachment to gently loosen the bed so it’s easier to pull the bulbs from the soil. At this point, one crew jumps in and we start pulling all of the garlic bulbs out one by one. They get loaded onto a trailer, then moved over to the greenhouses to be washed. Another crew gently sprays off any excess dirt, and lays them on racks in front of industrial sized fans to begin the drying process. After harvest, the garlic needs to dry for about a month (timeline depends on temps and humidity) in order for the papery, protective shell to properly form. You can eat the garlic before it’s dried, but it won’t store if it doesn’t get properly dried. After the garlic is dried, we save the biggest, best looking bulbs to use for next year’s planting. That’s right, garlic is the gift that keeps on giving. We harvest the garlic, dry it, select the best bulbs, break them apart into individual cloves, plant the cloves in the Fall, and repeat. Once you get garlic, you never have to buy it again because you can keep planting it over and over. Because you can keep using the garlic over and over to plant, I asked Janaki when the last time garlic was purchased to use for seed, and he said it had been so long that he couldn’t remember but knew it was long before 2010 (the year he and Annie took over the farm). That’s more than 14 years of the same garlic being used over and over! He did say that this might be the first year he may purchase more seed garlic since the garlic preserving shares sold this year were at an all time high. Thanks for all the garlic love!
In your share this week:
Cauliflower – Cucumber – Carrots – Green Garlic – Kale – Onion – Parsley – Green Pepper – Sage – Tomatoes – Zucchini
Zucchini stuffed with sausage and sage
INGREDIENTS
- 2 to 3 pounds zucchini
- 1/2 cup walnuts
- 1 pound sausage
- 1 onion, diced
- 8 ounces mushrooms, diced
- 3 to 4 cloves garlic, minced
- 2 tablespoons minced fresh sage
- 2 eggs
- 1 cup shredded pecorino cheese, divided
INSTRUCTIONS
- Pre-heat the oven to 375° F.
- Cut the zucchini in half lengthwise and scoop out the seeds. Leave an inch or so of zucchini. Set the zucchini in the baking pan cut-side up and season it with olive oil, salt, and pepper. Pour a quarter inch of boiling water into the pan, cover with foil, and bake for 10 minutes, just until the zucchini is no longer raw. Set aside to cool enough to handle.
- Spread the walnuts on a baking sheet and roast them alongside the zucchini for 5-10 minutes, until fragrant. Chop into small pieces and set aside.
- Heat a large skillet over medium-high heat. Brown the sausage, breaking it up into medium-sized bits as you go. Transfer to a bowl and drain off all but a teaspoon of the grease. Add the onions to the pan with a good pinch of salt, and cook until soft and golden. Add the mushrooms and another pinch of salt. Cook together until the mushrooms have turned golden and any moisture they released has evaporated. Stir in the garlic and sage. Cook for about thirty seconds until fragrant.
- Combine the walnuts, cooked sausage, onions, and mushrooms in a large bowl. Beat the eggs together. Stir the eggs and 3/4 cup of the pecorino into the stuffing mixture.
- Pat the zucchini dry and fill the cavity with the stuffing..
- Drain the liquid from the baking pan, rub it with a little butter or olive oil, and place the stuffed zucchini back inside. Cover with foil and bake for 30 minutes. Uncover, sprinkle the remaining cheese over the zucchini, and bake for another 10-15 minutes until the filling is bubbling and the cheese is crispy.
- Allow the zucchini to cool slightly. Slice into portions and serve. Leftovers will keep refrigerated for one week
Mediterranean tuna salad
- 1 (5-ounce) can albacore tuna in water, drained
- 1 small bell pepper, halved, cored, and finely chopped (1 cup)
- 2 tablespoons extra-virgin olive oil
- 2 tablespoons fresh lemon juice
- 1 teaspoon grainy mustard
- 3 tablespoons chopped capers
- ½ cup chopped fresh parsley
- Kosher salt and freshly ground pepper
- Dressed salad greens for serving
- Sliced cucumbers and crackers, for serving
Directions
Place tuna in a bowl and flake with a fork.
Add bell pepper, oil, lemon juice, mustard, capers, and parsley; stir well to combine and season with salt and pepper.
Serve with salad greens, cucumbers, and crackers on the side
