I’ve often been told that July and August don’t test your gardening skills, they test your patience. July and August always seem to be the time of year when pests come out in full force. Both those we know, and those we’ve never seen before. It’s also the time of year where diseases start popping up.
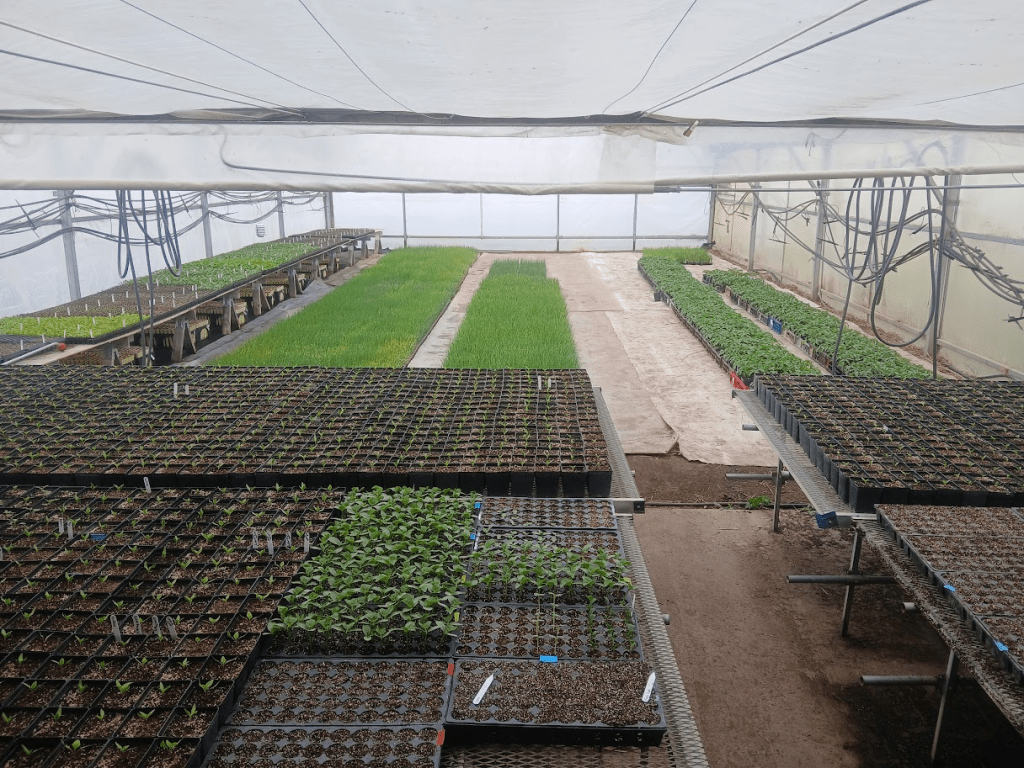
The excitement and anticipation of watching the first seeds germinate back in March, or getting to put the first plants in the ground back in April, have faded. We’ve watched millions of seeds germinate, and planted thousands of plants. At this point, those things are old news. We still have lots of crops that we are impatiently awaiting to harvest. However, we seem to be spending more time lugging around irrigation, and watching plants in hopes that they can pull through from whatever disease or pest is currently trying to wipe them out.
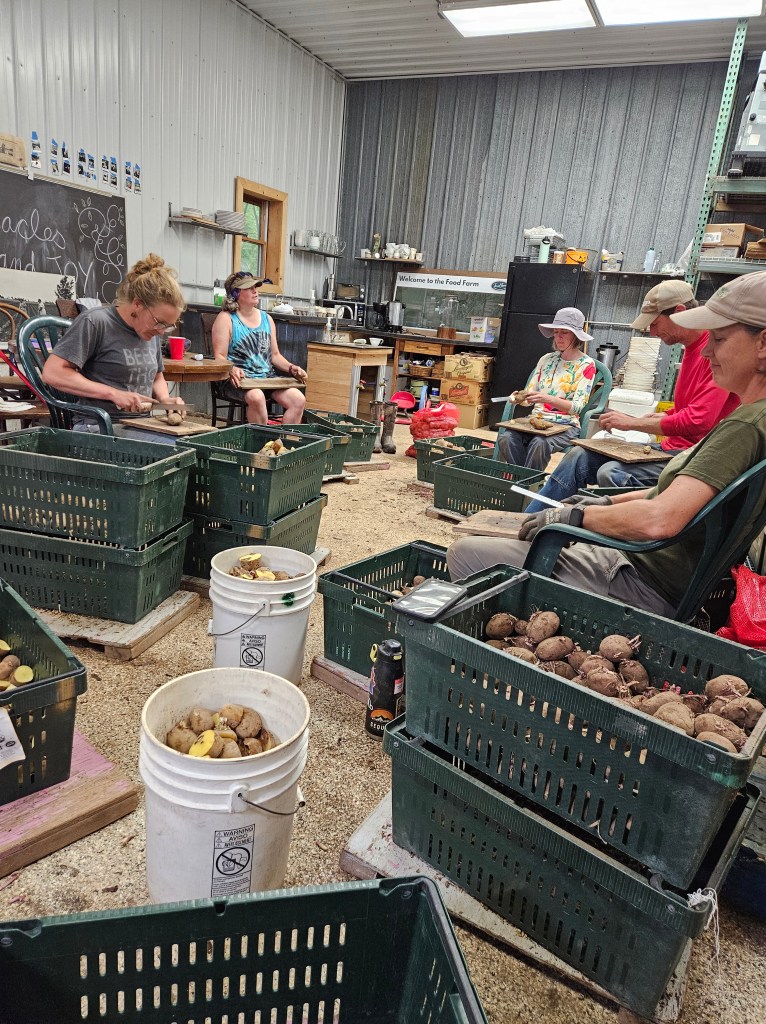
Our biggest stressors this year have been our potatoes and our greenhouse cucumbers. The potato bugs are out in full force this year! Those things seem to be multiplying by the second. Normally, our crew would crawl along inspecting each plant for bugs and larvae. This year, we simply don’t have the time or the man power to devote the required attention to get rid of the bugs. So we do what farmers do best, and we improvise. We’ve hooked up some snow sleds to a tractor, and use brooms to knock off as many potato bugs as we can. It’s not quite as thorough as doing it by hand, but it takes significantly less time and people. We’re just hoping the little potatoes can pull through.
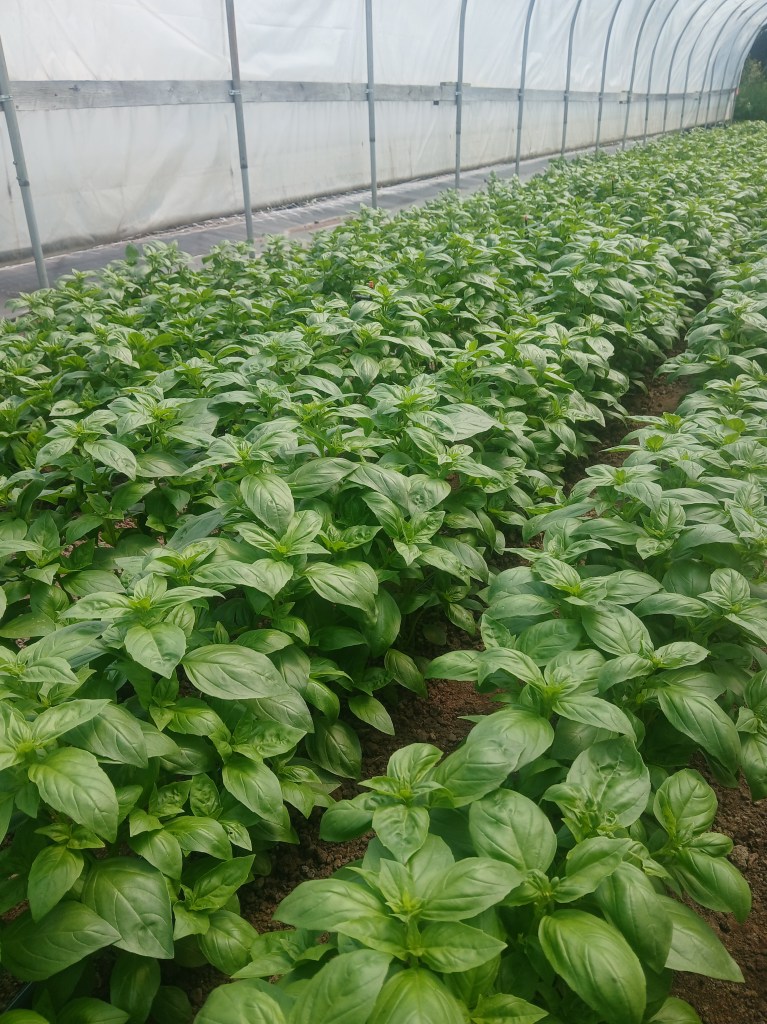
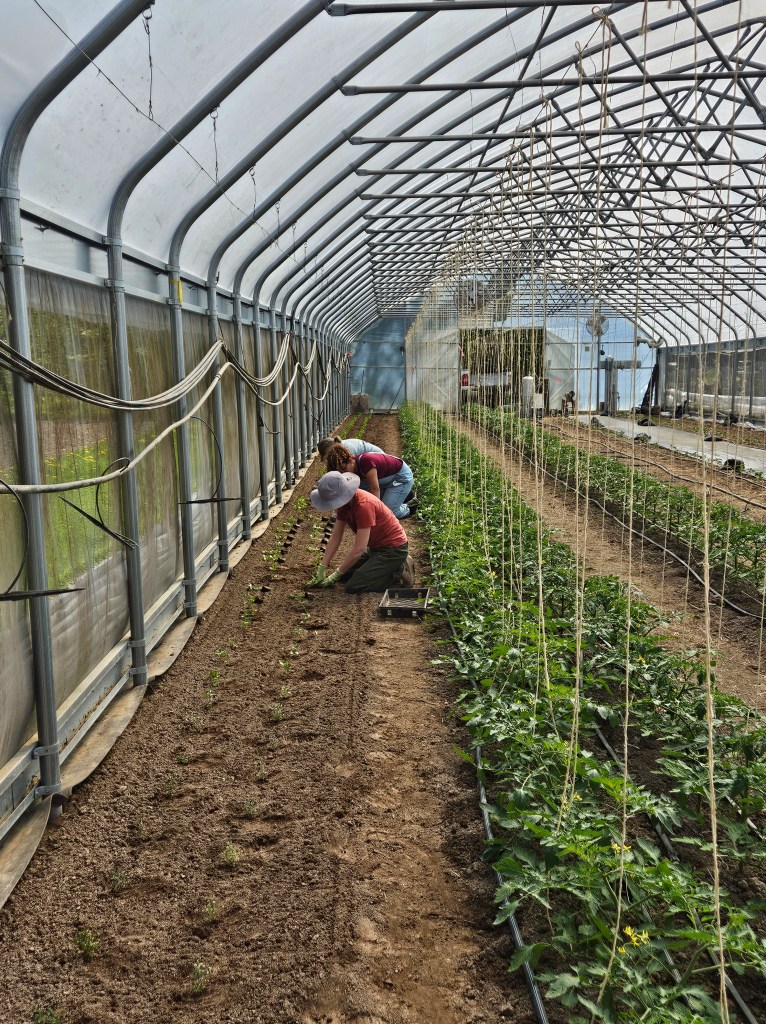
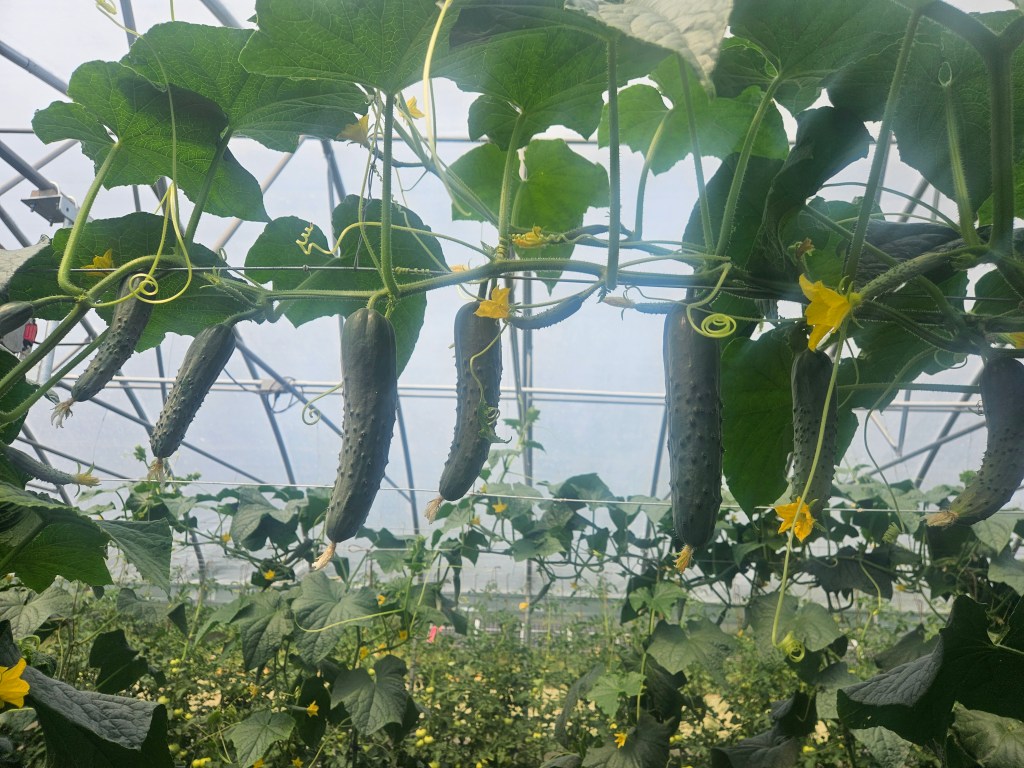
I’ve started trying not to make eye contact with the cucumbers. It seems every time I look at them, a new one has perished, gotten a mystery disease (that it’s about to spread to all its friends), or attracted a swarm of pests. I often think to myself, “would anyone really care if I just ripped these all out?”. Then I think back to the night before when I ate two for dinner and had another one for lunch…so yeah, I guess we better keep them. They make me want to rip my hair out, but they’re so darn tasty.
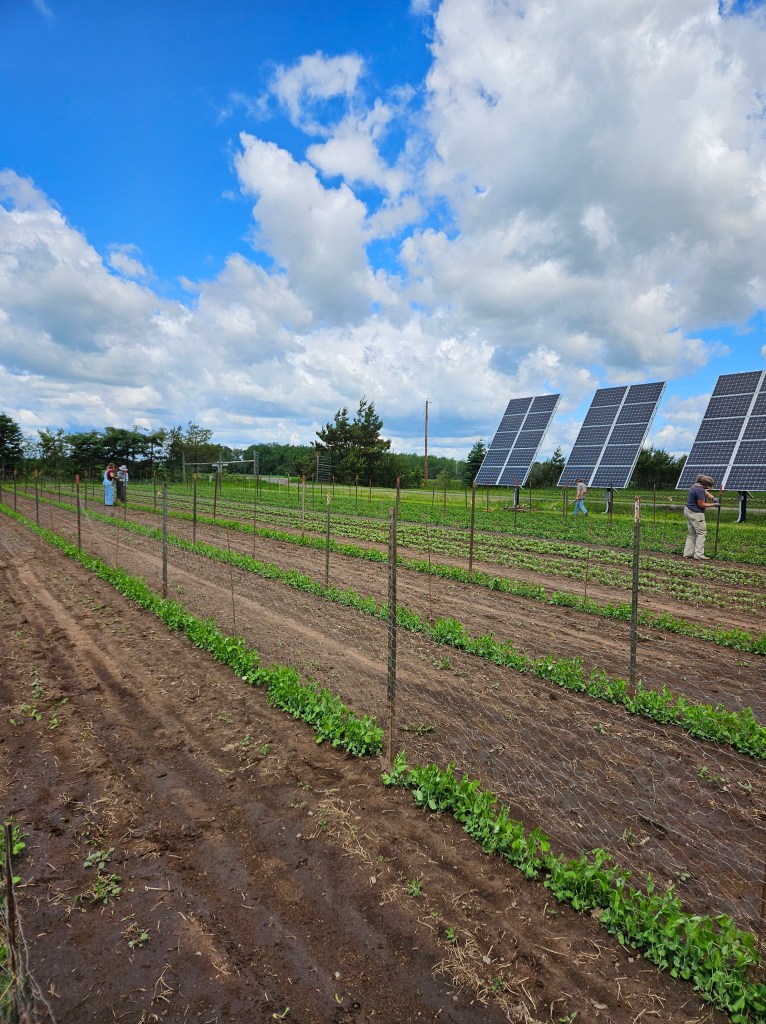
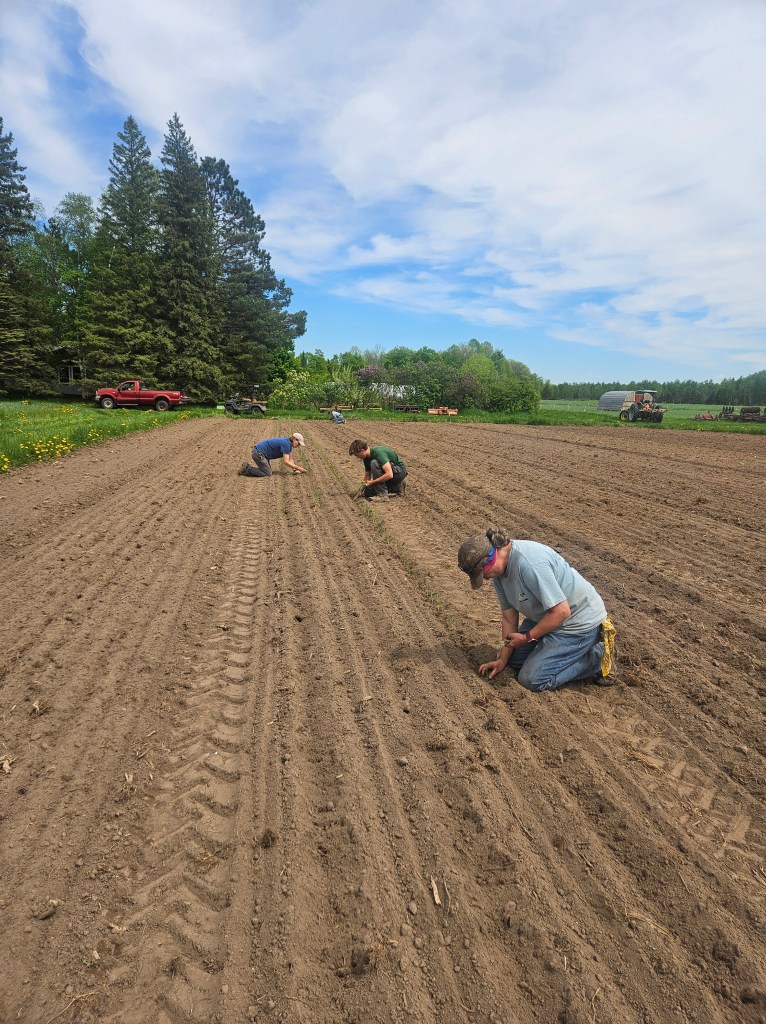
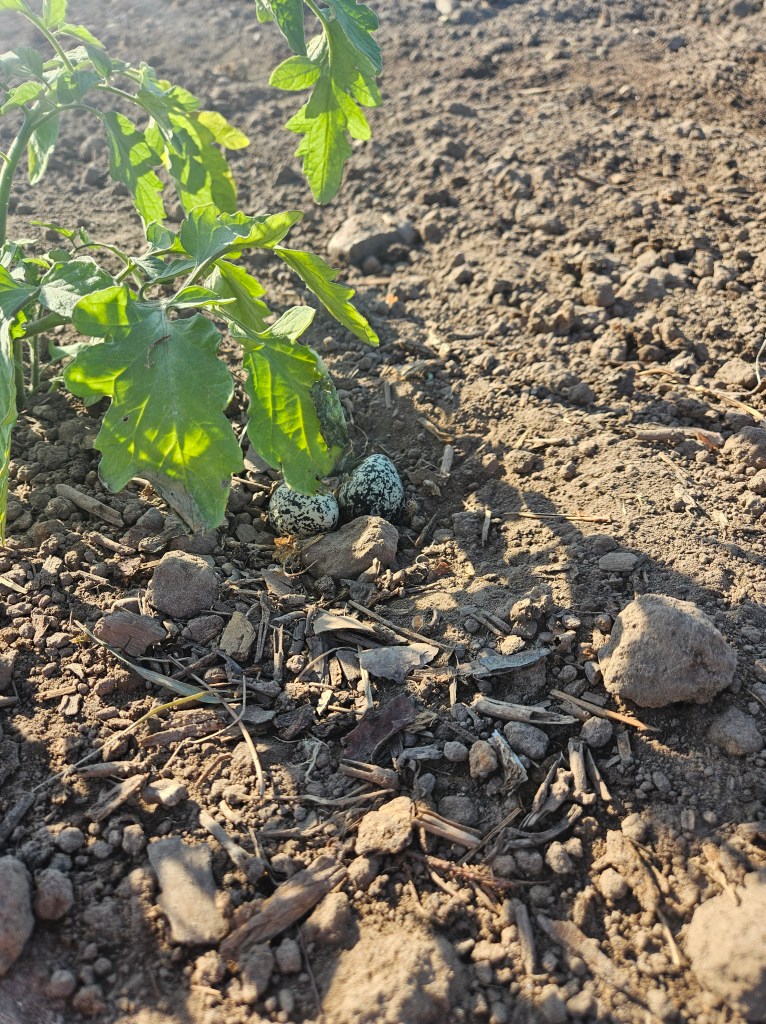
As gardeners and farmers, we spend lots of our time doing research about the best seeds, the best tools, the best fertilizers, and the best harvesting methods. We gather all the skills and resources that we possibly can. In these cases, yes those skill can come in handy, but it’s mostly about having the patience to not give up. When we’ve tried 3,4,or 5 different methods for getting rid of the potato bugs, and none of them work. It would be really easy to throw in the towel and let nature take its course. That’s not what we do. We put on our patience pants, and try something new. We look up new resources, we reach out to friends, we give the bugs a stern talking to, but we never give up and throw in the towel. Farming isn’t always easy, but boy is it worth it. I mean just look at these vegetables showing off. Have you ever seen anything more beautiful?!
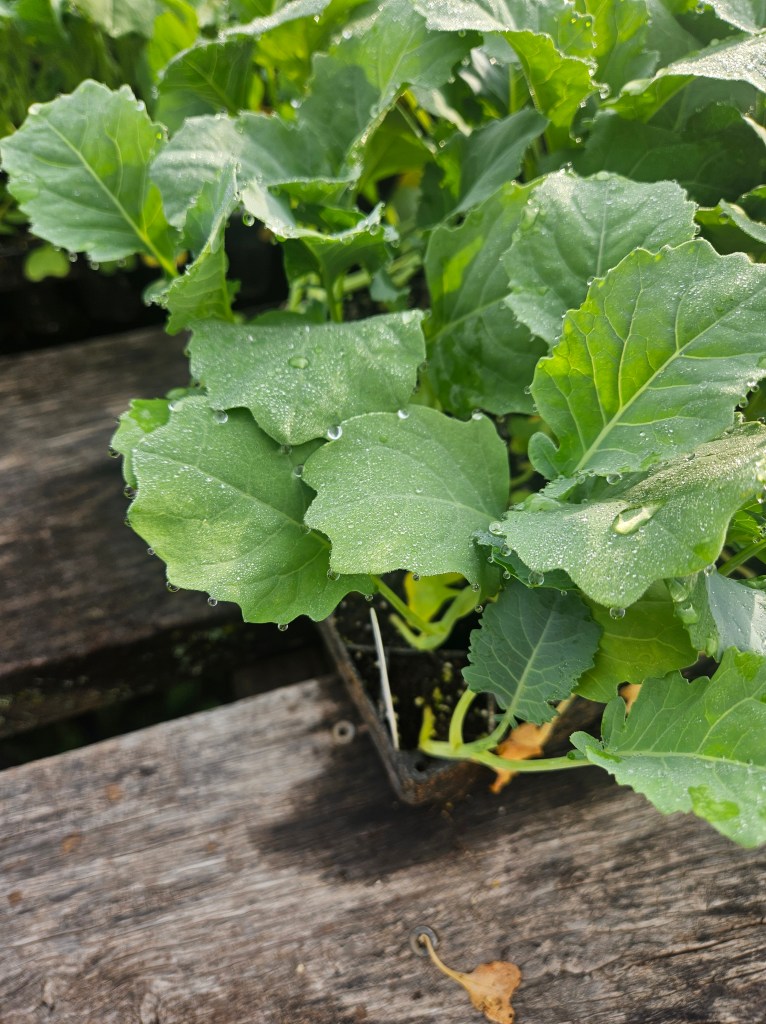
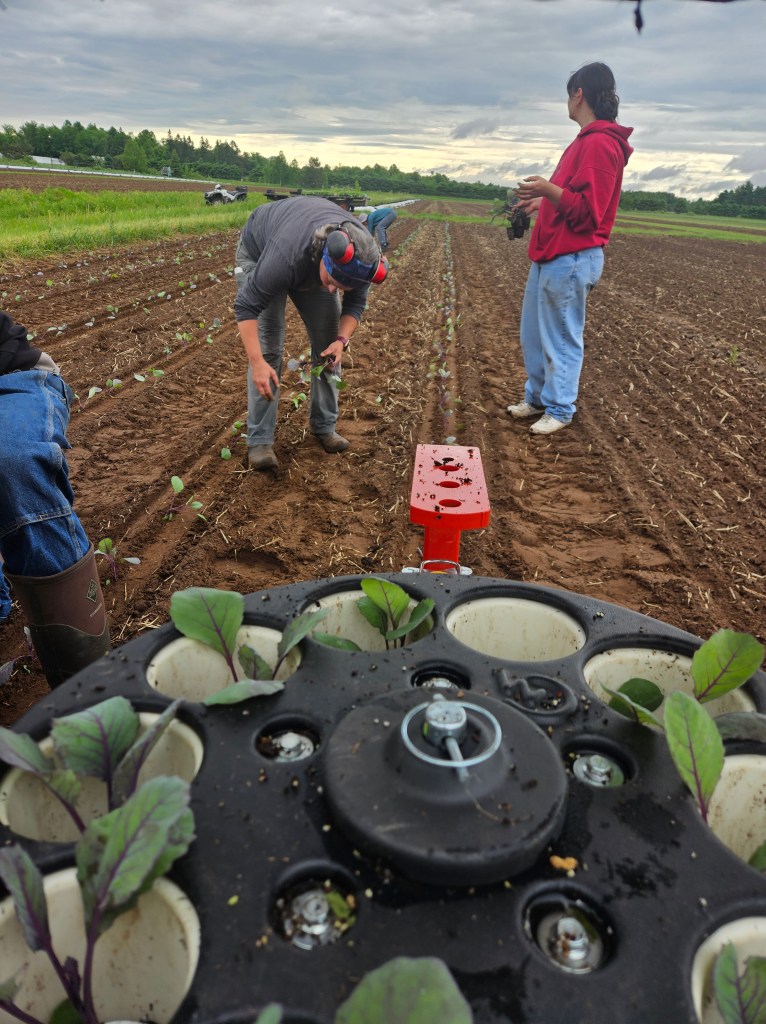
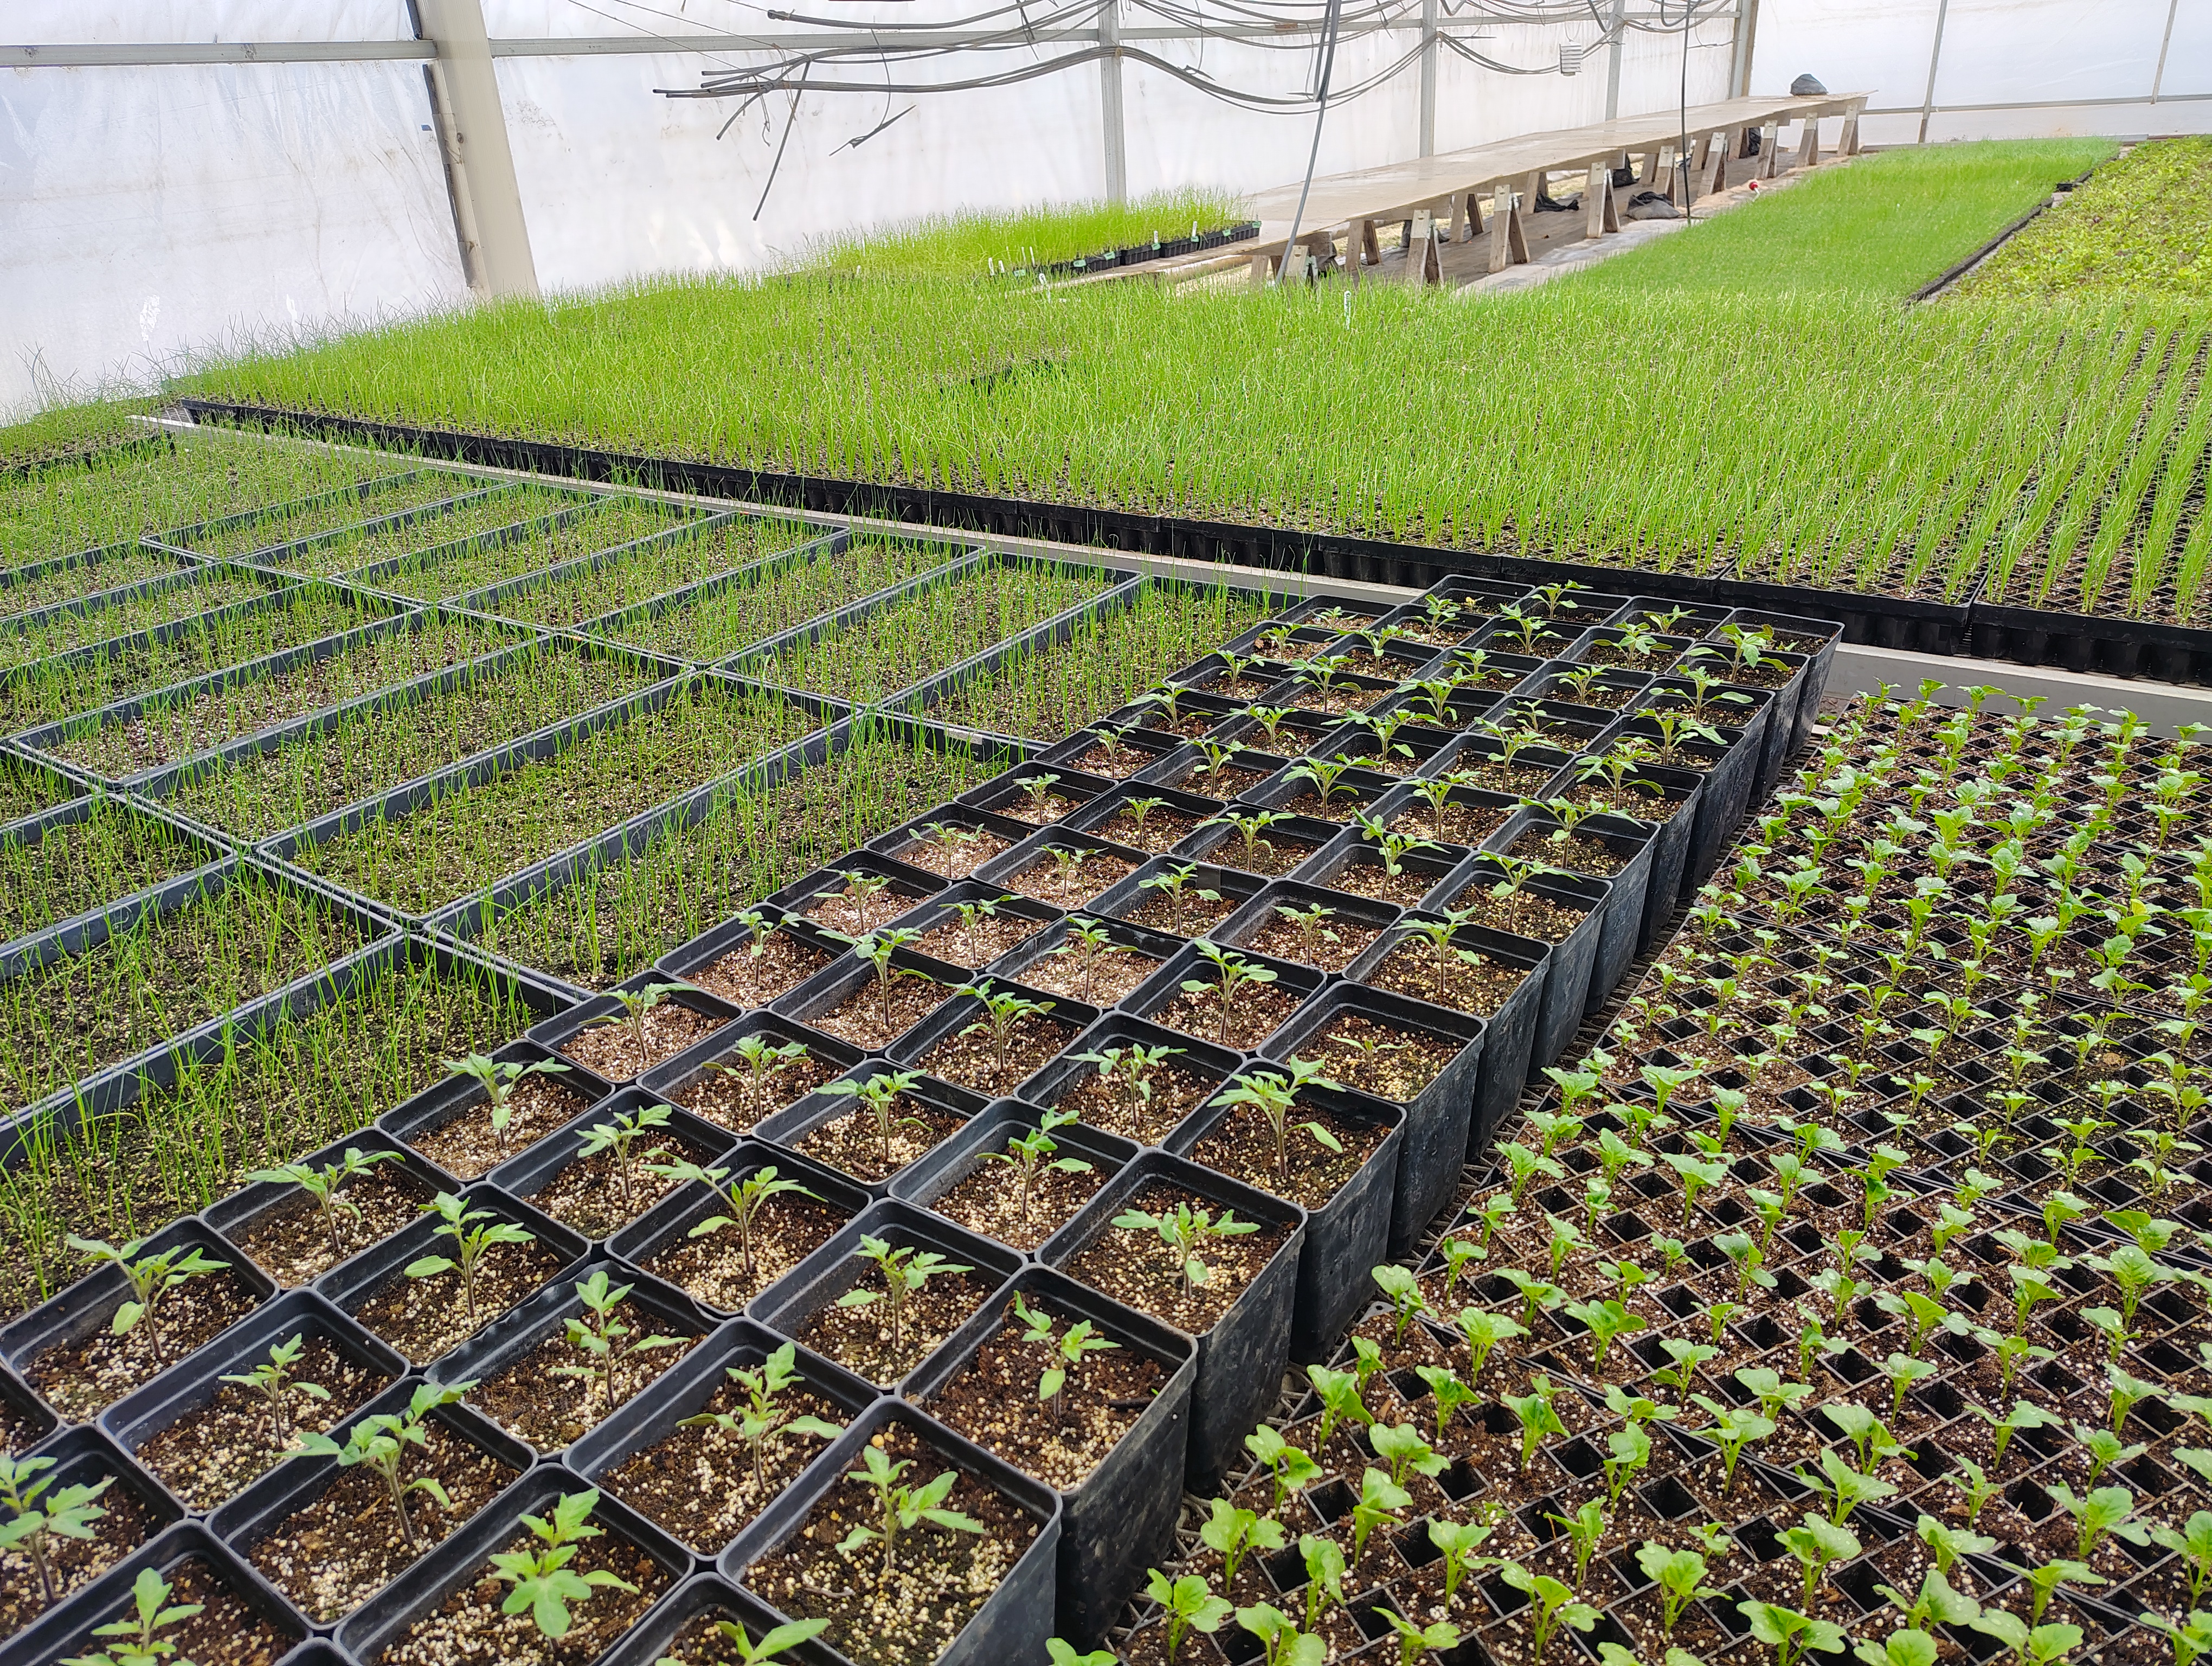
The morning dew on some baby brassicas 
In your box this week:
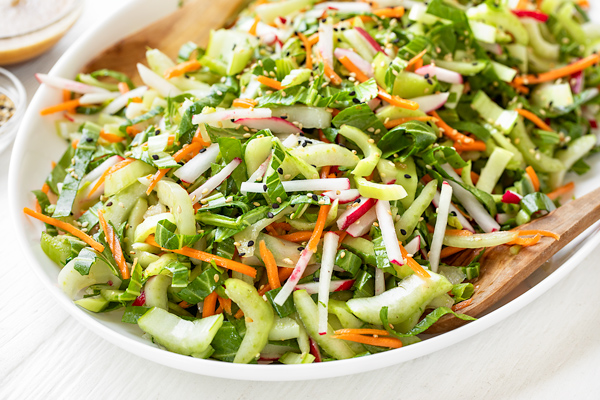
Lettuce – Zucchini – Tomatoes – Dill – Parsley – Cucumbers – Greens Mix – Carrots – Snap Peas
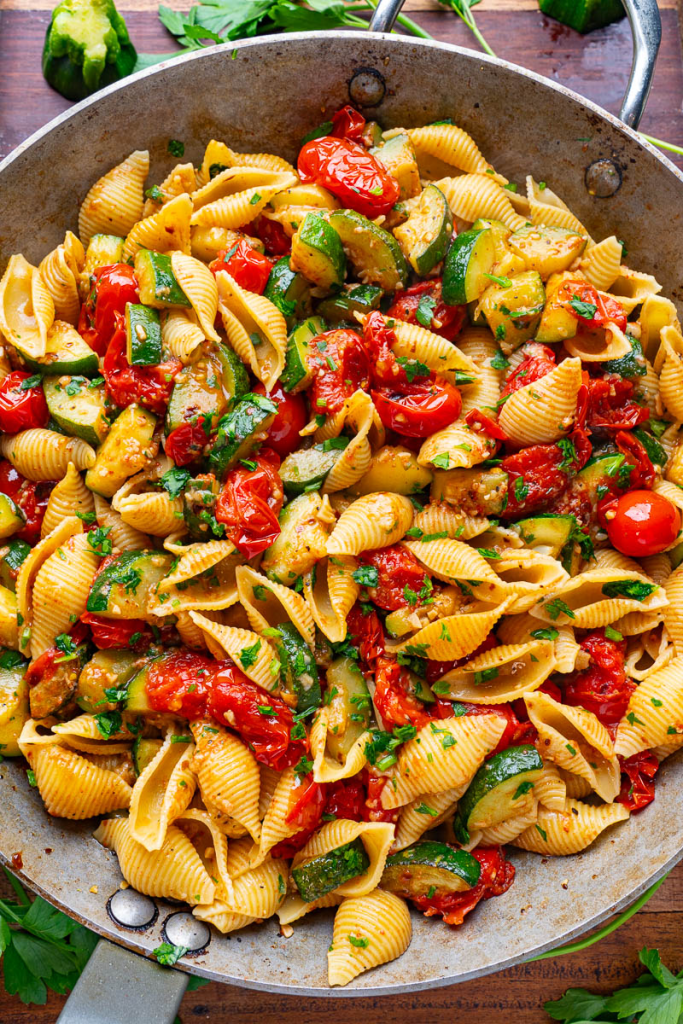
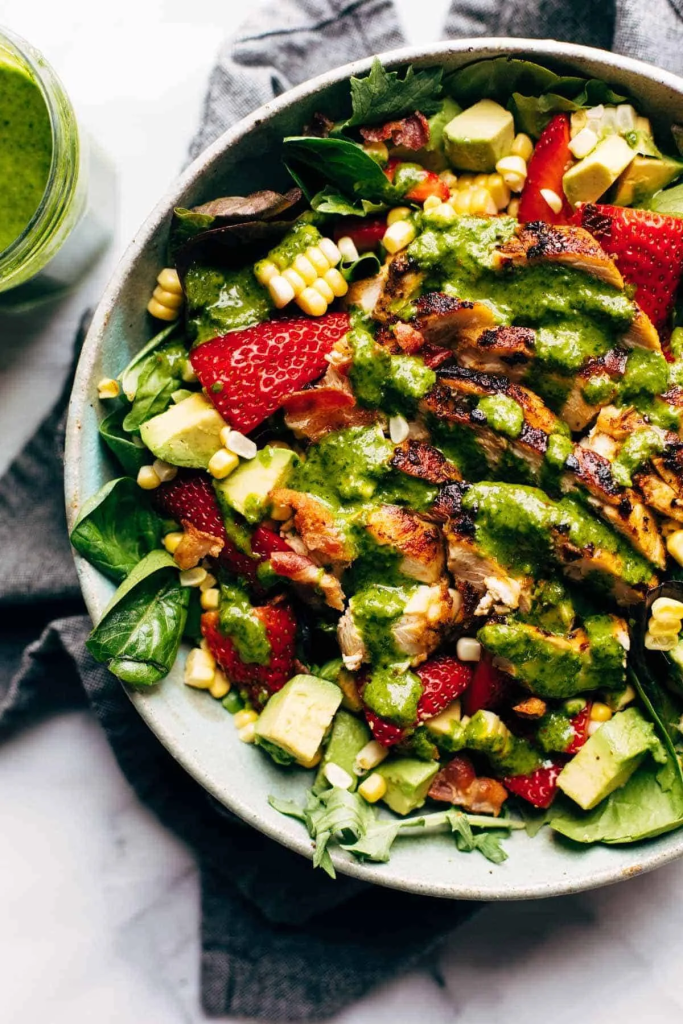
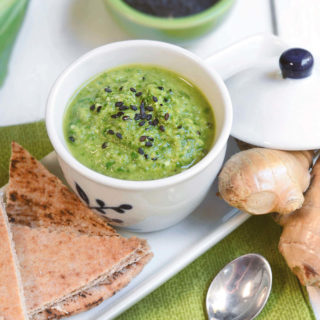
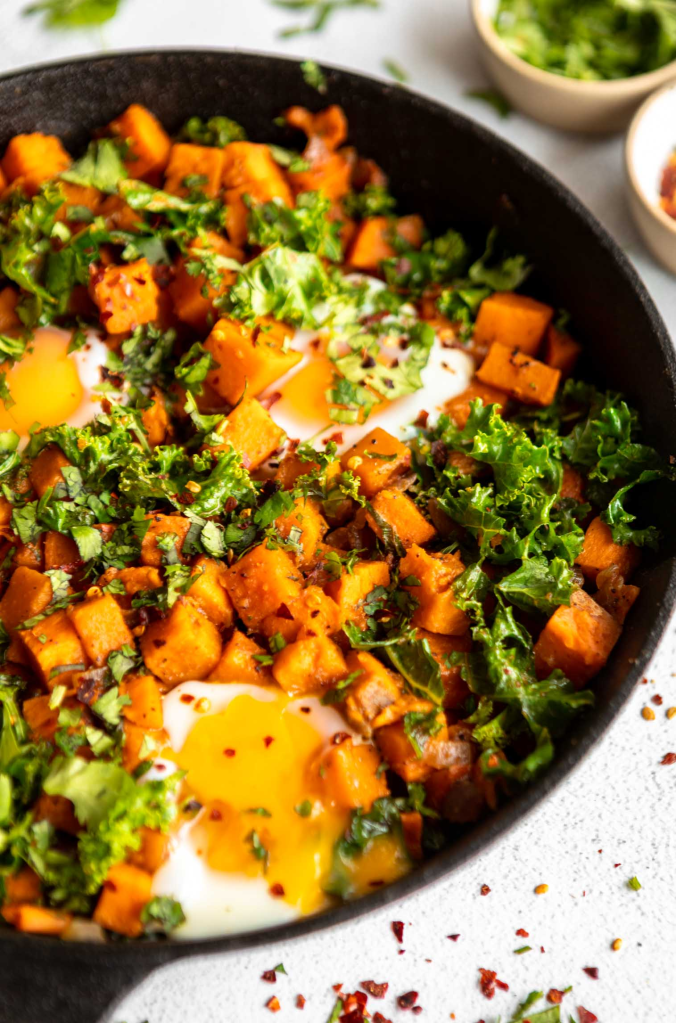
This Garlic Butter Zucchini and Tomato Pasta is Summer on a plate. It’s fresh veggies and herbs, topped with butter and cheese. This dish is really versatile. You can add any other veggies you want like corn, kale, or cauliflower. It’s also great with a protein like steak, chicken, or some butter beans.
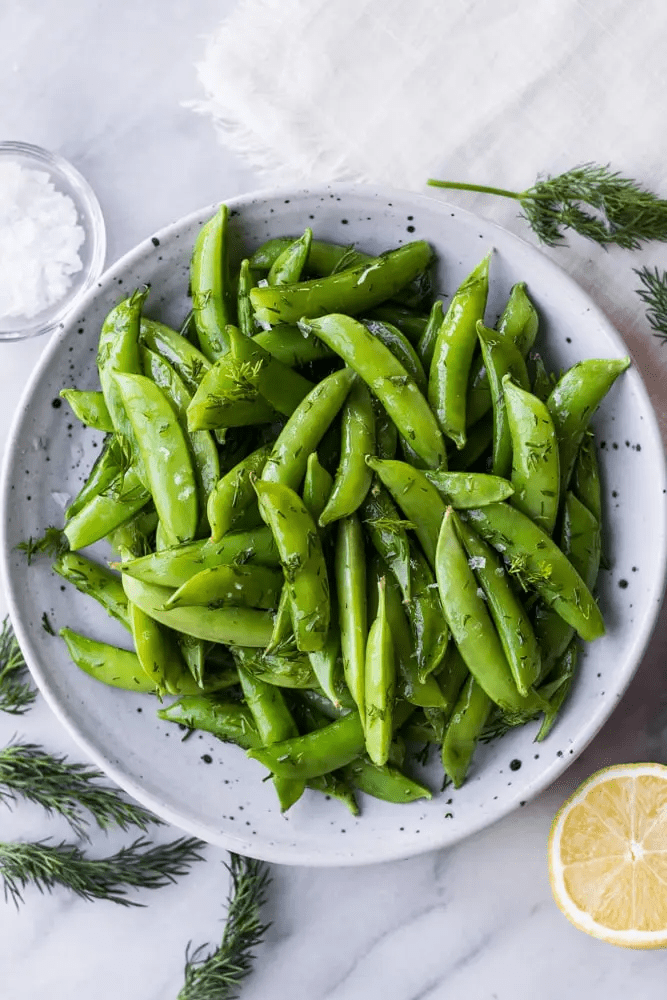
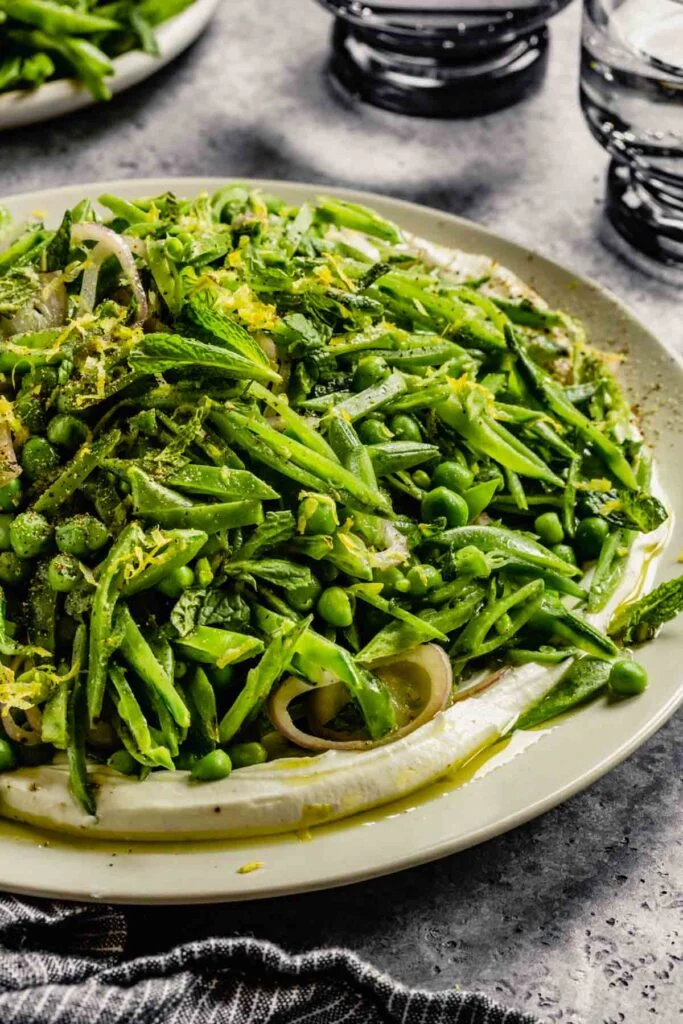
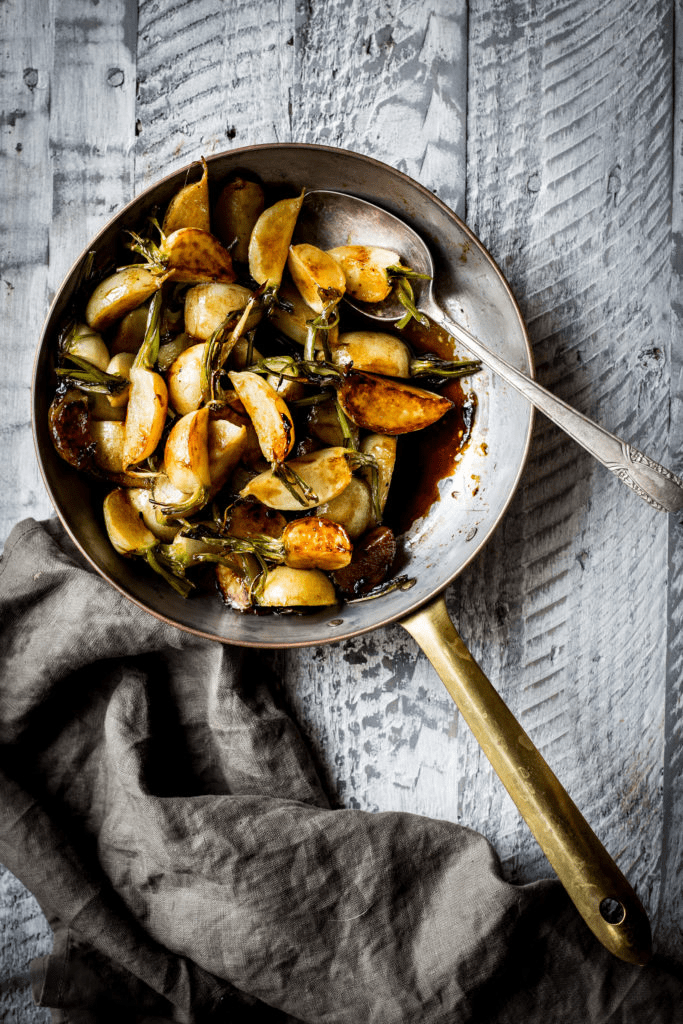
I know most of us eat the snap peas straight out of the bag, but if you’re not a fan of raw peas, try these Snap Peas with Lemon and Dill. They’re an easy side dish, you can serve them with some bread and spreadable cheese for a quick appetizer, or my personal favorite is to mix them with pasta. I like to chop the pods into thirds, make this recipe, then mix it in with pasta, a splash of heavy cream, and some cheese. It’s delicious and easy to turn into a bunch of new recipes.
For the farm crew,
Jennifer