Summer CSA Week 3, 2023

Hello, members and friends of the farm! As the summer solstice greets us, let us take a moment to be thankful for the life-giving rain that arrived at the farm over the weekend. The timely showers have nourished our crops, temporarily quenching their thirst and providing Janaki with a much deserved break from irrigating.

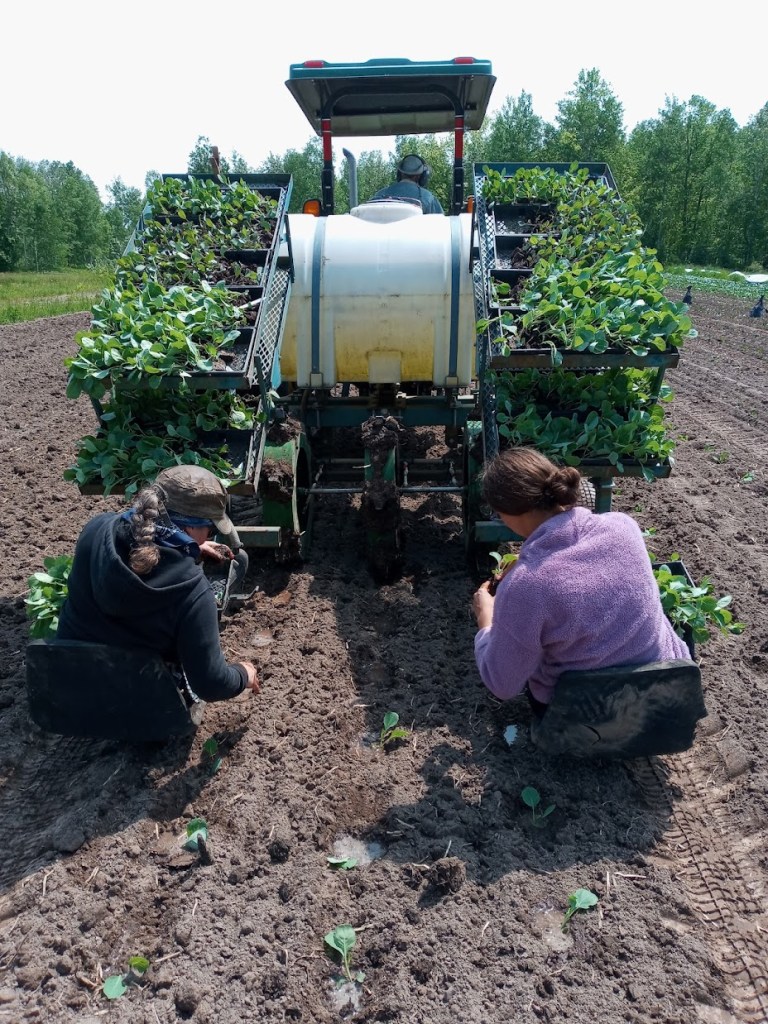
We are coming off a particularly laborious & hot week on the farm. Complete with lots of carrot weeding and mulching. Fun tasks to complete in the building humidity of approaching rains 🙂

The straw mulch you see in the photos above is harvested from our winter rye cover crop. We grow this cereal grain for its ability to suppress weeds, build soil fertility, and prevent soil erosion. This particular planting was seeded last fall and remained dormant under snow cover before resuming growth this spring. When it reached about three feet tall, it is fibrous enough to chop for use as mulch.

The inclusion of straw mulch offers valuable benefits such as eliminating tillage, enhancing moisture retention, soil drainage and aeration. As it naturally breaks down, straw also acts as a nutrient source, providing food for the plants.


In your share this week:

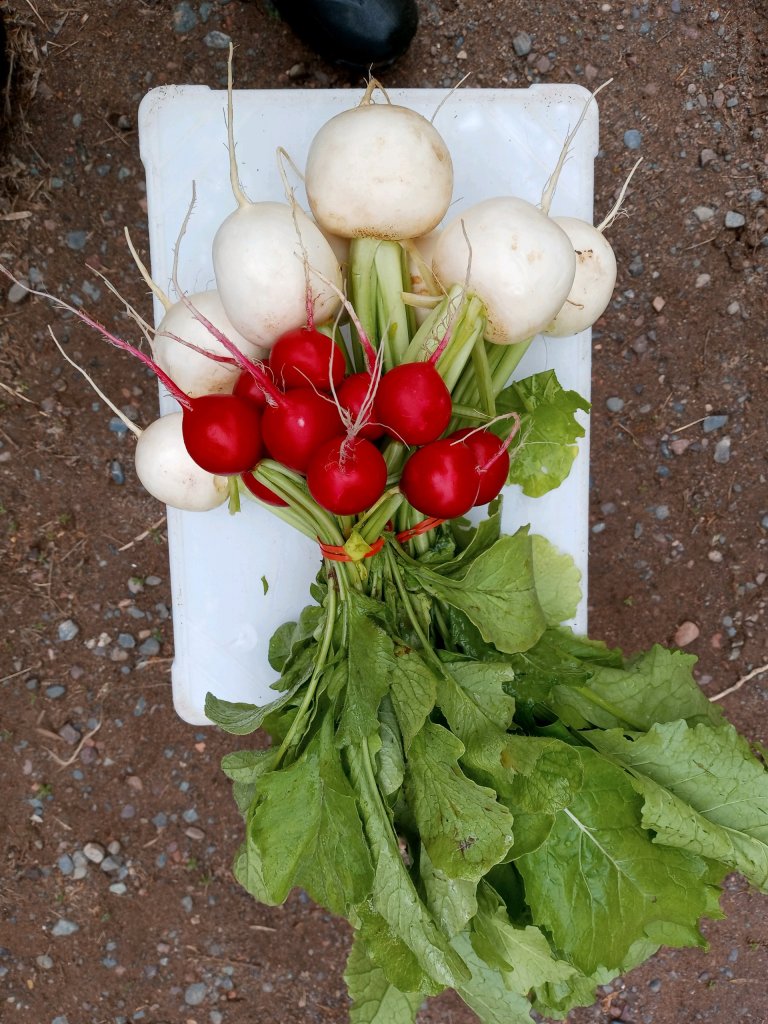
Broccoli – Green Onions – Lettuce – Pac Choi – Radishes – Turnips


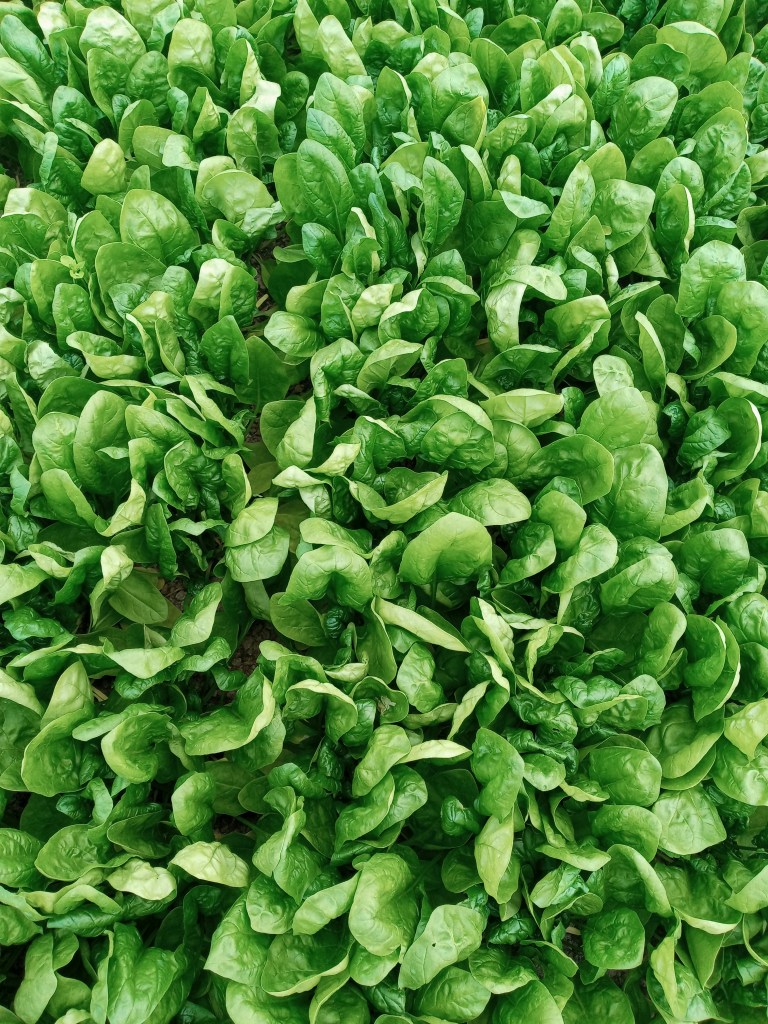
I remember some point in the depths of winter, when my diet consisted of primarily root vegetables and meat, I wanted so badly to refresh my palate with the crisp and vibrant allure of freshly harvested lettuce. That memory feels somewhat recent to me, but oh, how the turns have tabled… The long awaited reintroduction of salads into my diet has quickly shifted to leafy overwhelm. But when life gives us lettuce, we make vinaigrette!

Most Basic Vinaigrette:

  • 1 Tbsp dijon mustard
  • 2 Tbsp red wine or cider vinegar
  • 1/2 Cup olive oil or salad oil
  • salt & pepper, to taste
  1. Combine dijon mustard with vinegar.
  2. Slowly whisk in olive oil, salad oil, or a mixture of both
  3. Season with salt and pepper
  4. (1 Tbsp of mayo can also be added for creaminess)

Citrus Tahini Dressing:

This recipe is great on greens, but I also think it would be wonderful on roasted broccoli, too.

  • 1/3 Cup tahini
  • 1/4 Cup fresh squeezed orange juice
  • 2 Tbsp apple cider vinegar
  • 1/4 Teaspoon salt
  • 1-2 Tbsp maple syrup, optional, for sweetening
  • 1-2 Tbsp water, optional, for thinning
  1. Whisk all ingredients, except for water, in a small bowl or jar.
  2. Introduce water until desired consistency is reached
  3. Drizzle on your favorite veggies or salad


Wishing you all a splendid summer solstice filled with growth, gratitude, and the joy of being connected to the land.

For the farm crew,

Charlie

Summer CSA Week 2, 2023

Greetings!

Let’s start things off with a haiku…

Mid June – so so dry
Irrigate to help them grow
Janaki sleeps not

Week two and another round of locally grown goodness! Up this week:


Greens mix – Green onions – Lettuce – Radish – Tatsoi – Turnips


The vegetable spotlight falls on the radish this week. Radishes are not only zesty beauties… they are antioxidant-rich, as well as relatively high in vitamin C, calcium, potassium, and fiber. These cruciferous veggies are entirely edible – all the way from their crunchy bulb to their tender leaves. All parts of the radish are an excellent addition to your summer salad. Radishes are a cool-season vegetable, so they are a little hotter because of how unusually warm and dry it has been, and the heat also means that we’ve had to get all of them out of the field quickly, rather than keeping them for a few weeks. This makes them a great candidate for roasting, transforming the flavor from bright and crisp to mellow and sweet. Find below a two-for-one recipe that uses both your radishes and your turnips to bring out a caramelized quality in both (with a little help from some honey).

Roasted Turnips and Radishes

Serves 4

  • 1 lb turnips, halved or quartered
  • 1 lb radishes, halved or quartered
  • generous drizzle of extra-virgin olive oil
  • kosher salt and freshly ground pepper
  • 2 teaspoons honey, plus more to taste
  • 5 fresh thyme sprigs
  1. Position a rack in the upper third of an oven and preheat to 425 F.
  2. In a large bowl, toss together the turnips, radishes, and olive oil with salt and pepper. Transfer the veggies to a baking sheet and spread into a single layer. Keep your eye on them and roast until the veggies start to char and soften (about 10 minutes). Drizzle the honey and scatter the thyme sprigs on top. Continue roasting until the veggies are fork-tender and have a caramelized finish (about 10 more minutes).
  3. Discard the thyme springs. Transfer the veggies to a platter and drizzle with more honey, if desired. Serve immediately.

Amidst the various harvests of our CSA, our dedicated members occasionally find themselves facing a delightful yet overwhelming challenge: an abundance of produce that tests their culinary prowess and storage capabilities. When unpacking your weekly share of farm-fresh vegetables, you may wonder “what am I supposed to do with a fridge drawer full of Turnips?”

Enter the quick pickle…

Quick pickles will keep in the fridge for months. They are delicious right out of the jar, but also make zingy additions to salads, sandwiches, and really anything that needs a little punch.

Ginger – Pickled Turnips

  • 2 inches fresh ginger, unpeeled, cut into 1/4-inch-thick coins
  • 2 garlic cloves
  • 8 ounces turnips, cut into thin discs or match sticks
  • 1 cup warm water
  • 2 teaspoons kosher salt
  • 1 tablespoon honey
  • 3/4 cup apple cider vinegar
  • 1/4 teaspoon crushed red pepper flakes
  1. Put the ginger and garlic in the bottom of a 2-cup wide-mouth jar. Pack the turnips into the jar.
  2. Combine the water, salt, honey, vinegar, and red pepper flakes in a separate jar. Top it with its lid, and shake vigorously to combine. Pour the brine over the turnips until it just covers them. Top the turnip jar with a lid and refrigerate for at least 24 hours before enjoying.

When the turnips are gone, just shove more vegetables in there – the brine will work its magic on anything from green beans, to radishes, to fennel!

For the farm crew,

Charlie

Summer CSA Week 1, 2023

Howdy, fellow Food Farm enthusiasts and happy first day of the 2023 Summer CSA season! Thank you for choosing to be a part of our farm family and for valuing the hard work, dedication, and love that we pour into every crop, every animal, and every interaction. Your commitment to local, sustainable agriculture not only supports our farm but also strengthens the fabric of our community, fostering a healthier, more resilient, and connected way of life.


In your share this week:

Spinach – Green Onions – Lettuce – Greens Mix – Rhubarb – Radish – Oregano – Tatsoi


Tatsoi is a versatile green that will elevate your culinary adventures!

Stir-fry perfection: Tatsoi adds a burst of flavor to your veggie stir-fry. With its mild mustard taste reminiscent of baby Pac Choi or Chinese cabbage, tatsoi is a great addition. The best part? It cooks up in a jiffy! Simply toss in the vibrant greens during the final moments of cooking, allowing them to wilt just enough to retain their delightful texture and taste.

A salad sensation: Whether it’s at the microgreen stage, as tender baby leaves, or in its full-grown glory at three to four weeks, tatsoi shines in salad mixes. You may have already noticed its crisp and unique flavor mingled with the mustard greens, arugula, kale, & chard that comprise our usual greens mix blend.

Pesto with a kick: Looking for an adventurous twist on the classic pesto? Get ready to blend your taste buds into a frenzy by incorporating tender tatsoi leaves into a zesty vegan pesto. Just combine them with cashews, a pinch of salt, a drizzle of olive oil, and a sprinkle of nutritional yeast.

Sautéed Tatsoi Recipe, from Niki Nakayama

  • 1 bunch tatsoi
  • 2 teaspoons sesame oil
  • 1 garlic clove, finely chopped or grated
  • 1 teaspoon grated ginger
  • 1 teaspoon fish sauce
  1. Cut off the base of the tatsoi and discard (or save for future stock).
  2. Rinse the leaves, but do not dry them. The excess water will lightly steam the greens while they cook.
  3. Warm the sesame oil in a small frying pan over medium heat.
  4. When the pan is hot and the sesame oil is fragrant, add the garlic and ginger, and sauté until fragrant, about 30 seconds.
  5. Add the still-wet tatsoi and fish sauce, and stir to combine.
  6. Cook uncovered, stirring occasionally until tatsoi stems are tender and leaves are wilted, about 1–2 minutes.

Tatsoi & Basil Pesto, from April Blake

  • 2 cups tatsoi
  • 1 clove garlic
  • 1 cup basil
  • 1/4 cup walnuts
  • 1/4 cup grated parmesan
  • 1-2 tbsp olive oil
  • salt to taste
  1. Throw everything but the olive oil in a food processor.
  2. Turn it on and if you have the option to drizzle in the oil while the machine is running, add it slowly until the pesto is a spreadable consistency. If you don’t have the luxury of the feature, add one tablespoon of oil, blend, then add the rest as needed.
  3. Salt to taste or add a little more cheese.