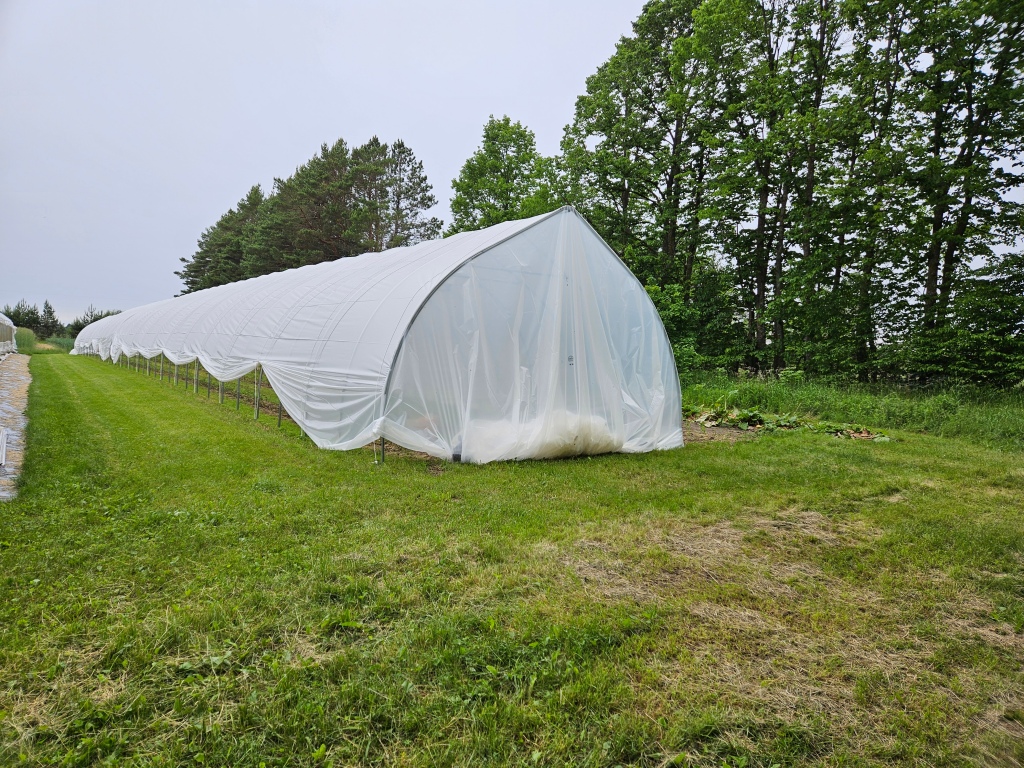
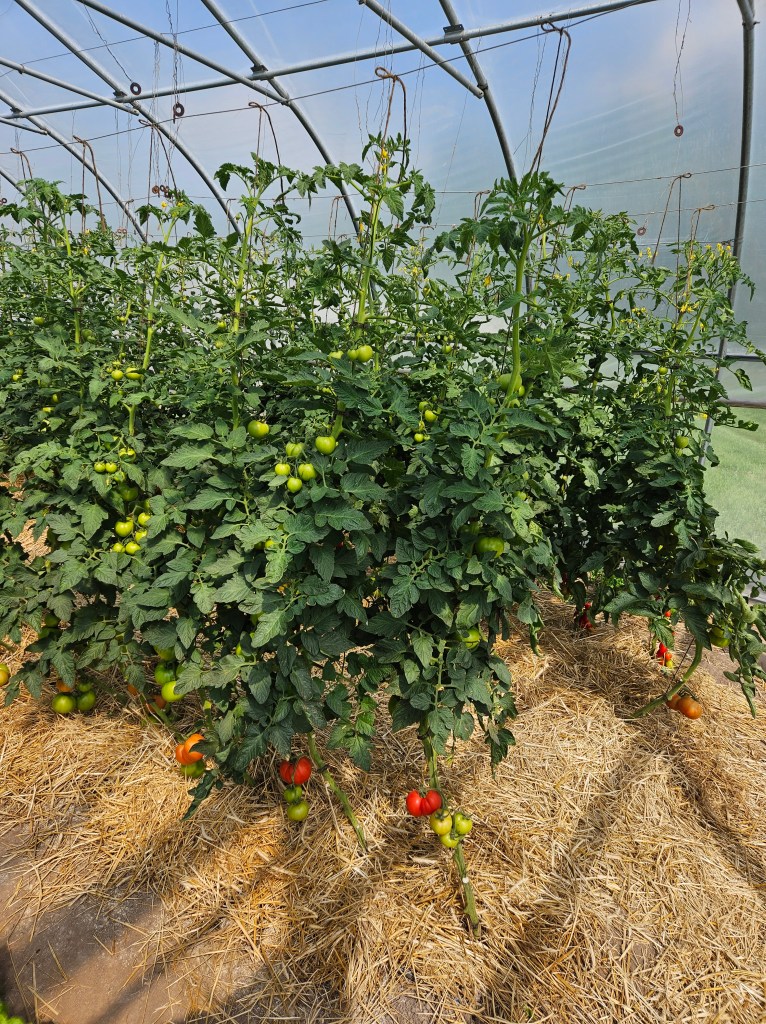
Last week felt like it was all about tomatoes here on the farm. This can only mean one thing, TOMATO SEASON IS HERE! Our crew member Catherine, and our lovely volunteer, Patricia, spend a lot of time in the Spring and Summer keeping the greenhouse tomatoes happy and healthy while the rest of the farm crew tends to all of the outdoor tomatoes. It’s helpful to dedicate specific people to each location since the tomatoes are grown in different ways, which requires different levels of attention.
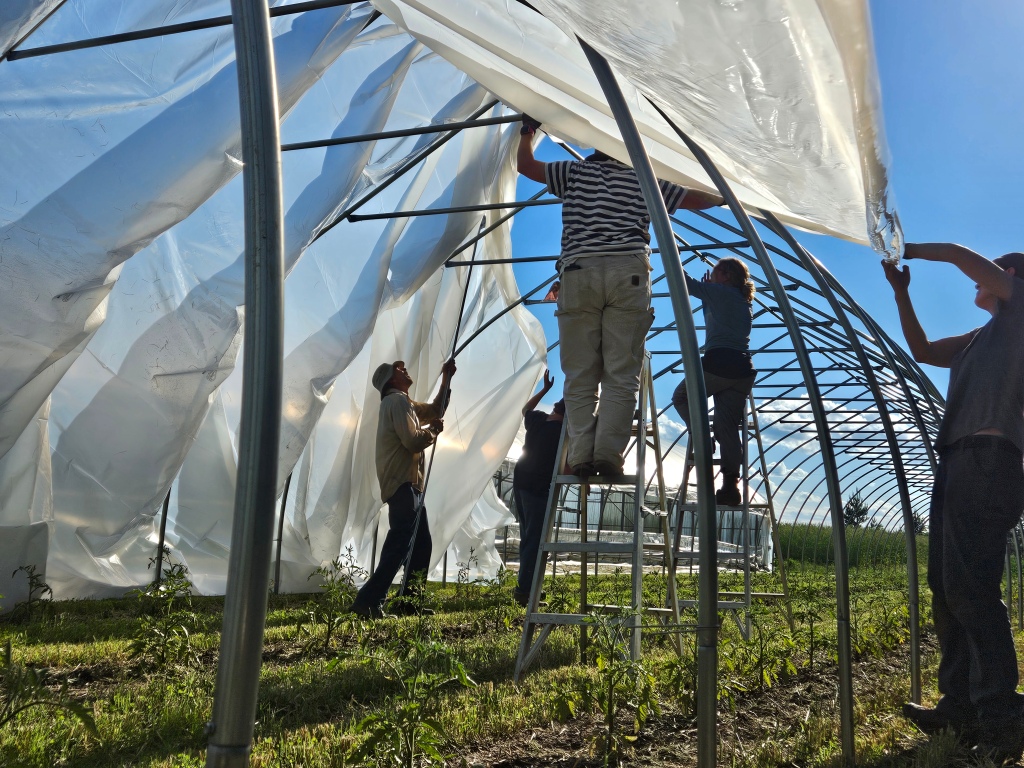
In the greenhouse, we vertically trellis the tomatoes using the single leader system. In non-farm speak, this essentially means that we force the tomato plants to grow on one single stem, and we use a small circular clip to connect the twine to the tomato stem as a means of supporting the plant as it continues to grow. Tomatoes love to grow what we call suckers, also known as side shoots. These are shoots that sprout out from where the main stem and a leaf meet. If we left the suckers on the plant, they would eventually grow into another top, so the plant forms a bush. This sounds really cool because most people think it means extra tomatoes, but it can actually mean the exact opposite. By leaving the suckers, the plant then has more stems and leaves to distribute nutrients to. As the plants grow taller, this can take a lot longer for the nutrients to get past all the suckers and make its way to the top of the plant. This means more of the plant’s attention is put into vegetation rather than fruit. Too much foliage also reduces air movement which is one of the many ways tomato plants can get and spread disease. In order to achieve this, once a week, Catherine and Patricia spend time pruning off any suckers and adding clips to the plant to keep it supported. This week, Catherine also spent time taking off any of the leaves that were growing below the first set of fruit. This does two things, it speeds ripening by allowing more light to reach the fruit, and creates better air circulation. With the hot weather we’ve recently been getting, and the plants being grown in an already hot greenhouse, more air flow is very welcomed by the plants.
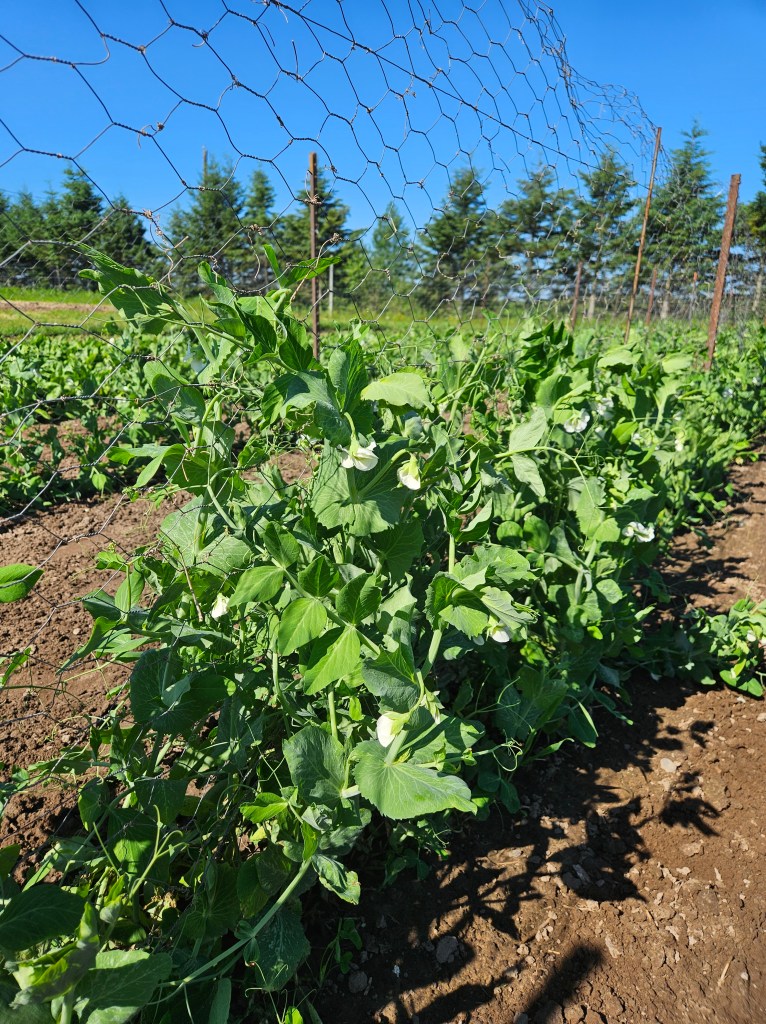
The outside tomatoes are a whole different story. We don’t do any pruning on those tomatoes. Airflow is better outside, and space isn’t at as much of a premium, so we’re able to plant the tomatoes farther apart without causing disease or shading. Another major difference between the inside and outside tomatoes is how they are trellised. Since there isn’t a pole or wire above the tomatoes, and we aren’t pruning them to follow the single leader system, the easiest way to trellis these crazy tomatoes is to use what is called the “Florida Weave” or “Basket Weave” method. With this method, posts are evenly spaced between the tomato plants, and string or twine is tightly run, horizontally, on either side of the plant. This method works to compress the plant so it stays tight and tidy in its space. It helps to lift the leaves off the ground so they are less likely to pick up diseases from the soil splashing on the leaves when it rains. Most home growers will use a tomato cage which creates a similar effect. However, with the cages, the plant will eventually grow over the top of the cage and run out of support, and cages are prone to falling over unless they’re large, which can make harvesting tedious. With the Florida Weave method, a new set of twine is added every week or so as the plant grows to continue giving it support. At this point in the season, the outdoor tomatoes have 3 sets of twine holding them up, and we plan to add another 3 or 4 as the season progresses.
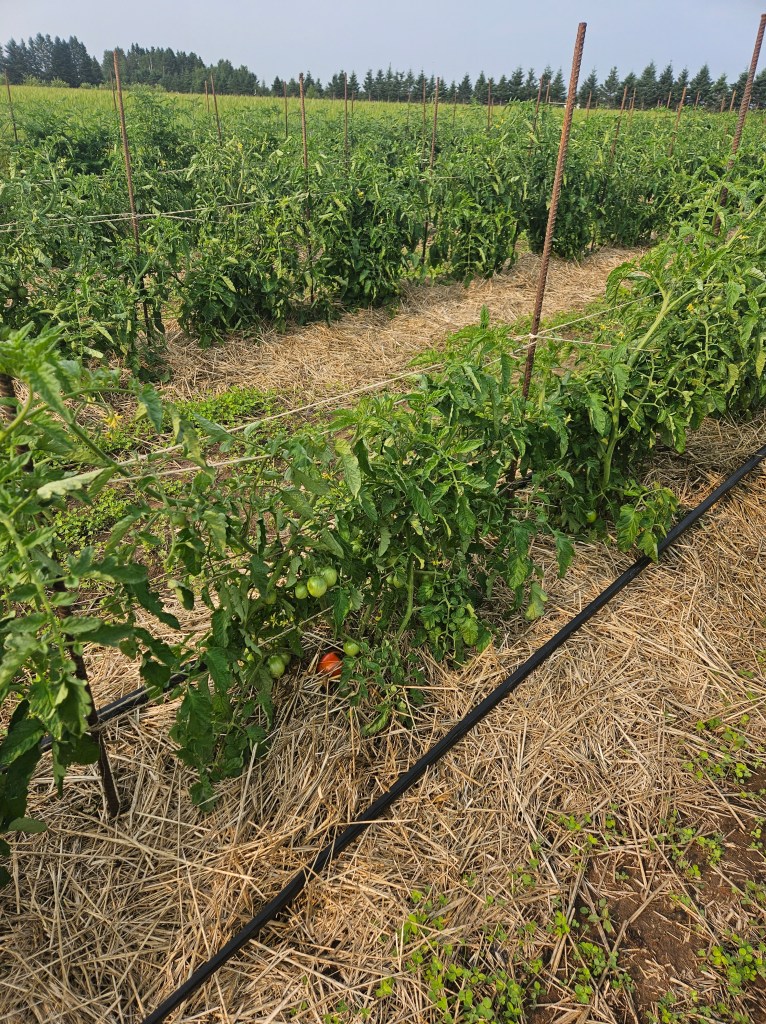
The cool thing about these trellising methods is that they aren’t exclusive to tomatoes. You can use either method for trellising many other vegetables. On the farm, we use the single leader, vertical trellising for all of our greenhouse cucumbers. In the coming weeks, we will use the Florida Weave method as a form of trellising all of our pepper plants.
In your share this week:
Beets – Broccoli/Cauliflower – Cilantro – Chard – Carrots Green Onions – Snap Peas – Juliet tomatoes (just a couple today, but more to come!)
Fried Rice
3 tablespoons oil
One medium onion, chopped
1 clove garlic, minced
One bell pepper, chopped
Two carrots, chopped
Broccoli or cauliflower chopped
Chard cut into ribbons
Snap peas, chopped
Green onions, chopped
1/4 cup Cilantro, minced
Tomatoes, optional
2 eggs, whisked
3 to 4 cups of cooked rice, cooled
1/4 c water
2tbsp soy sauce
1 tbsp sesame oil
Salt and pepper to taste
Put 1 tablespoon of oil into a wok or large skillet. When it begins to shimmer add the chopped onion, garlic, carrots, pepper, broccoli, and cauliflower. Sauté a few minutes and then add the peas, chard and tomatoes. Fry until partially cooked, but still crisply textured.
Remove vegetables. Add remaining oil to pan or wok. When the oil shimmers, add the rice. Break up clumps and stirfry. Make a well in the center and pour the eggs into the well. Scramble the eggs in the middle of the rice and when they’re cooked, add all the vegetables.
Add water, soy sauce, sesame oil and salt + pepper. Stir. Top with cilantro and green onions
For the farm crew,
Jennifer