Happy New Year!
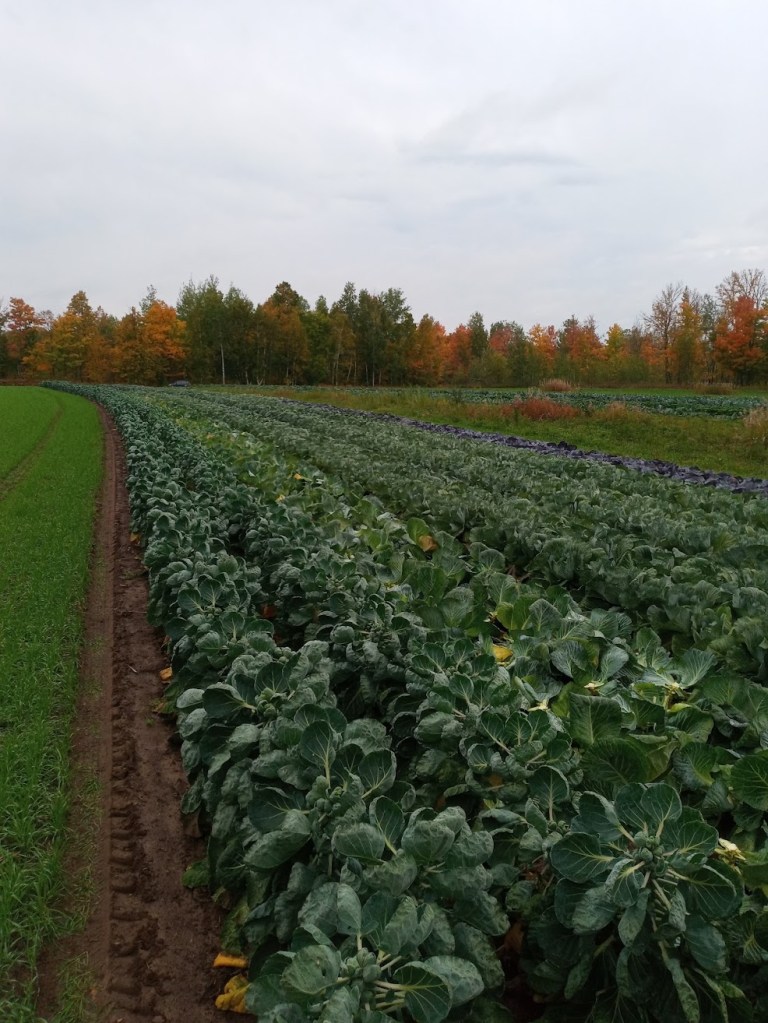
After weeks of anticipation, the first real snowfall has finally graced the fields! While the gentle start to winter offered a break from the unrelenting snow removal that defined last year’s snowy season, there was an unanimous sentiment—it’s about time!
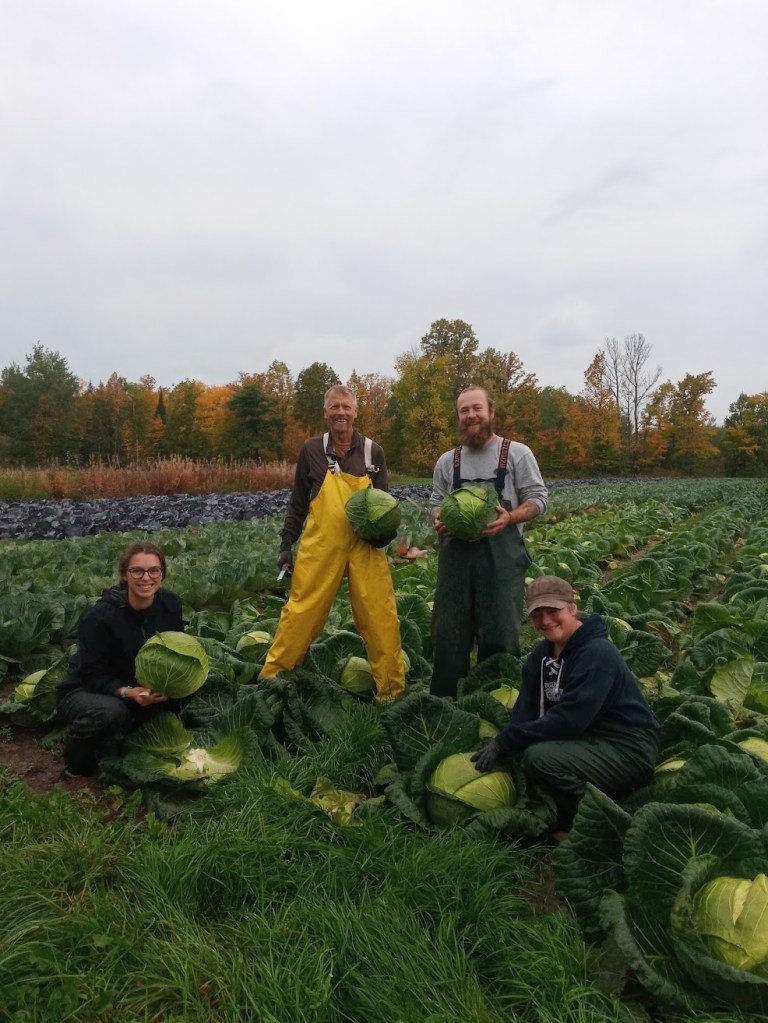
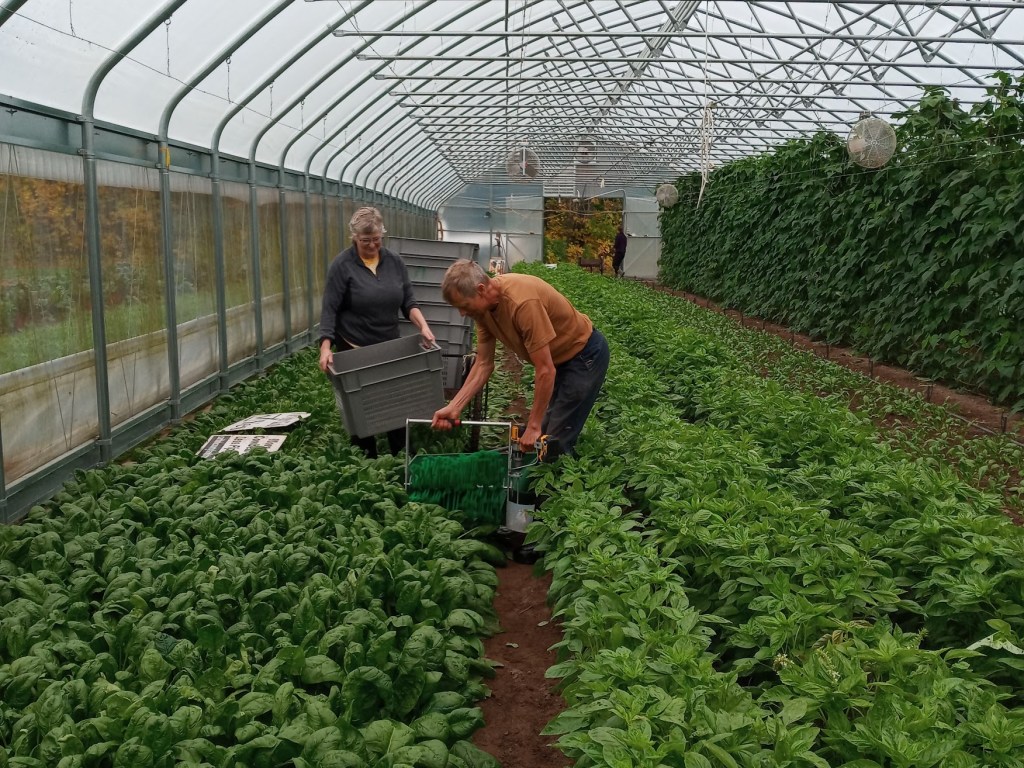
It’s been a whirlwind of activity here in the pack shed, and we can’t express enough gratitude for the support we’ve received from both our valued members and our partners in grocery stores and restaurants. Knowing that our vegetables are making their way onto the plates of our community brings us immense joy. It’s heartwarming to imagine our produce being shared among friends and families, becoming a part of the meals and moments that bring people together. We take pride in cultivating these vegetables and seeing them find their rightful place in the homes and gatherings of our community members.
Janaki is currently working on the budget and Catherine is prepping the signup software for next season, so we’re hoping to begin 2024 signups in about two weeks!
In Your Share This Month:
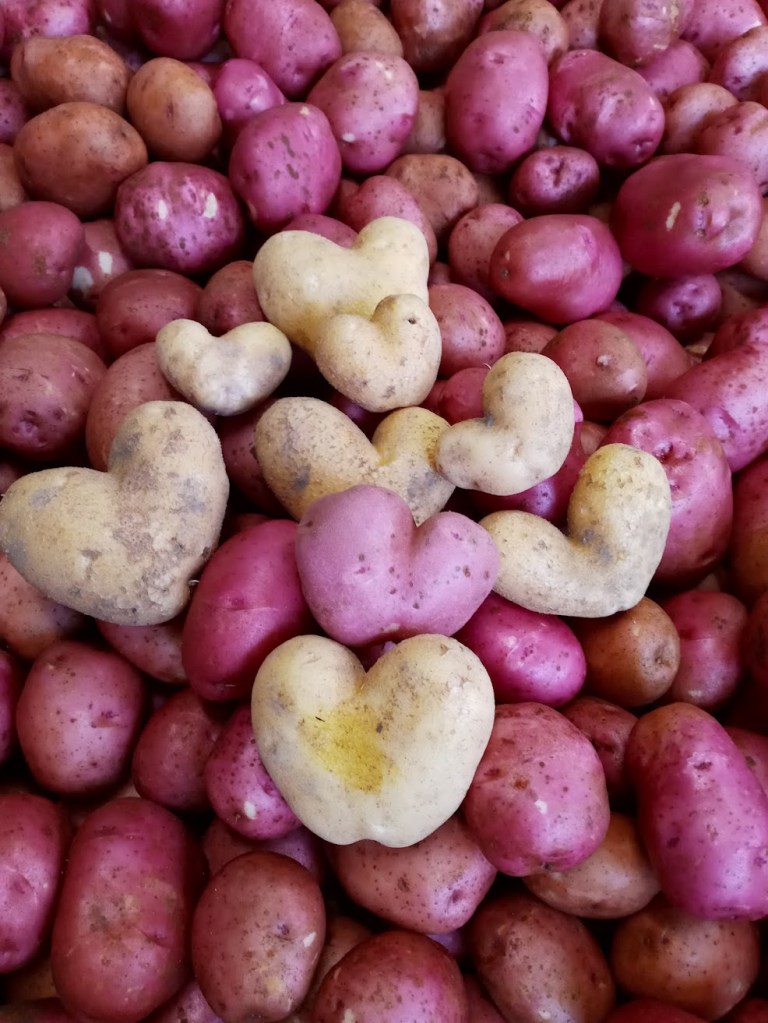
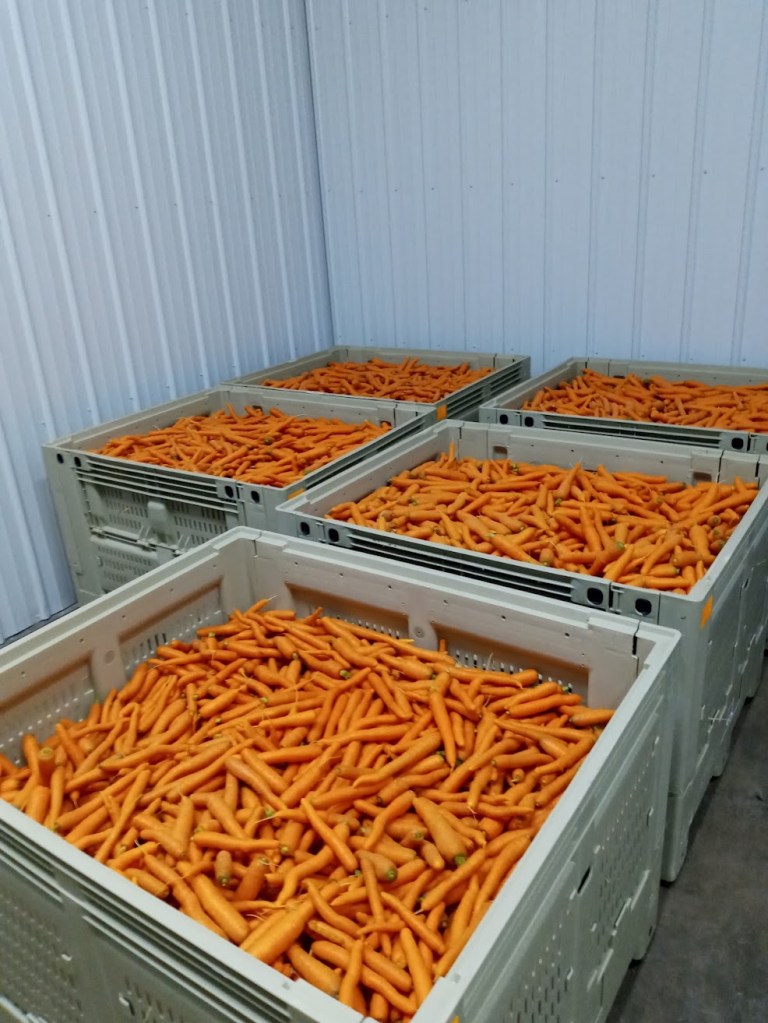
Chioggia Beets – Carrots – Onions – Parsnips – Yellow Potatoes
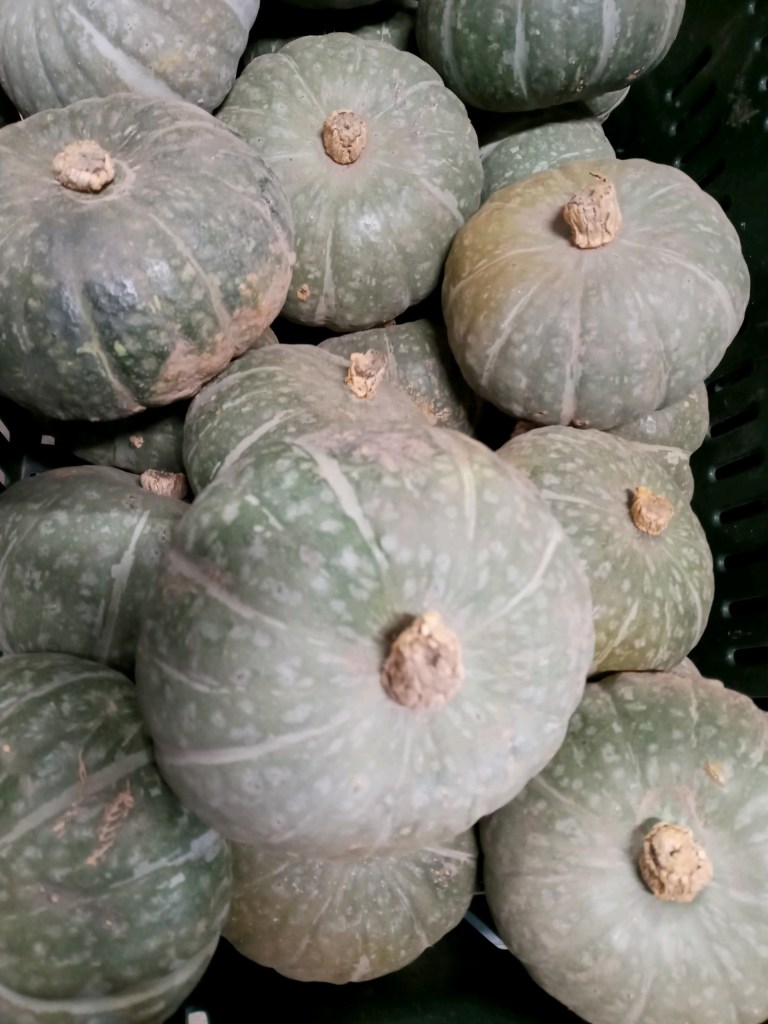
Baby Yellow & Baby Russet Potatoes – Rutabagas – Delicata & Winter Sweet Squash
This month, a trio of newcomers make their debut from storage in the root cellar: Chioggia beets, rutabagas and parsnips. I love to roast these all together with olive oil, salt, pepper and thyme. It makes a great side dish when fresh from the oven and leftovers are delicious when thrown into a salad. In my opinion, Choigga beets are the star of the show.
Chioggia beets, often referred to as candy cane beets, originated in the historic fishing town of Chioggia, Italy, just across the lagoon from Venice. These heirloom beets have a mild, sweet taste and slightly less earthy flavor compared to traditional beets. Whether enjoyed raw (thinly sliced, dipped in olive oil, salt, and pepper) for their visual appeal or cooked to showcase their flavor, Chioggia beets impress both the eyes and the taste buds.
Rutabaga Latkes (by Lisa Richards, CNC)
Latkes, or potato pancakes fried in oil, need not necessarily be made from potatoes. This recipe uses rutabaga with hemp seeds for added protein.
Yield: 10 latkes
1 lb. peeled, grated rutabaga (approx. 3 cups)
1 scallion, minced
1 egg, lightly beaten
1 Tbsp. coconut flour
3-4 Tbsp. raw, shelled hemp seeds
1 tsp. salt
Pepper to taste
A few gratings of fresh nutmeg
Olive oil for frying
- In a large bowl, add grated rutabaga, minced scallion, beaten egg, coconut flour, hemp seeds, salt, pepper and nutmeg. Mix well.
- In a large skillet, heat a good tablespoon of olive oil between medium low and medium heat. Working in batches of 3 latkes, spoon about 2 tablespoons of mixture per latke into skillet, spreading into 3 to 4 inch rounds and frying until the edges begin to brown. Flip and fry until other side is golden brown. Repeat with remaining latke mixture, adding another good tablespoon of olive oil to the skillet for each batch.
- When latkes are done frying, place in warm oven on wire racks on a rimmed baking sheet. This keeps latkes crispy until ready to serve.
Baby Russet Hash Browns
It wouldn’t feel right to send out baby russets without sharing our recipe for baby russet hash browns. Small russet potatoes have a low moisture content and a high ratio of skin to flesh, so no draining or precooking is required.
Baby russet potatoes (grated, as many as desired)
Oil or butter or both
Season to taste with salt and pepper
- Grate baby russet potatoes
- Heat a skillet or pan to medium heat and add a generous amount of oil
- Spread grated potatoes in a layer no thicker than one inch in the pan. Do not stir or agitate. Cover with a lid until the bottom appears toasted and crispy, then flip the hash browns. (This will likely need to be done in sections around the pan unless you’re just doing a small amount.)
- Add a little more oil / butter after flipping
- Once the 2nd side is toasted as well, season and serve!
Janaki’s favorite is to add some grated beets to the mix, but you could also try rutabagas, parsnips, or carrots, too. Feel free to get experimental with this one!
For the farm crew,
Charlie