It’s farm tour time–this Saturday from 10-noon, we’d love to see you!
It’s melon mayhem at the Food Farm! We recently set our new daily harvest record with a whopping 377 cantaloupe. That is more than 800 pounds of weight to pull from the field! We expect them to slow down soon, so enjoy it while it lasts.
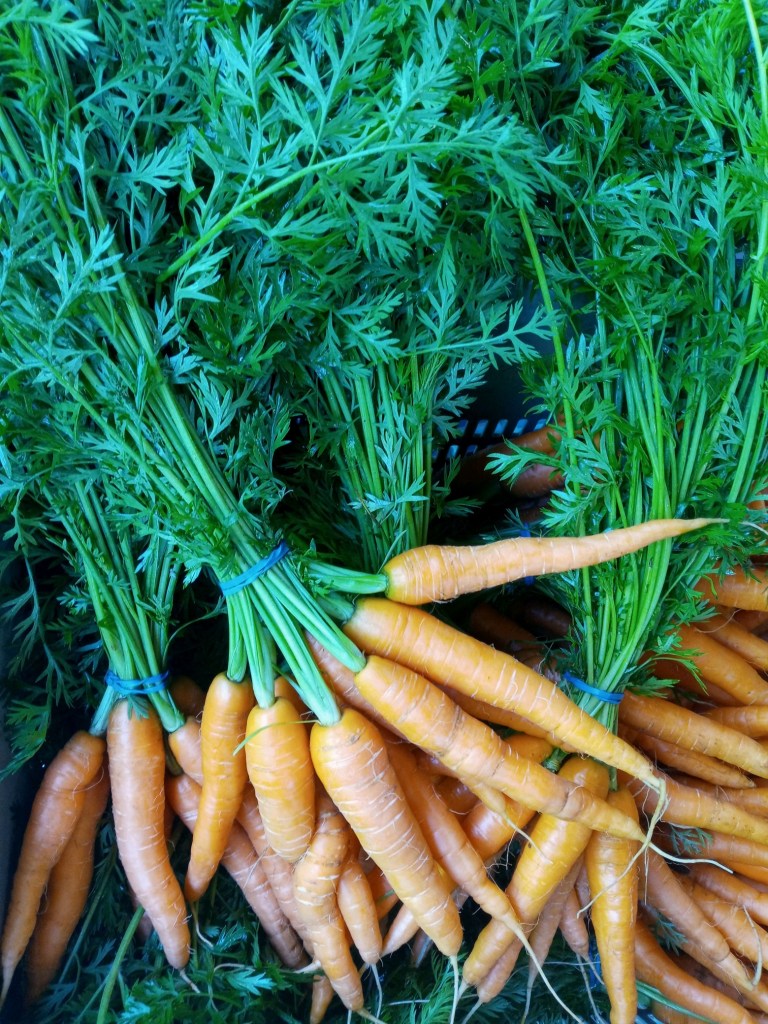
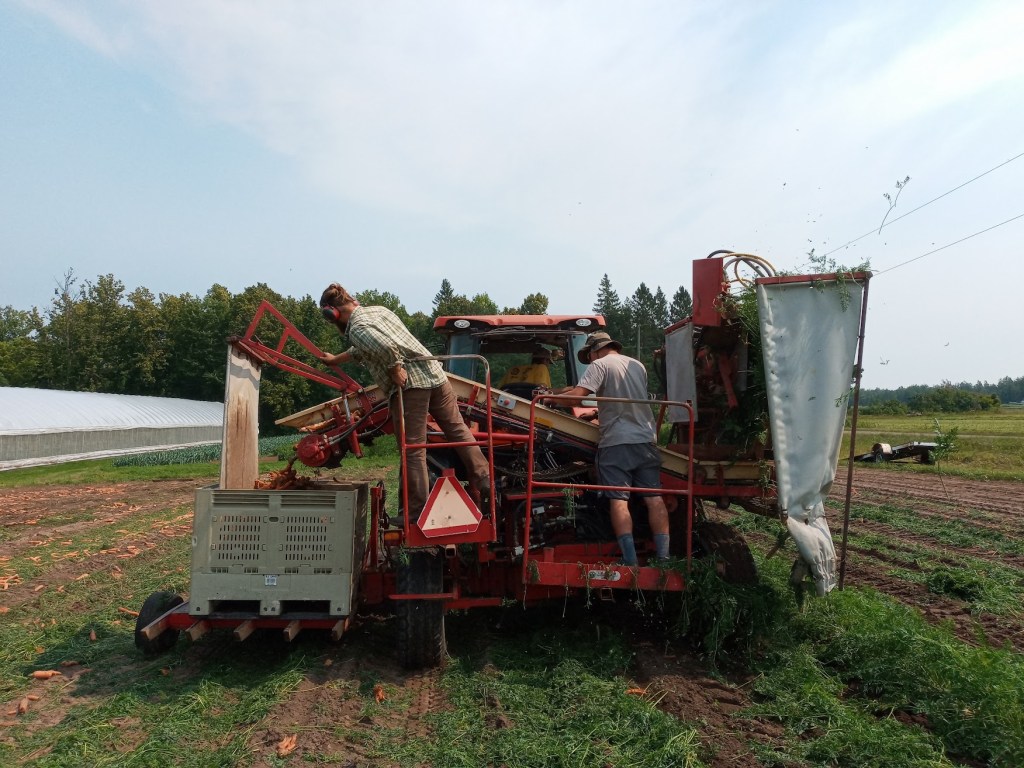
In other news that is orange, the crew christened a “new-to-us” carrot harvester. A lucky few climbed aboard as it took its maiden voyage through the fields, while the rest of the crew assembled at the washing stations. There were certainly some wrinkles to iron out, as there often is with any new piece of machinery, but by the end of the week the process seemed to be moving along rather quickly.

Beans – Broccoli – Carrots – Cilantro – Cucumbers – Dill – Greens Mix – Melons
Onion – Bell Peppers – Hot Peppers – Potatoes – Tomatoes – Zucchini
Usually the melons are best enjoyed straight up in all their glory. That way you can fully appreciate the depth of their flavor. This week though, because there are so many, I thought it would be nice to include a recipe with them in it. It does include basil, which we are not sending this week… I’m hoping some of you still have a few sprigs leftover from last weeks share, or can maybe snag some from a friendly neighbor’s garden.
P.S. The vinaigrette would also go great on the greens mix in today’s share 🙂
Melon Caprese Salad, from Half Baked Harvest
Honey Herb Vinaigrette:
1/4 cup extra virgin olive oil
2 tablespoons honey
Juice of 1 lemon
1 tablespoon white balsamic
1 cup fresh basil
1 tablespoon toasted pine nuts
1 pinch flaky sea salt
- To make the vinaigrette, combine all ingredients in a blender and blend until smooth.
3 balls fresh burrata cheese
4 cups melon balls
1/2 cup fresh basil leaves
2 tablespoons fresh mint
6 slices prosciutto
- Break the burrata in half and place each half in the bottom of a small bowl or glass (about 8 ounces). Over the burrata, layer the melon balls, basil, and mint. Top with a slice of prosciutto.
- At this point the salad can be covered and placed in the fridge for up to 6 hours.
- Before serving, drizzle over the vinaigrette.
Blistered Green Beans w/ Tomato-Almond Pesto, from Bon Appétit
1 1/4 cups diced tomatoes
1/8 cup unsalted, roasted almonds
1 garlic clove, grated
1 tablespoons olive oil
1 tablespoons Sherry vinegar or red wine vinegar
1/2 teaspoon paprika
Pinch of cayenne pepper
Kosher salt, freshly ground pepper
1 1/2 teaspoons vegetable oil
1 pounds green beans, trimmed
- Preheat oven to 450°F. Roast tomatoes on a rimmed baking sheet, turning once, until blistered and lightly charred, 15-20 minutes. Let cool slightly. Finely chop almonds in a food processor. Add garlic, olive oil, vinegar, paprika, cayenne, and half of tomatoes; pulse to a coarse pesto consistency. Season with salt and pepper.
- Heat 3/4 tsp. vegetable oil in a large skillet over medium-high. Add half of beans; cook, undisturbed, until beginning to blister, about 2 minutes. Toss and continue to cook, tossing occasionally, until tender, 7–9 minutes; season with salt and pepper. Spread beans out on a platter; let cool. Repeat with remaining vegetable oil and beans.
- Toss beans with pesto; season with salt and pepper if needed. Add remaining tomatoes and transfer to a platter.
Summer-Vegetable Casserole, from Food & Wine
Extra-virgin olive oil, for drizzling
1/2 pound potatoes, peeled and sliced 1/4 inch thick
Salt and freshly ground pepper
1 bell pepper, thinly sliced
1 small onion, thinly sliced
1 large garlic clove, minced
1 teaspoon thyme leaves
1/2 pound tomatoes, sliced 1/4 inch thick
1 medium zucchini, sliced on the diagonal 1/4 inch thick
3 tablespoons freshly grated Parmigiano-Reggiano cheese
- Preheat the oven to 350°. Coat a 9-inch baking dish with olive oil. Spread the potatoes in the dish in an even layer; drizzle with oil and season with salt and pepper. In a bowl, combine the bell pepper, onion, garlic and thyme and season with salt and pepper. Arrange two-thirds of the bell pepper mixture over the potatoes and drizzle with oil. Top with the tomatoes and the zucchini; drizzle with oil and season with salt and pepper. Cover with the remaining bell pepper mixture and sprinkle with the cheese.
- Cover the casserole with foil and bake for 40 minutes. Increase the oven temperature to 425°. Uncover the casserole and bake for about 20 minutes longer, until the vegetables are tender and glazed on top. Let stand for 10 minutes. Serve warm.
For the farm crew,
Charlie