Silly me, I thought it was safe to finally pack up the long underwear and winter hats! Clearly it was too soon because last week I was in the basement digging them back out. Thankfully it was a busy week to help keep us moving and warm.
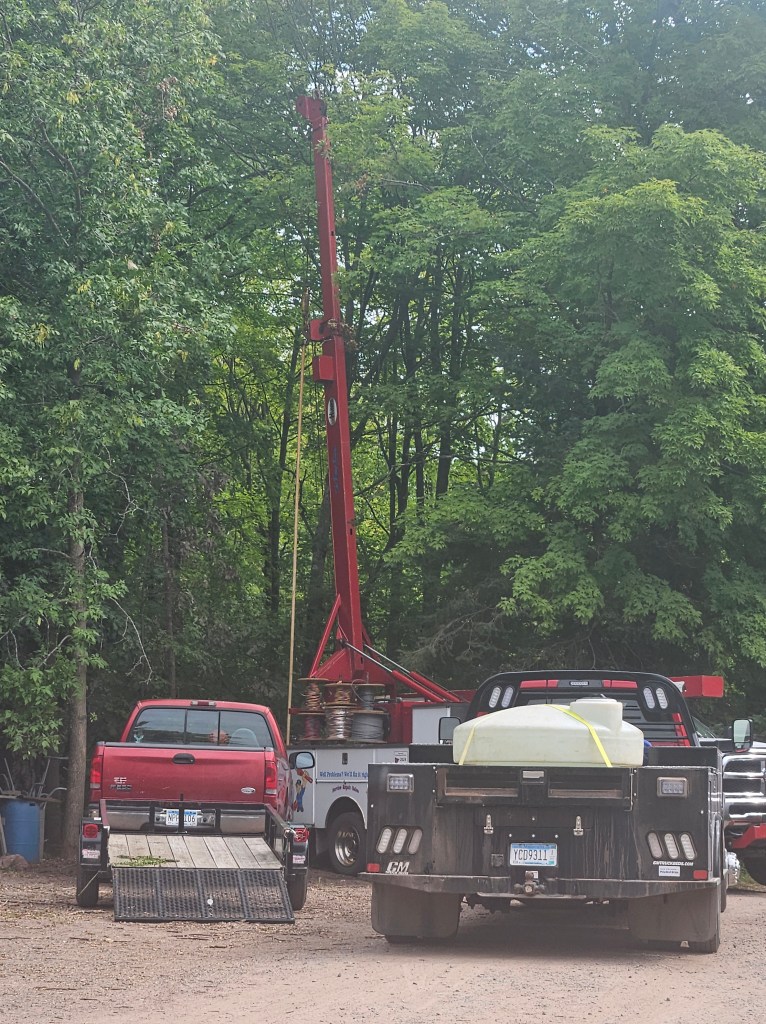
If you were around last summer, you know that we were lucky enough to recieve a grant that helped us purchase a caterpillar tunnel. We usually plant half of our tomatoes in a greenhouse, and half of our tomatoes outside in the field. We used the tunnel last year for an experiment to see how tomatoes would perform and taste if planted in outside fields, while being provided the environmental protections of a tunnel. It was an interesting experiment that provided us with surprising and delicious results. Like all good experiments, doing it once doesn’t provide sufficient evidence, so were trying it again this year. Our wonderful crew worked together a few weeks ago to take the tunnel down from last year’s field. Last week, we worked together again to put it up in its new home for the year.

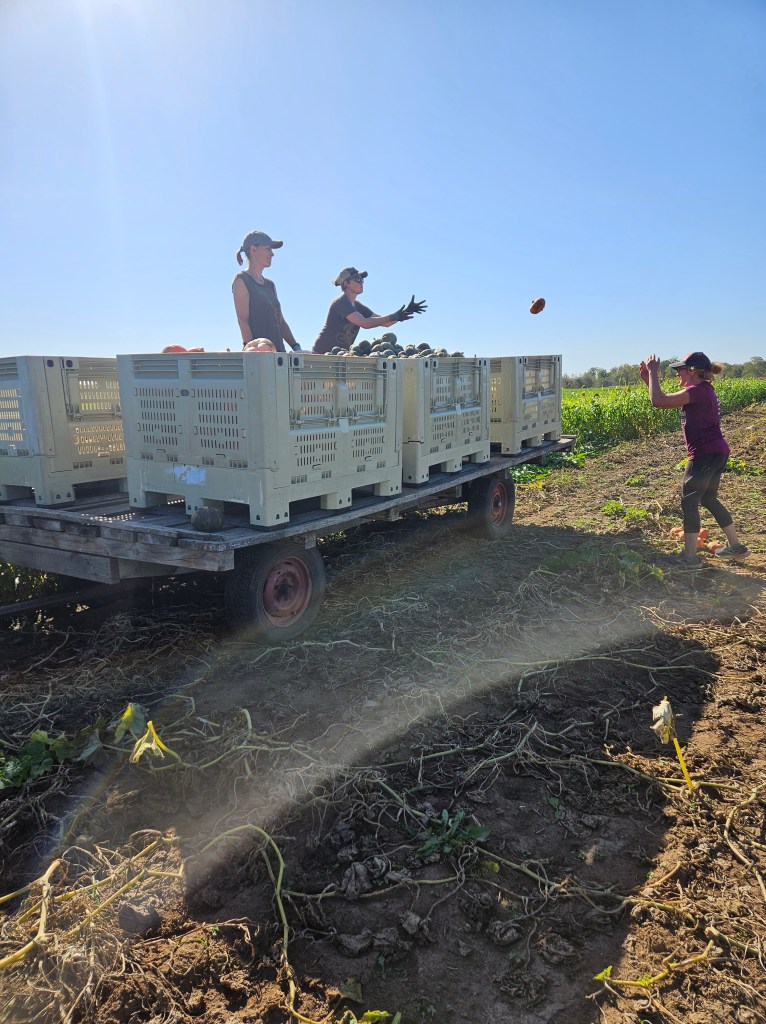
You might be wondering, why do all that work to move it? On the farm, we are strong believers in crop rotation. This means we don’t plant the same crop, in the same spot, two years in a row. Crop rotation is important because it allows for improved soil health, and better management of pests and diseases. Crop rotation is a simple way for us to minimize our pesticide and fertilizer usage. As an organic farm, we always do our best to find natural ways to help our plants.
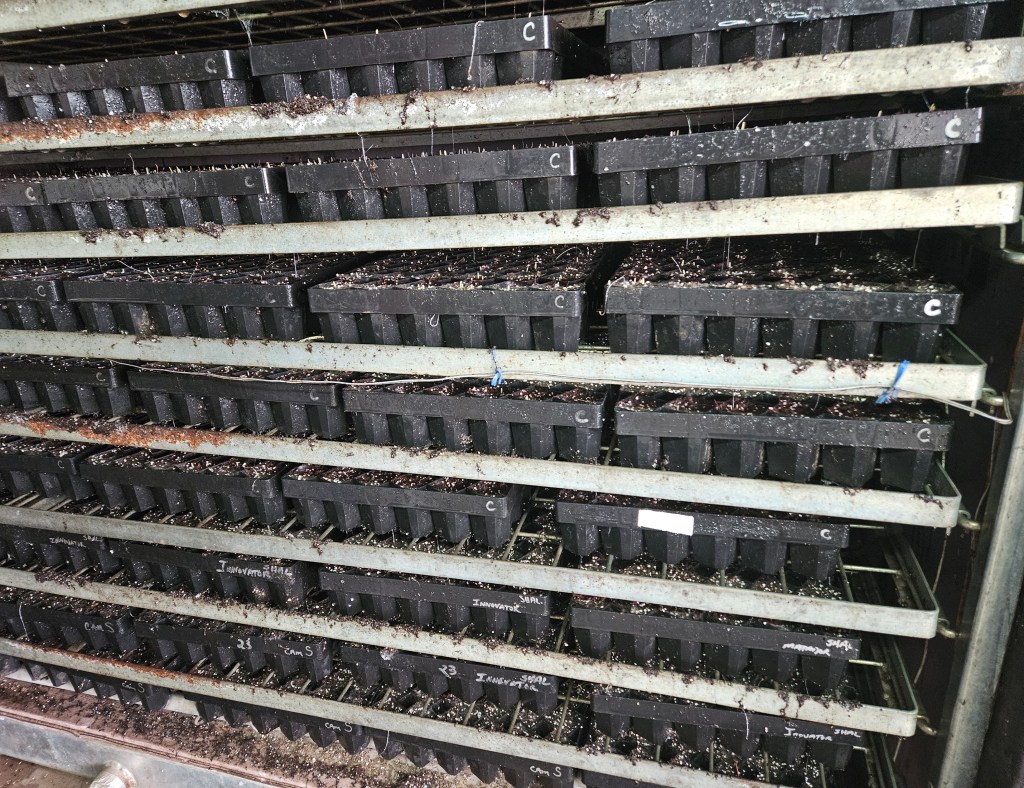
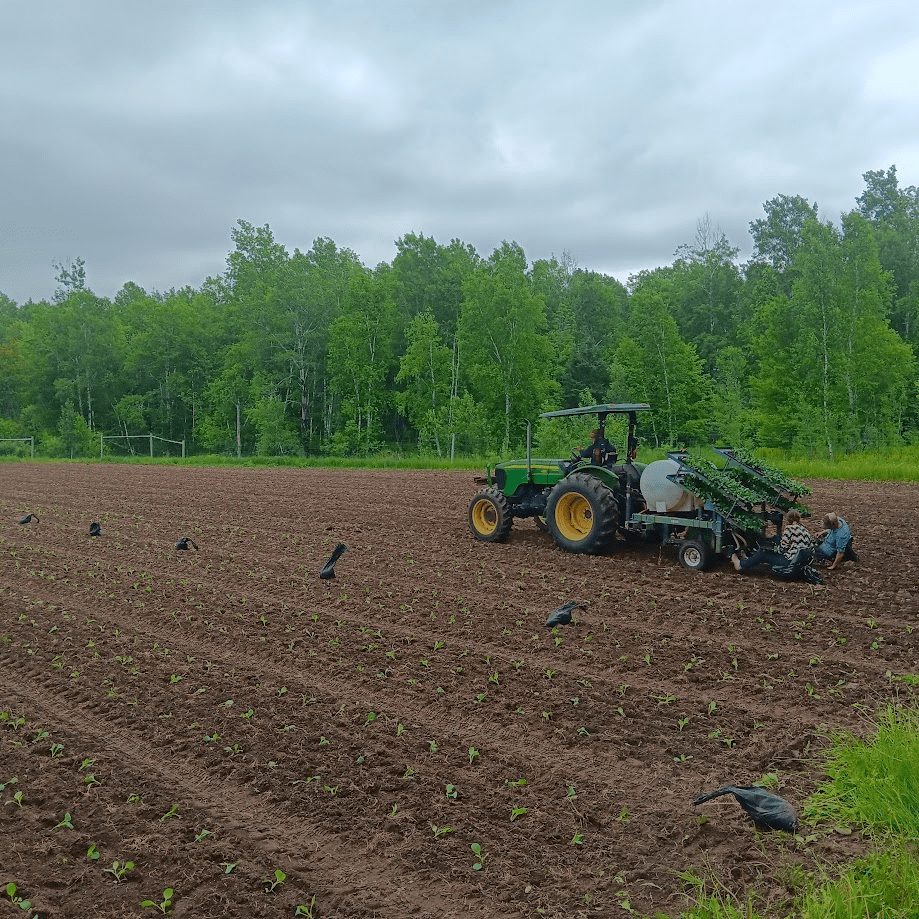
Thankfully this was the second time most of us have put the tunnel together, so it didn’t take nearly as long as it did last year. This left us with enough time to get our biggest brassica planting in the ground. Our 4th planting each year is by far the largest of our 7 brassica plantings. This one is over 12,000 plants! It includes 7 varieties of cabbage, our brussels sprouts, and 4 varieties of broccoli. The greenhouse now looks very empty without hundreds of trays of plants in it. That must mean it’s time for us to do another seeding to fill it all back up.
This week looks like our rain gear is going to be put to the test. The vegetables will be so happy!
In your share this week:
Turnips – Lettuce – Green Onions – Pac Choi – Greens Mix – Rhubarb
If you aren’t a turnip lover because they’re too spicy, try roasting them with butter and honey (or maple syrup).I recommend quartering them, tossing in butter and honey, and roasting at 425° for about 15 minutes. I don’t have exact measurements because when it comes to butter and honey, I think it’s best to measure with your heart! This also works well on radishes if you are still searching for ways to use those up from last week.

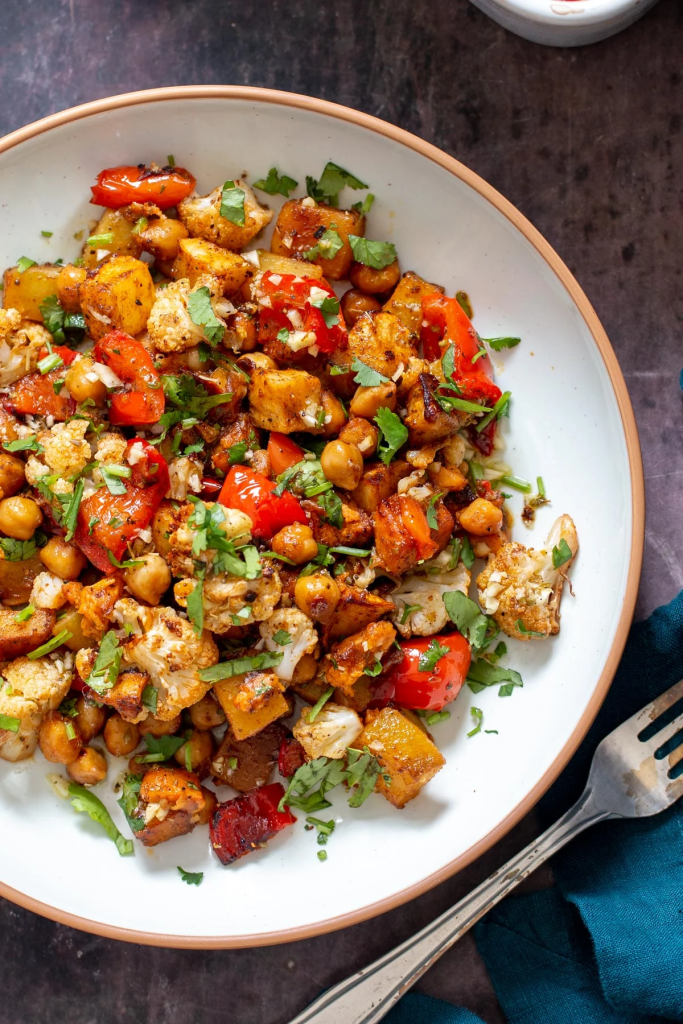
Another great way to use up some veggies from this week (and any leftovers from last week) is with this Spring Salad With Pickled Vegetables. It’s light, bright, and fully customizable. Try using a different mix of greens, or pickling different vegetables for endless possibilities.

If you’re looking for a new way to use up some lettuce, give this Romaine Salsa Verde a try. Use this to top your favorite grilled protein such as steak, chicken, or shrimp. For a lighter option, use it as a spread on your next sandwich, or a dipping sauce for a black bean and sweet potato quesadilla.
For the farm crew,
Jennifer