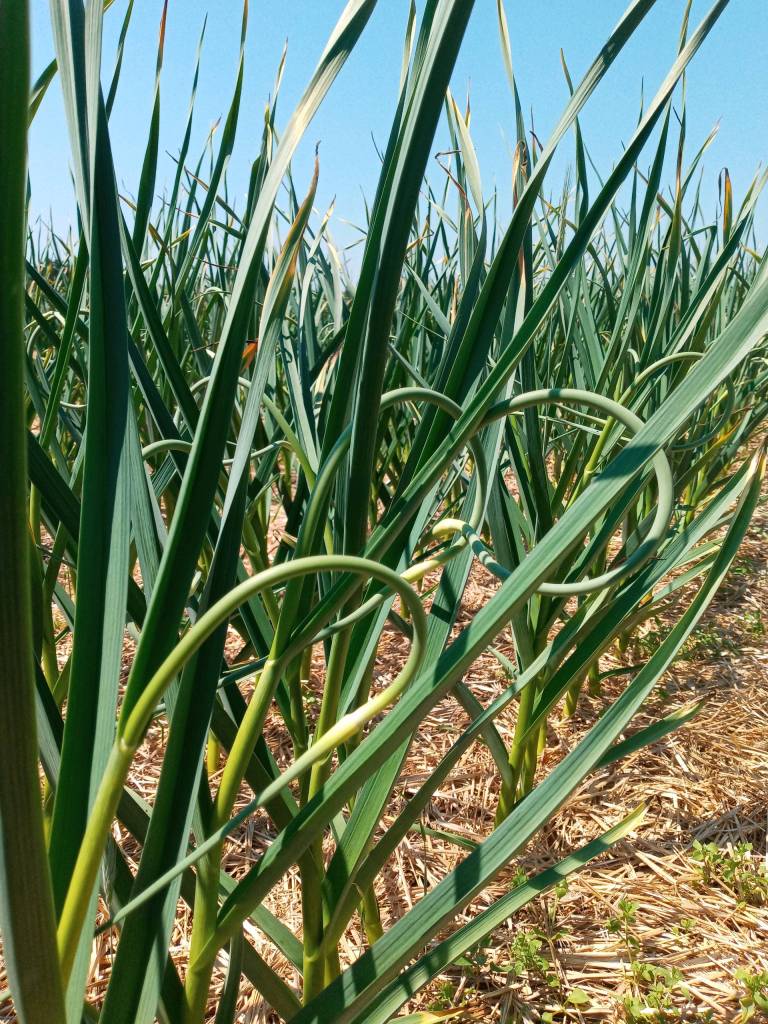
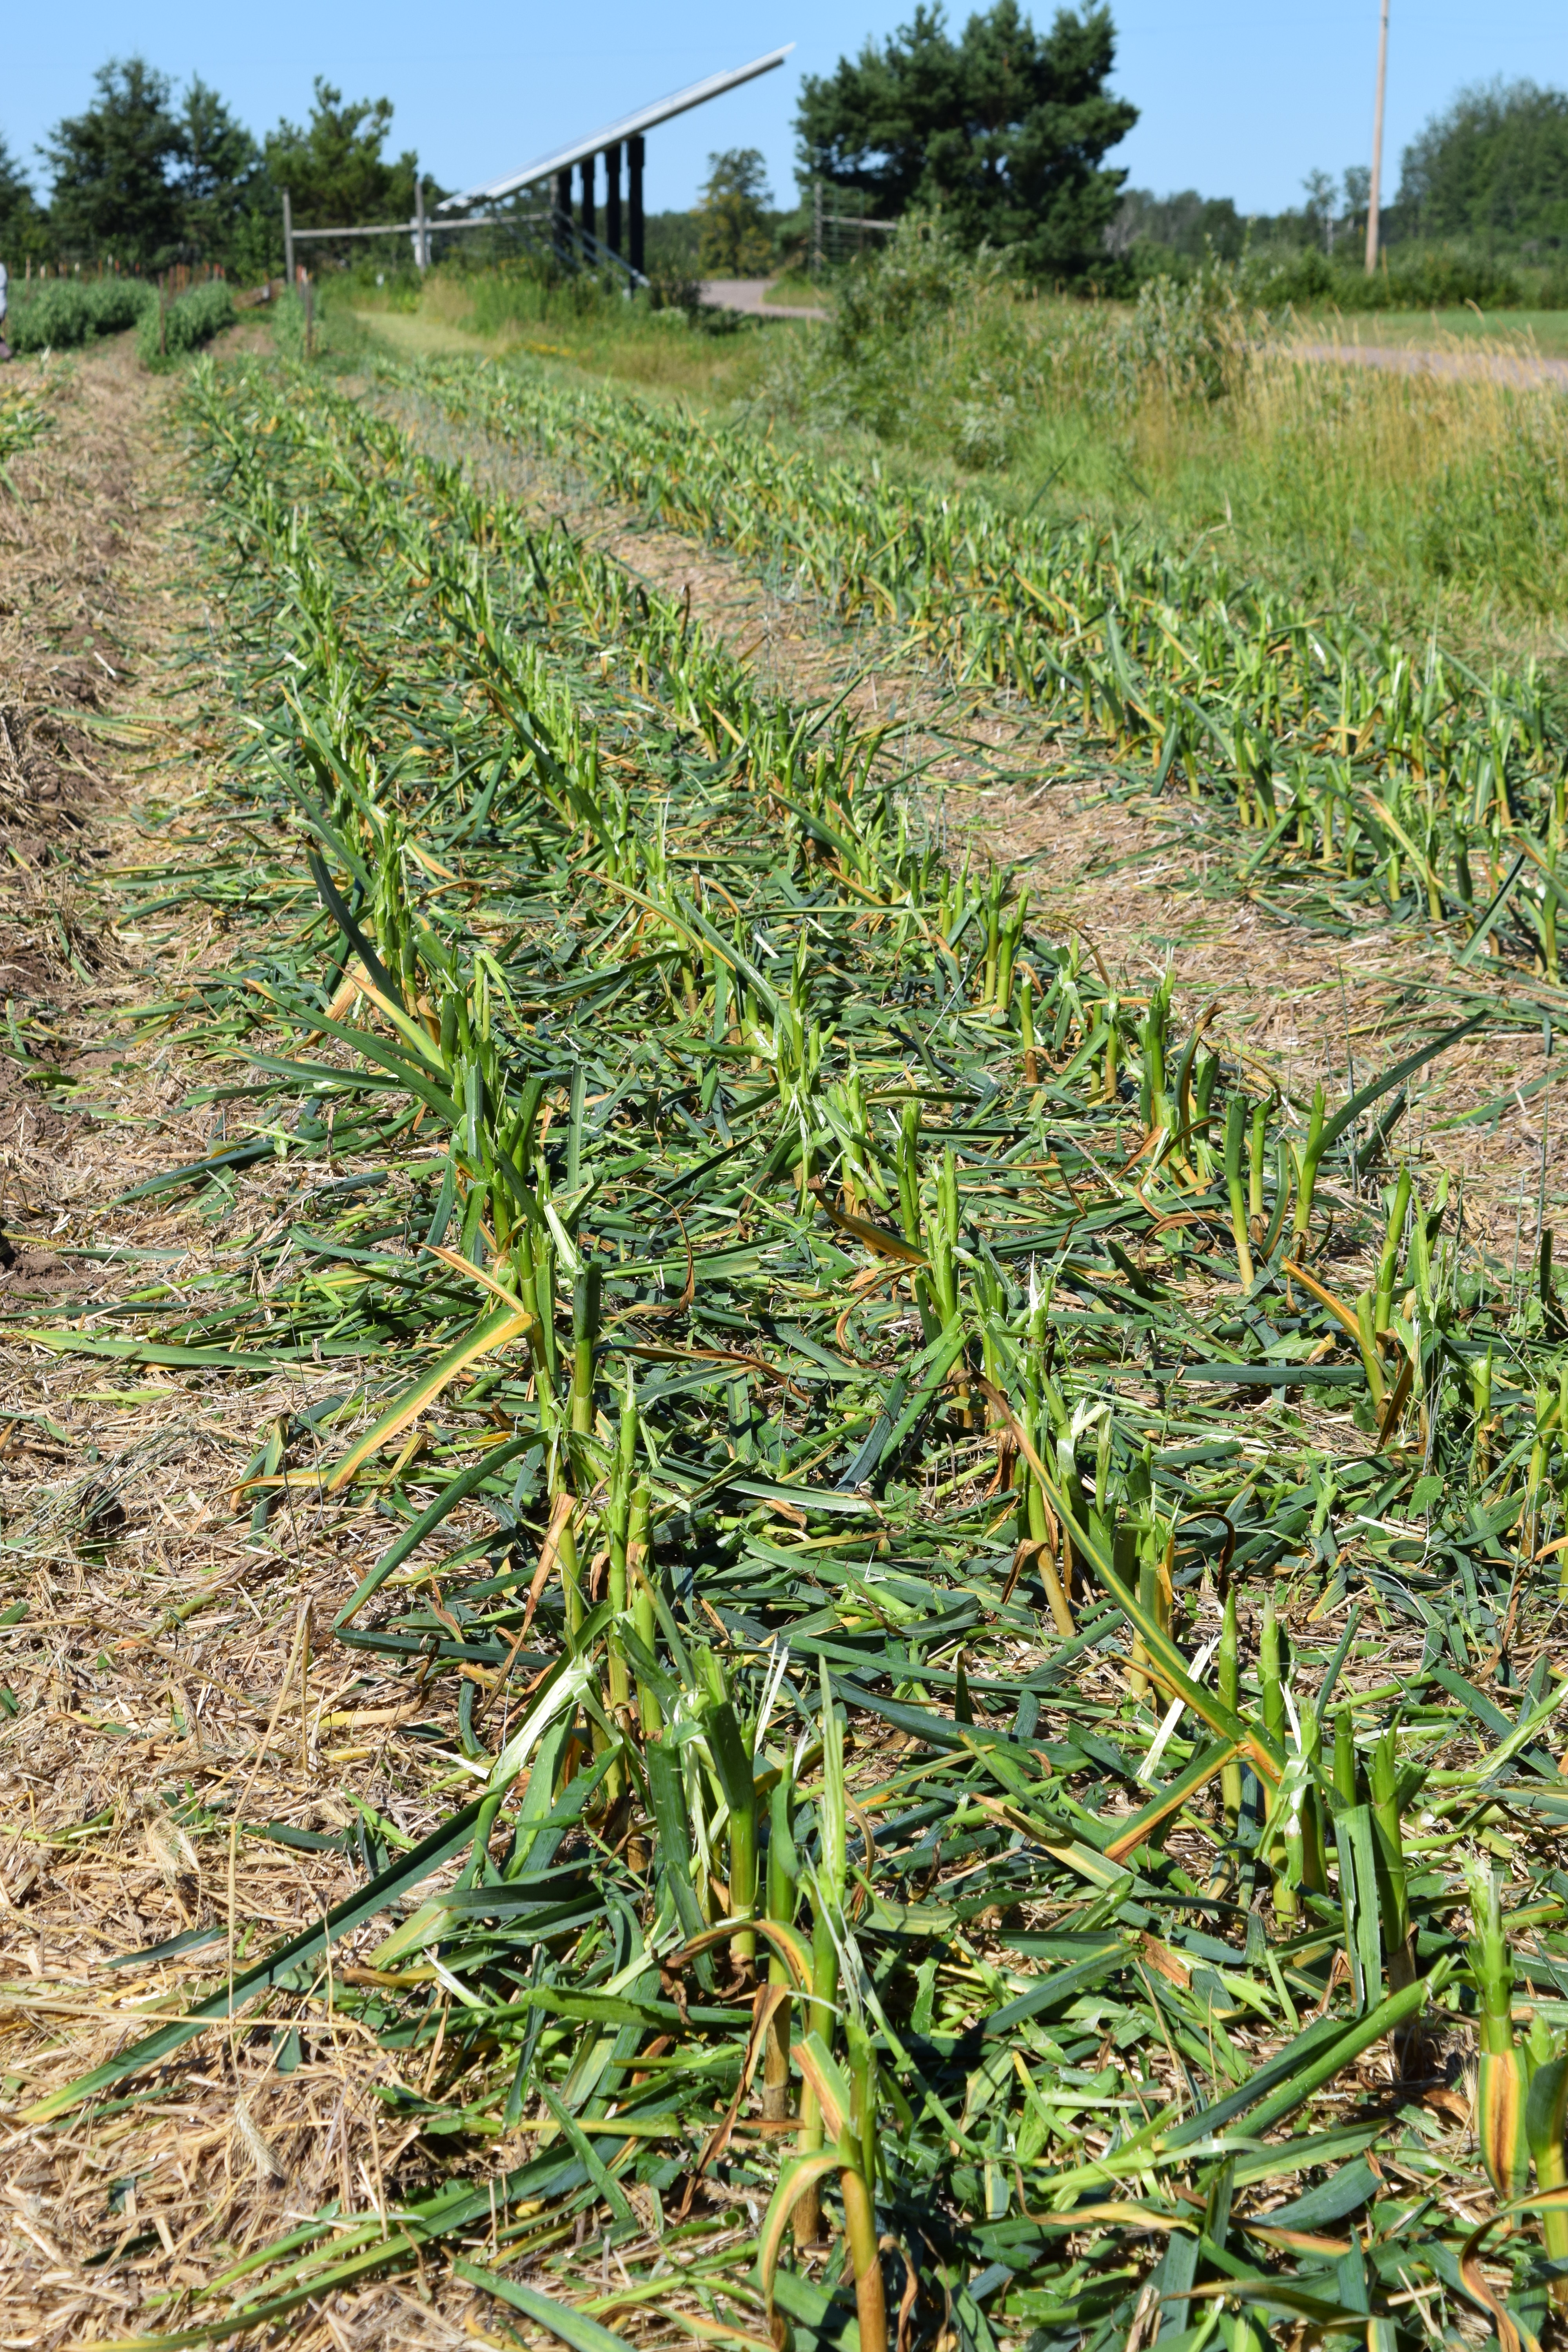
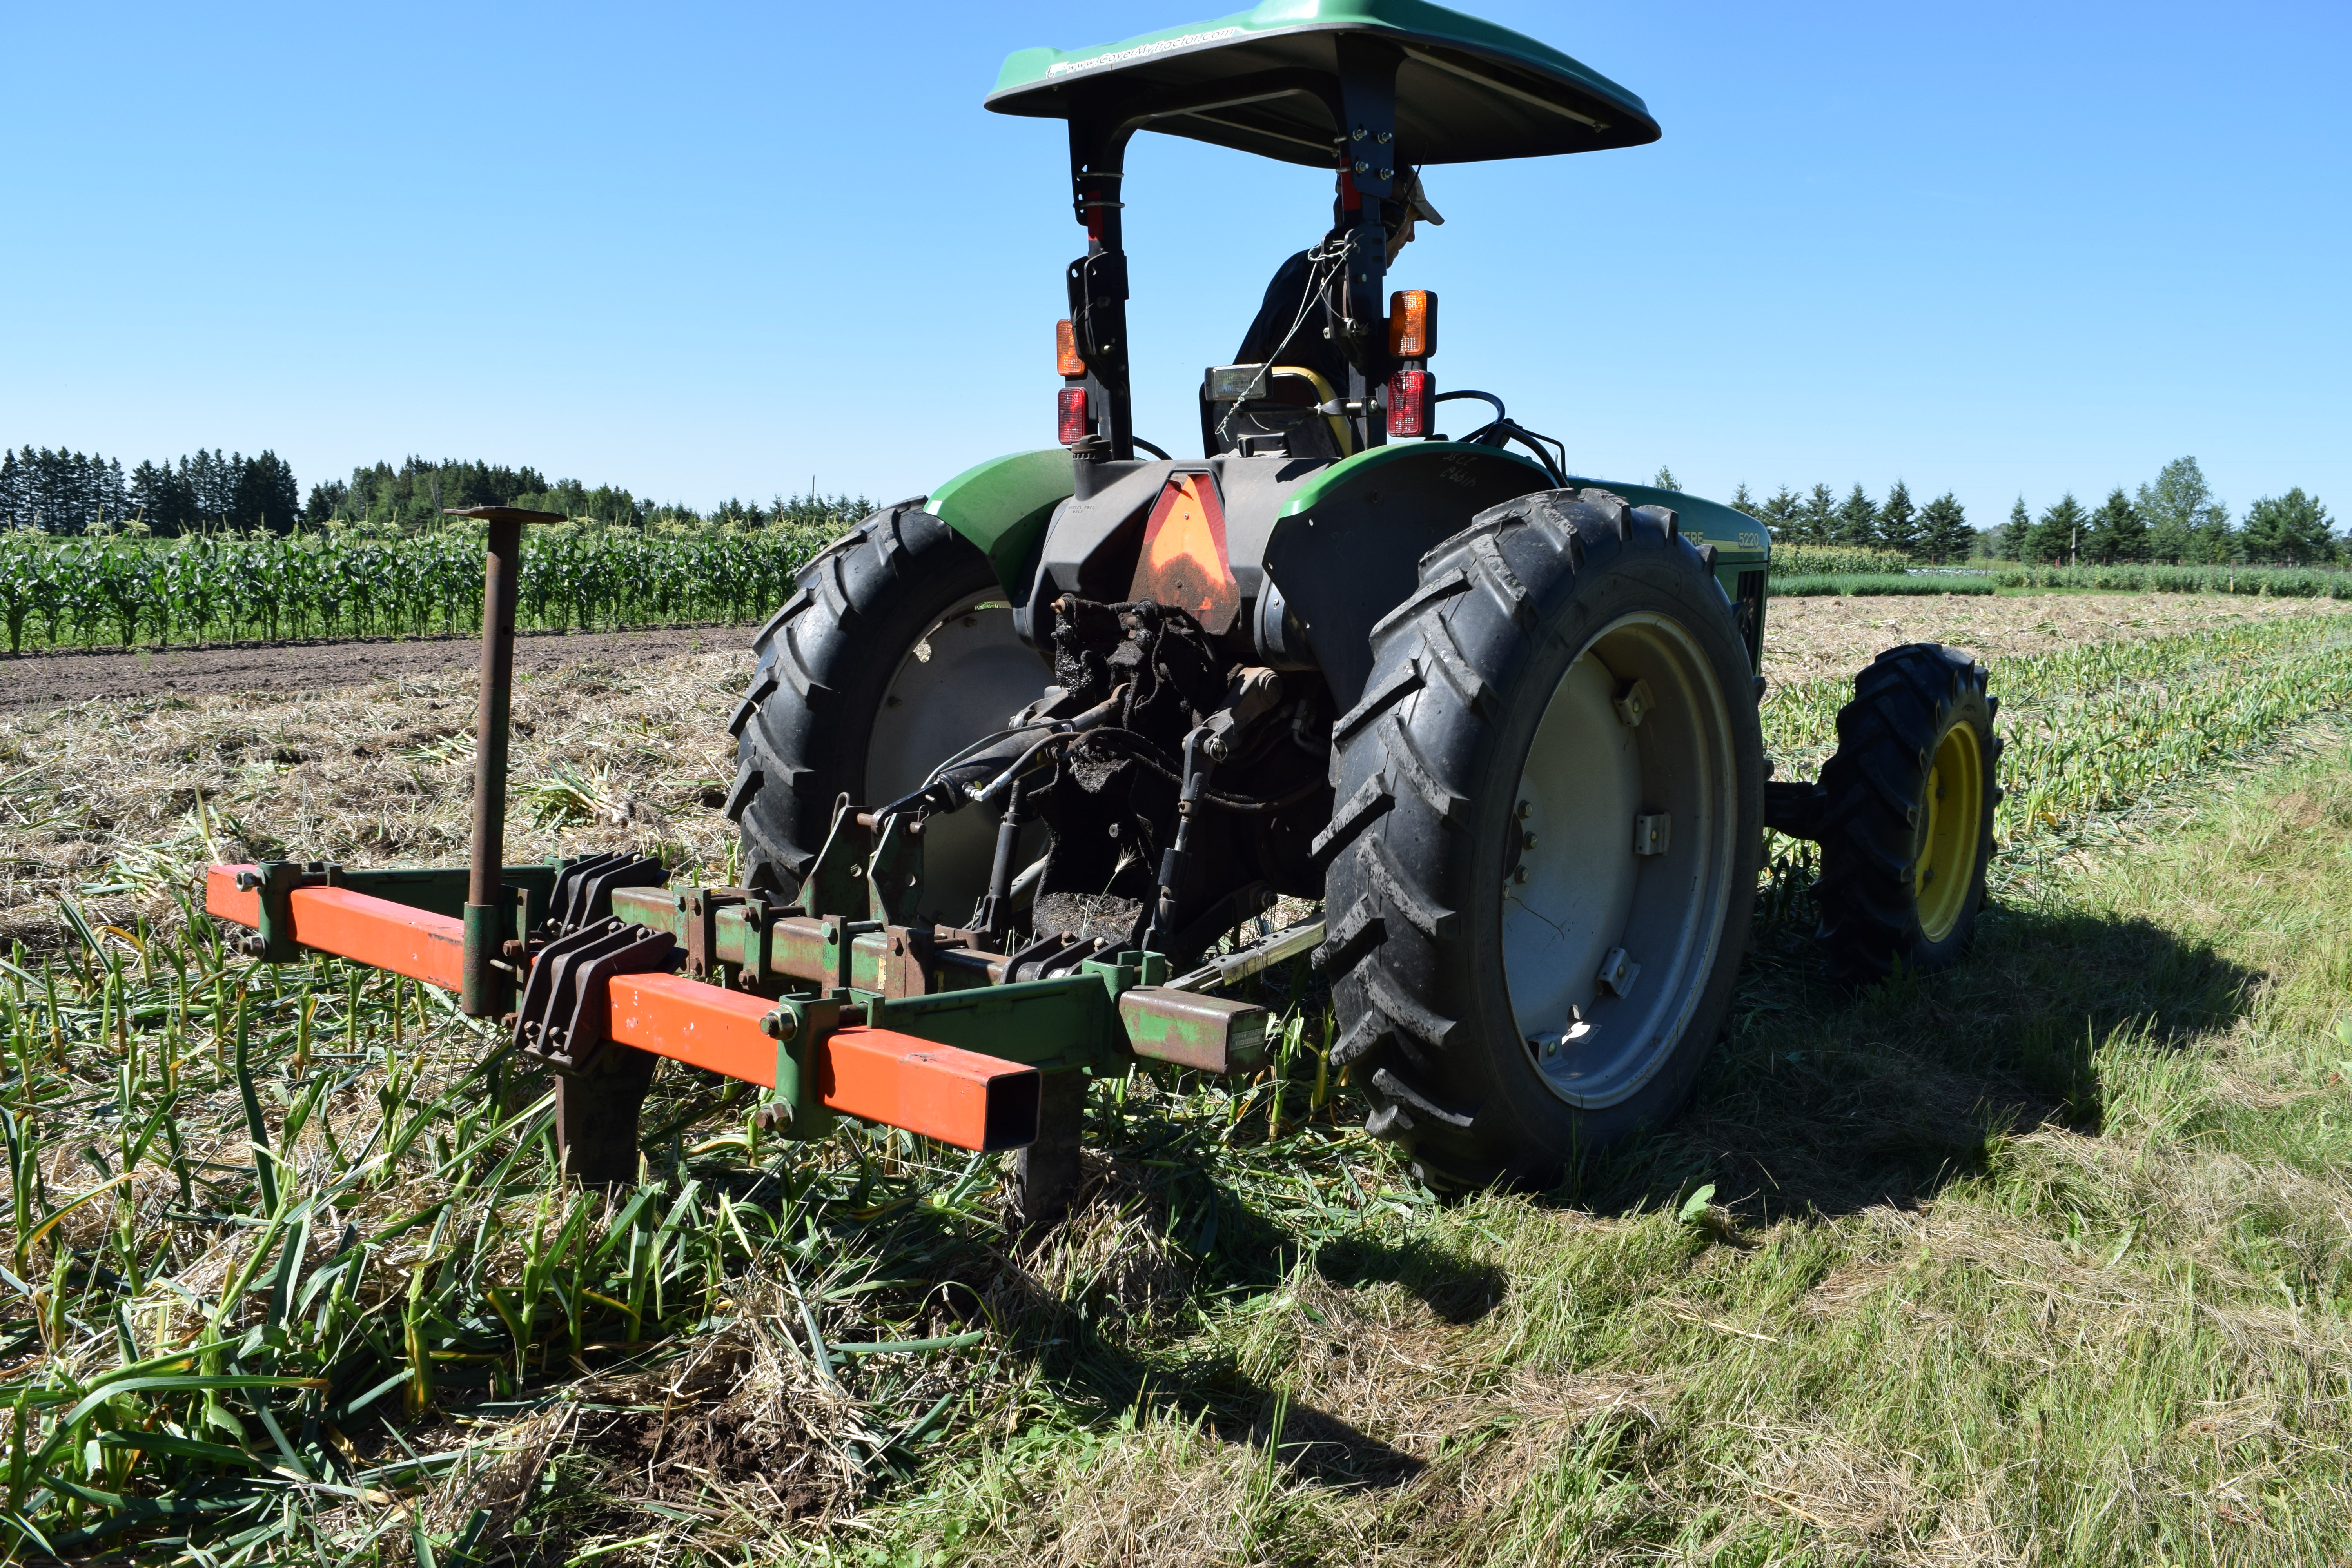
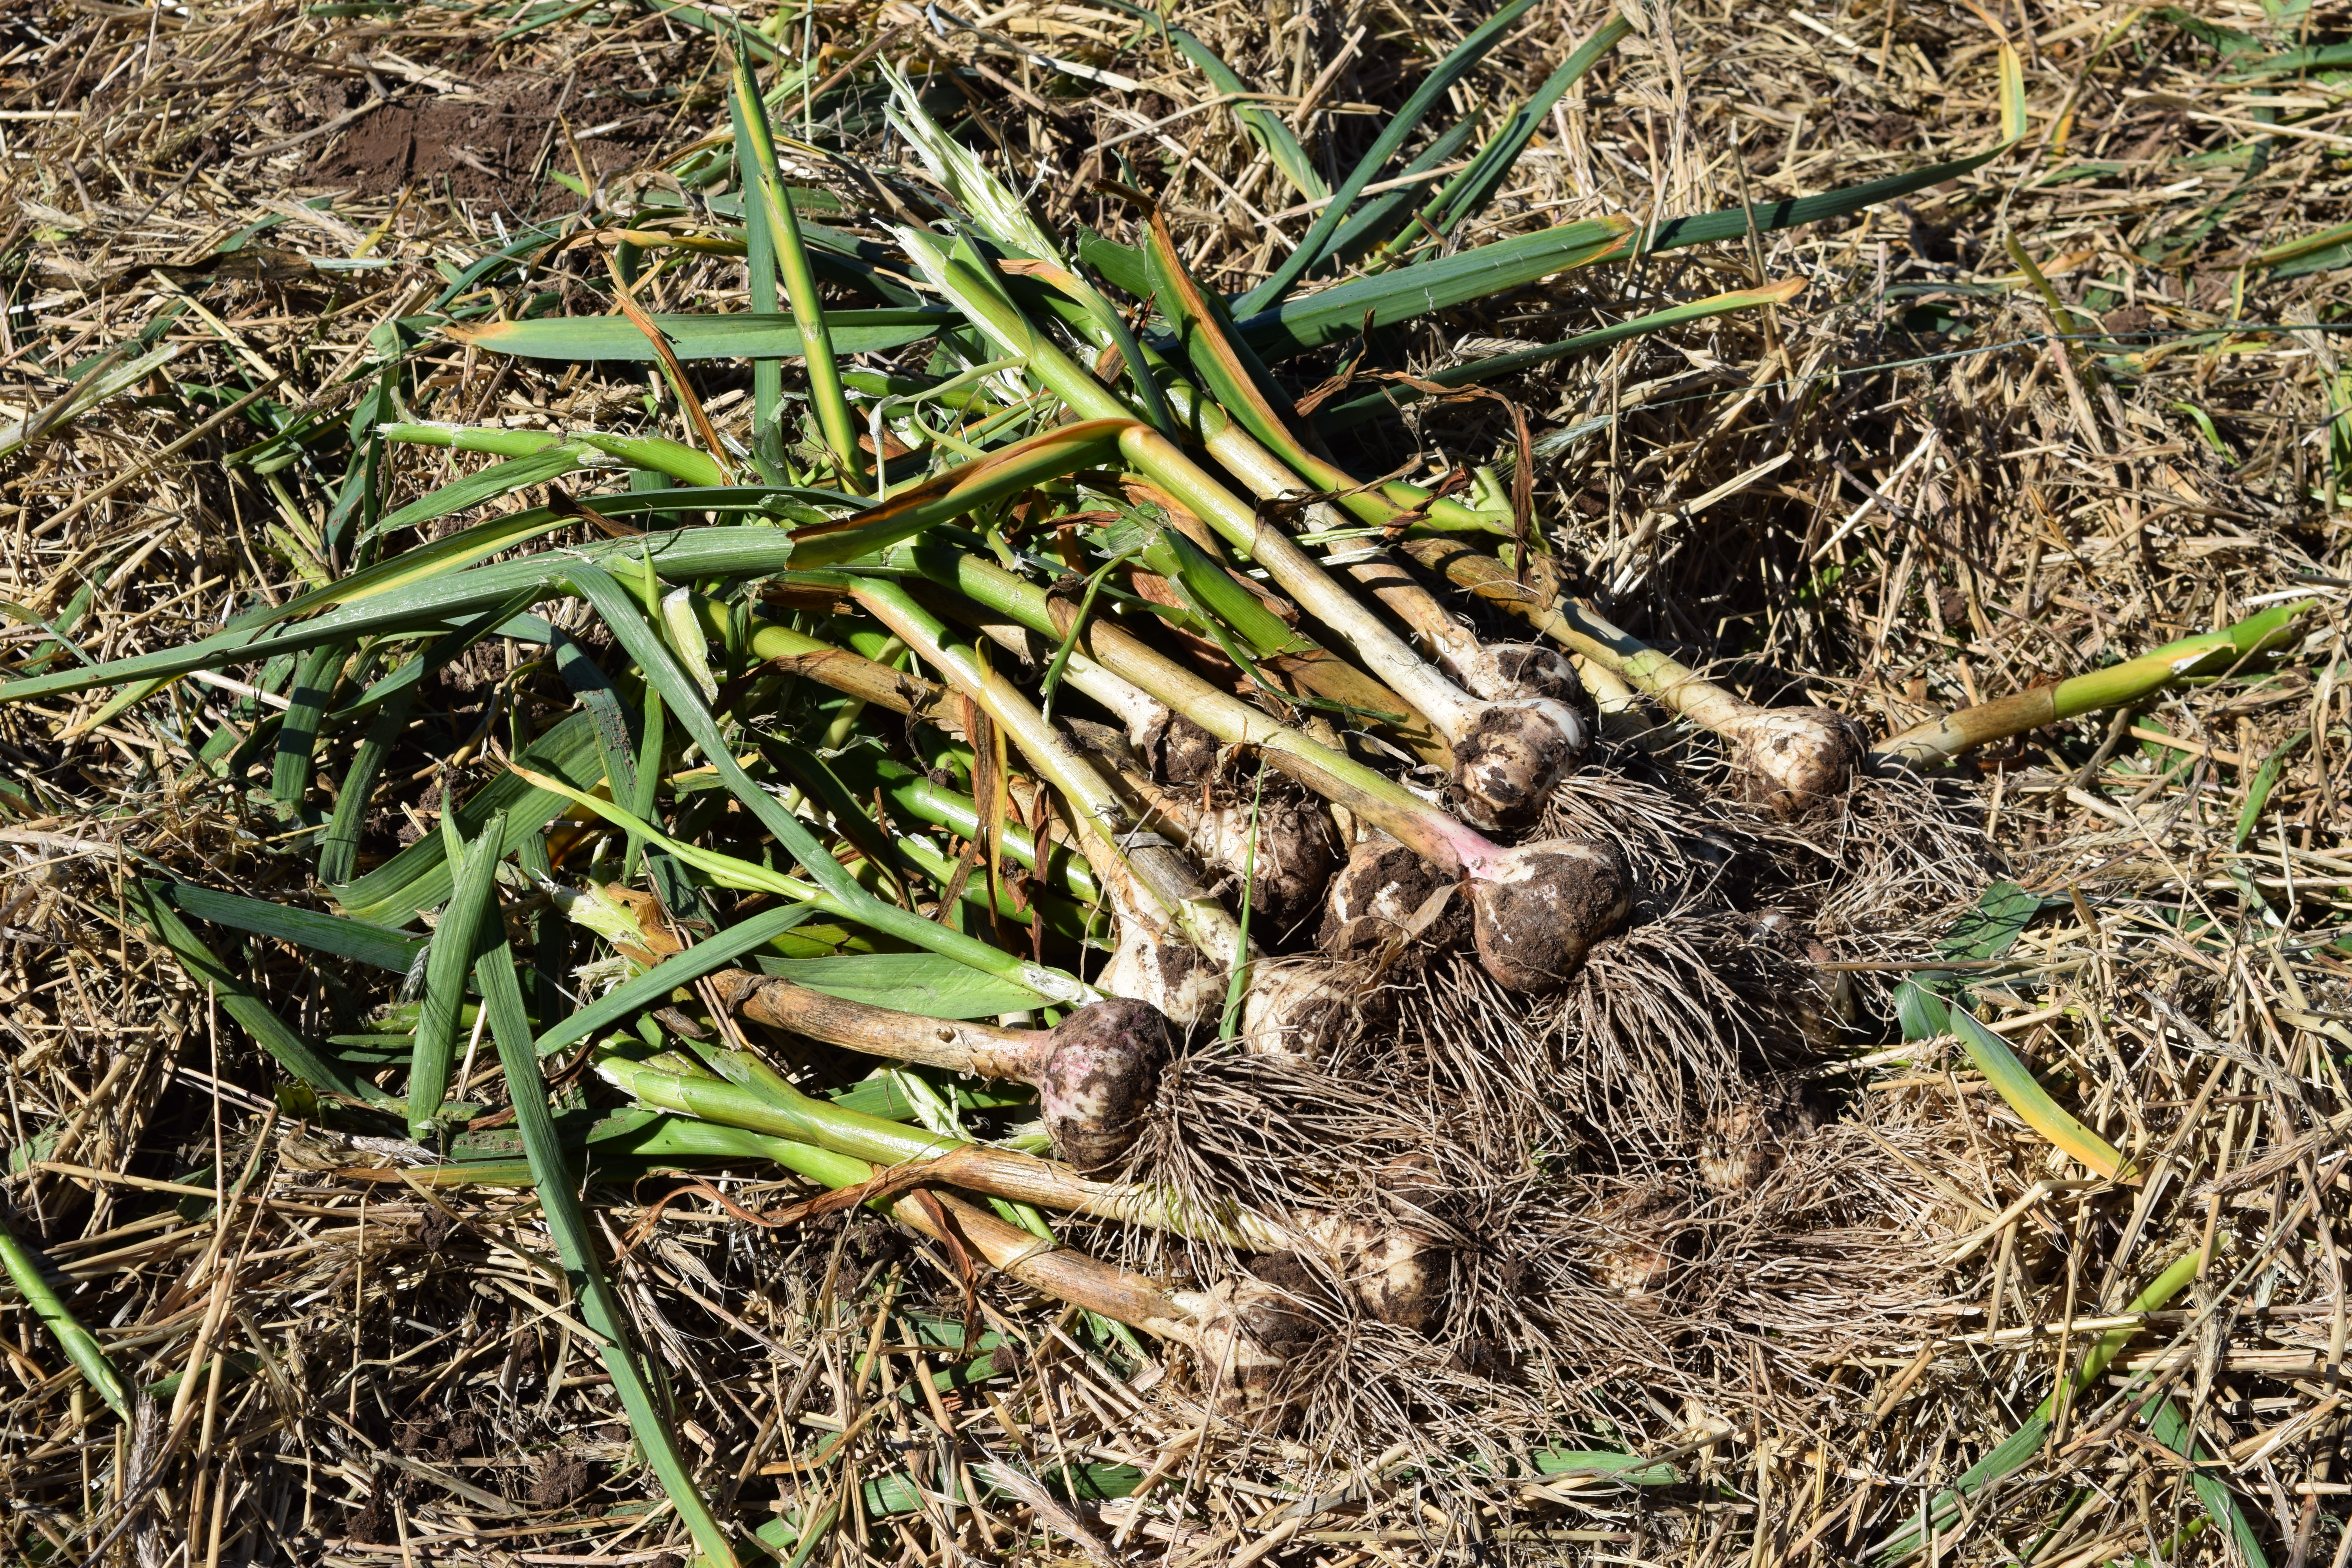
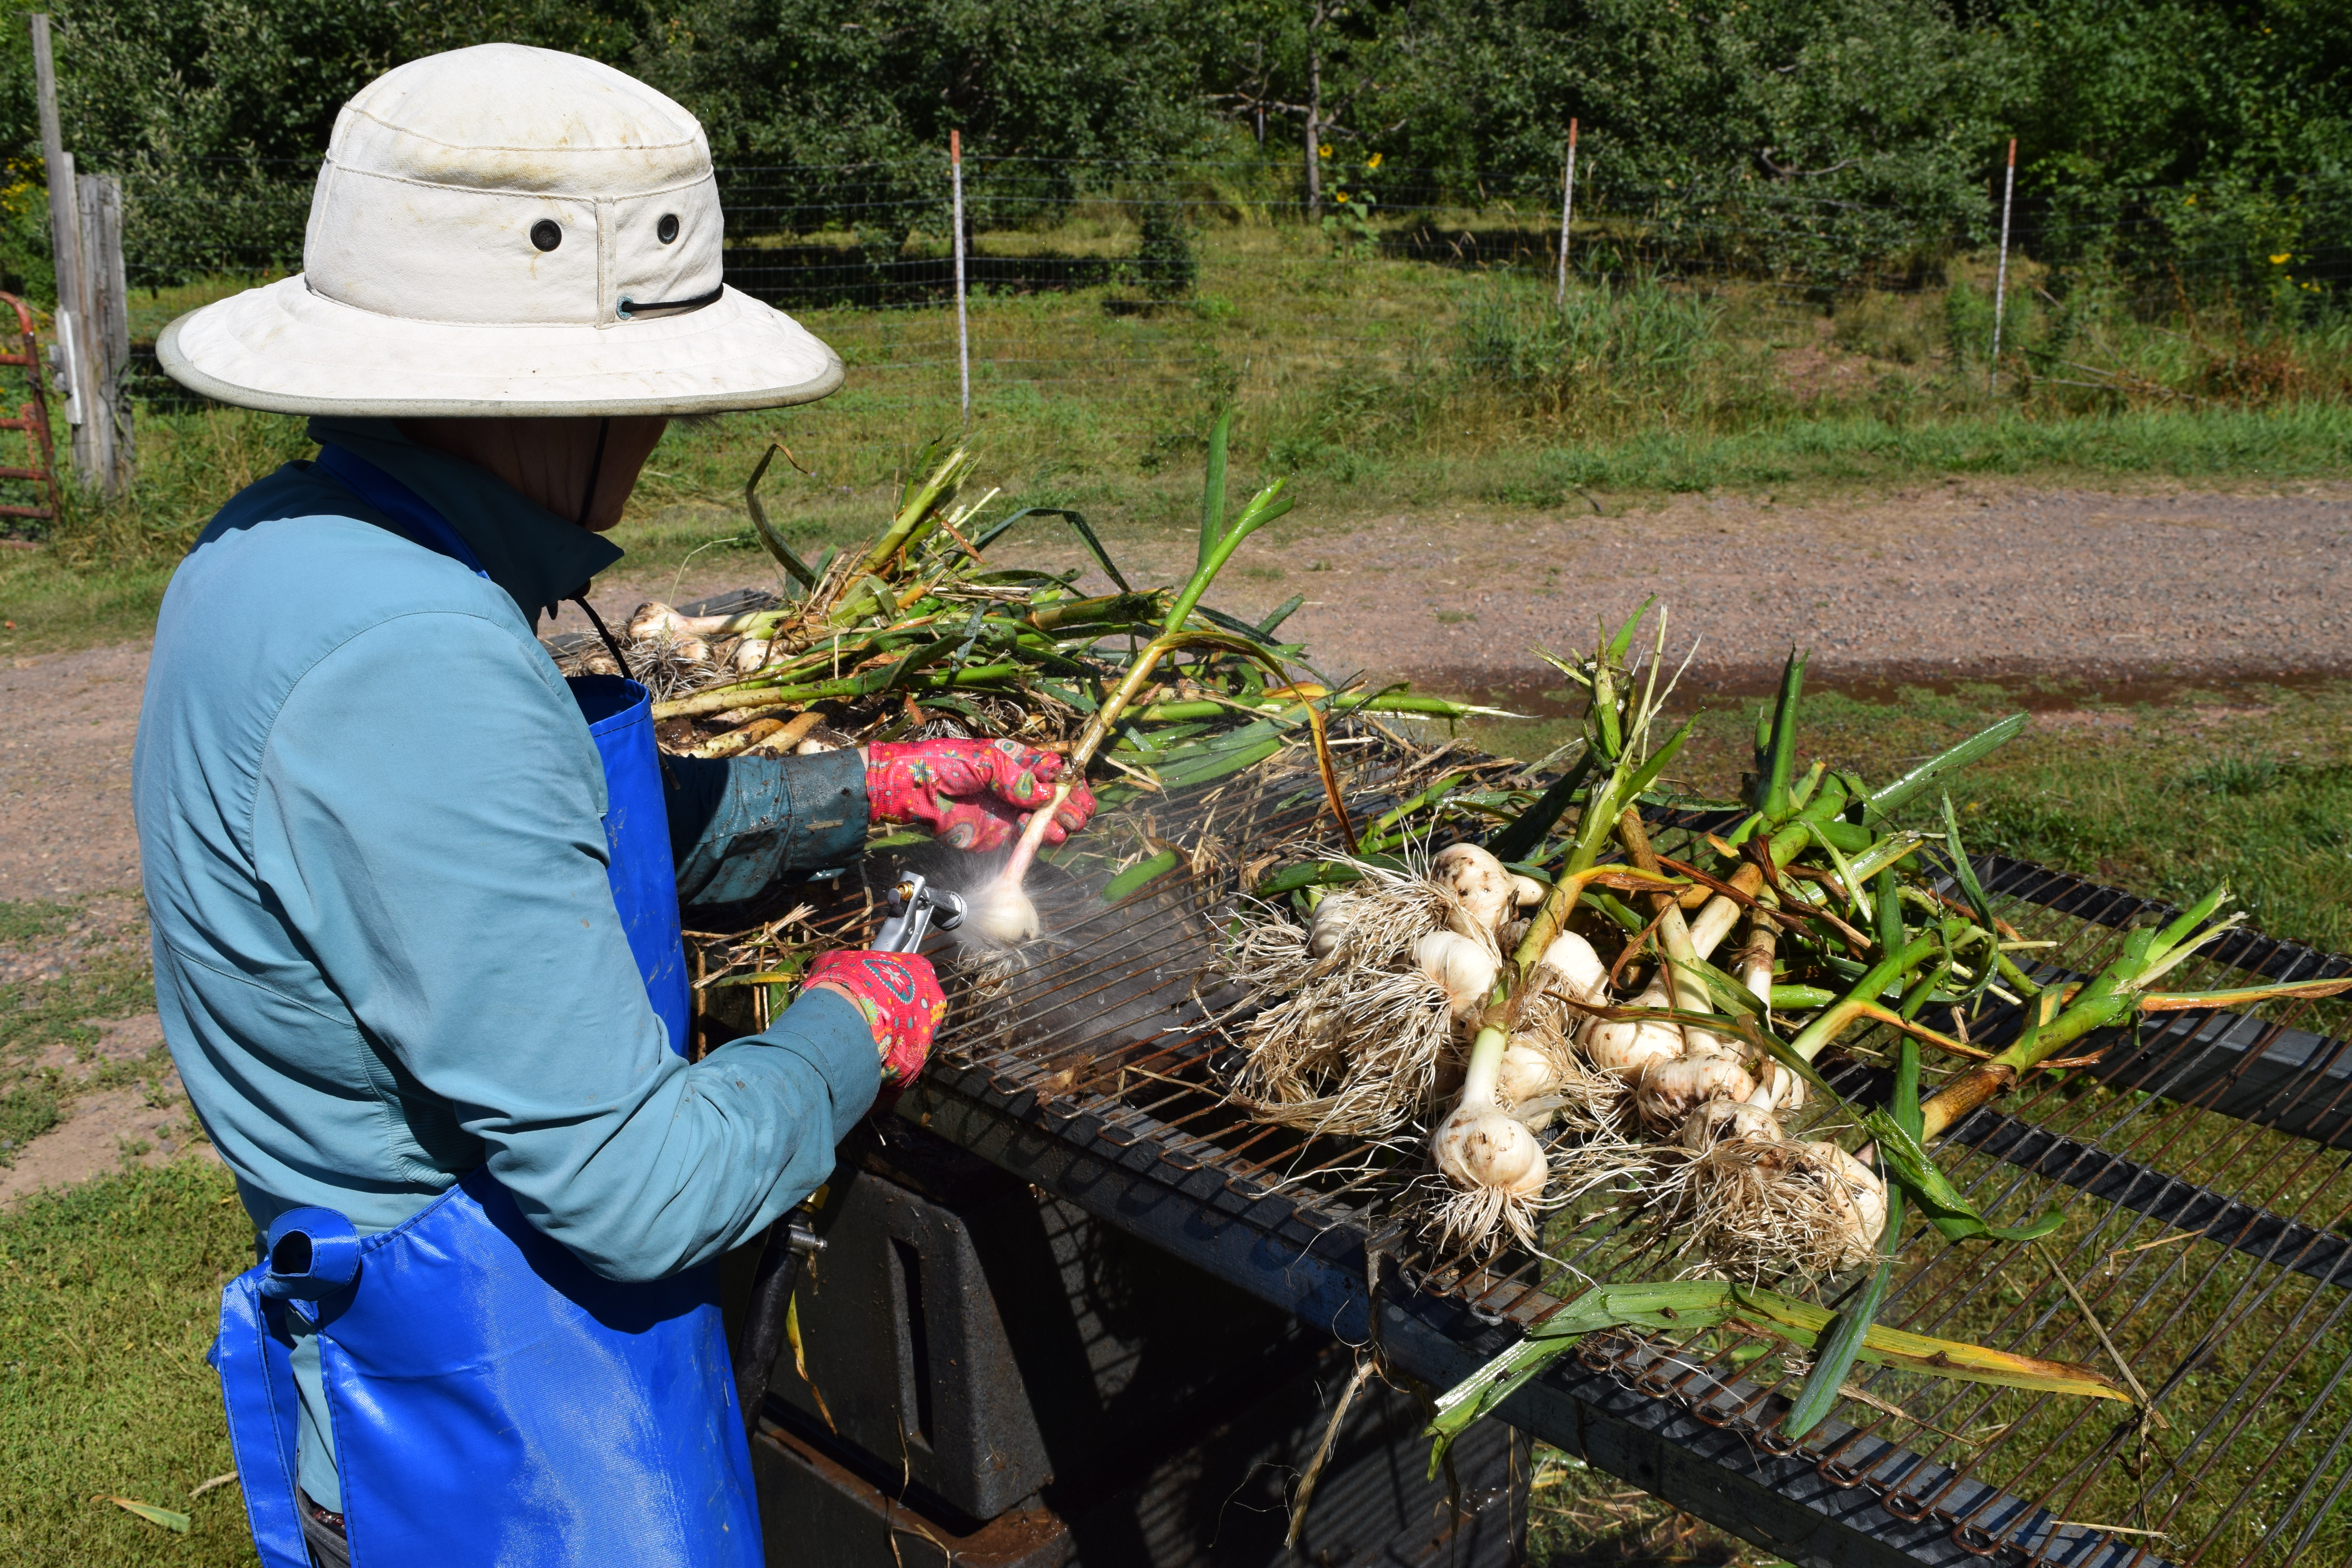
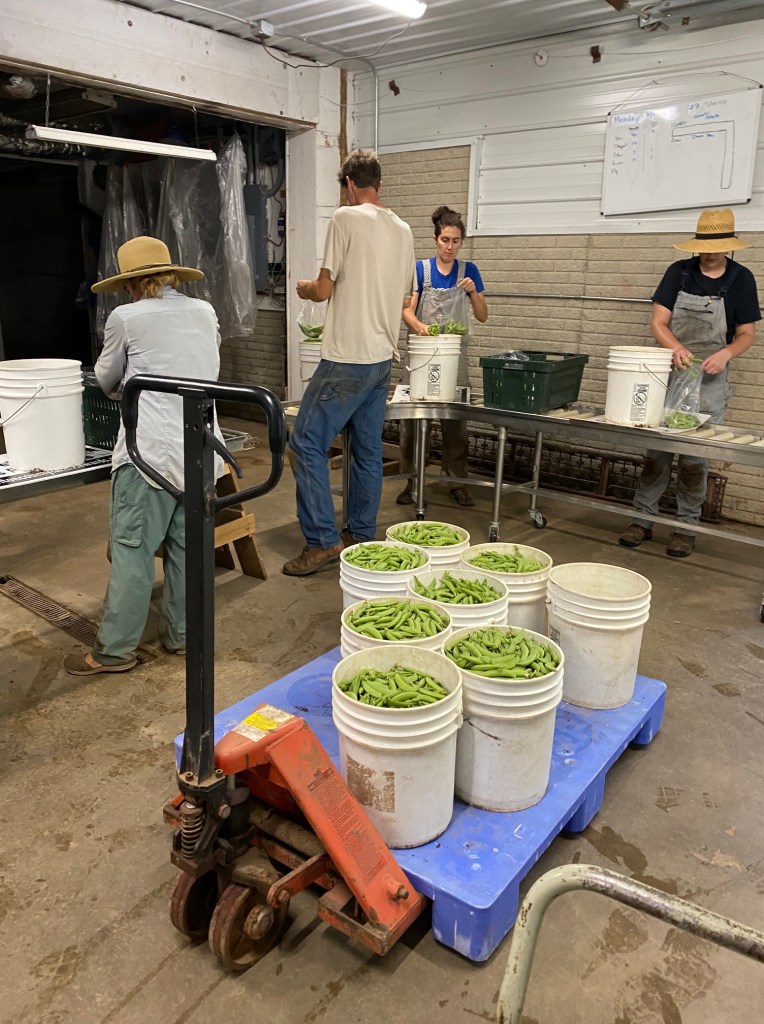
Last week the crew was working hard to get more veggies out of the field. We have been slowly working to get onions out of the field and onto racks in covered areas to start drying for storage. We haven’t been in a rush to do this because last week and this week’s weather are the perfect chance for the onions to keep drying naturally in the sun. The warm, dry air helps to dry the onions and start creating the protective outer skin. Once we move the onions into sheltered areas, we point industrial fans on them 24/7 to ensure they dry properly. As a farm that always strives to be sustainable, using the sun and wind instead of all that electricity is huge for us.
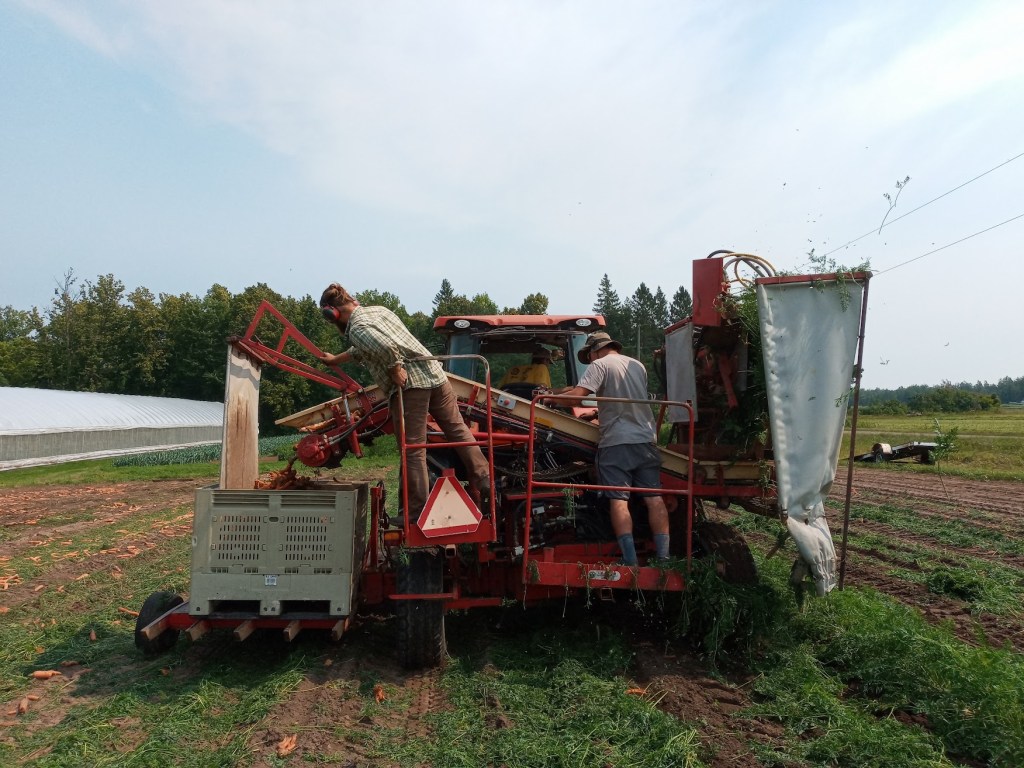
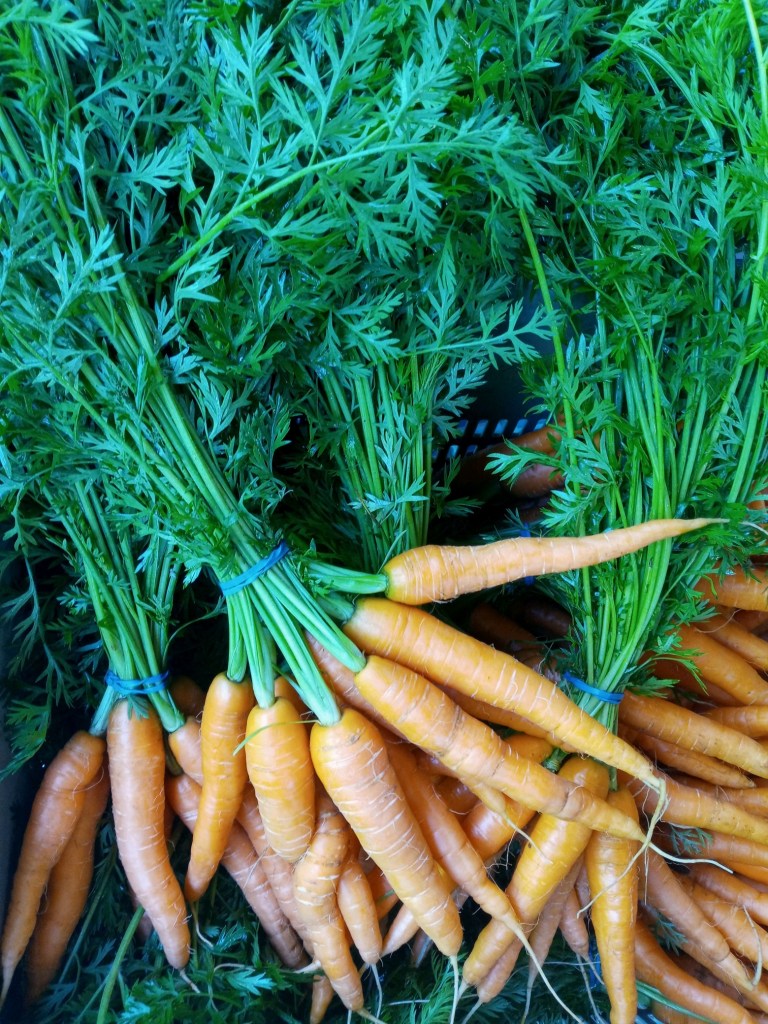
Last week we also used the harvesters to dig up more potatoes and carrots. We got out red potatoes, russets, white potatoes, yellow potatoes, orange carrots, and the first of the purple carrots. This also marked an exciting time for the farm crew as it meant it was time to bring the forklift out of summer storage. We use our forklift in the root cellar to stack pallet boxes as a way to better conserve space, so we have enough room to fit all the veggies. In the Summer, we put the forklift in our shop to keep it away from the damaging humidity of the root cellar, and because veggies are being harvested only in the quantities we need, so nothing needs to be placed in the root cellar for extended storage. Now as we start to empty fields and get ready for fall harvest, the root cellar is filling up fast. Soon we will have pallet boxes of veggies stacked all the way to the ceiling.

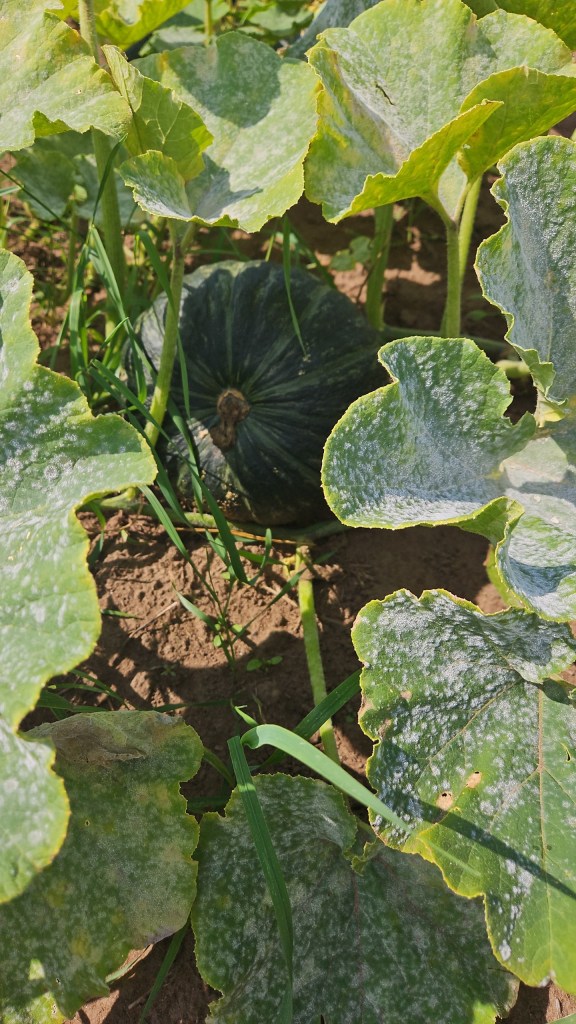
This week might still feel like Summer, but your box is starting to signal that Fall is coming. We are excited to introduce our Winter Squash! This crop was a little touch and go for a while. They didn’t appreciate the excess rainfall and cool early summer temperatures, but as things dried out the vines grew really large, and looking great. For a while, we were worried we might end up with 15 pound squashes. Our fears were soon squashed (there’s always time for food puns) as the vines developed powdery mildew. This is a common fungal disease that attacks many plants. It appears as small, white-ish gray spores on the leaves of the plant. It starts out very small, so small it is sometimes hard to spot at first, but once the plant is infected, it can spread like crazy. Soon the small spots take over the whole plant, and begin to spread to neighboring plants. We mostly find this on our Winter Squash and our zucchini. Once the plant is infected, there is no way to cure it, you can only slow down the spread…for a while. The powdery mildew on the winter squash ended up spreading and killing all the foliage in the last couple of weeks, but the squash themselves appear to be absolutely the perfect size!
Soon we will start the task of getting all the Squash out of the field. Once they are out, the majority of them need to cure first before they can be eaten. The curing process does two things for the squash 1) it hardens the outer skin which will allow it to last for multiple months in storage. 2) starches change to sugar and releases excess moisture which concentrates the flavor to make an even more delicious and sweet squash. Acorn squash is the earliest to mature of the varieties we grow, so it’s the first we send. In fact, if acorn squash is cured at high temperatures it can cause it to rot faster. This is why we are able to send this wonderful veggie to all of you now rather than making you wait for it.
It is a very fun veggie to experiment with. Many people like to stuff it since the shape of it naturally looks like a bowl. Other people roast it for salads, puree it as an easy, veggie packed pasta sauce, or grate it up to add to muffins or other baked goods. My favorite way to make acorn squash ( or any winter squash for that matter) is to turn it into gnocchi. I’ve added my favorite recipe below if you’re feeling adventurous and want to give it a try.
In your share this week:
Northeaster Pole Beans – Basil – Beets – Broccoli – Red Cabbage – Carrots – Cucumber – Garlic – Lettuce – Melon – Onion – Hot Pepper – Sweet Pepper – Yellow Potatoes – Tomatoes – Zucchini
Acorn Squash Gnocchi with Basil Pesto
- 1 medium sized acorn squash just shy of 1 lb.
- 2 tablespoons olive oil
- 1/2 cup all purpose flour plus 1 tablespoon for the rolling and cutting gnocchi
- 1 tsp kosher salt
- 1/4 tsp ground black pepper
- 2 tablespoons prepared basil pesto
Roast Squash for Gnocchi
- Pre-heat oven to 400 degrees. Line a baking sheet with foil. Cut acorn squash in half, on the vertical, and scoop out seeds. Drizzle olive oil onto the flesh side and season with salt and pepper. Place on baking sheet, flesh side down, and roast about 30-40 minutes, until squash is fork tender. Allow to cool at least 10 minutes before scooping out flesh into a bowl.
Preparing Gnocchi Dough
- To prep the dough, bring a large pot of water to a low boil, season with salt like you would to cook pasta. In the bowl of roasted squash, stir together with flour until smooth. The dough should feel about as pliable as pizza dough, meaning it should still hold together but doesn’t feel dry. If the dough is too wet, add a little more flour (about a tablespoon at a time) until you get to that desired consistency. This will help in the rollout of dough.
- Roll and cut dough: Working in batches, scoop up a loose handful of dough and roll out onto a lightly floured work surface. Roll the dough into the shape of a log, about 3/4 inch wide. Using a sharp knife, slice into 1 inch pieces and place on parchment. Repeat with the remaining chunks of dough until all gnocchi is cut.
Cooking Gnocchi
- Working in two or three batches (depending on number of gnocchi), add gnocchi to the large pot of boiling water and allow to cook 2-3 minutes until the gnocchi floats to the top. Using a spider strainer (or slotted spoon), remove gnocchi and allow to drain on a baking sheet lined with paper towels. Repeat until all gnocchi are cooked.
- Toss gnocchi together with a couple of tablespoons of basil pesto, using a little gnocchi water to thin out sauce as needed and grate a generous amount of parmigiano-reggiano. Enjoy immediately.
Apple and Beet Muffins
- 1 cup shredded cooked beets – about 2 small cooked beets
- 2 cups shredded apples – about 2 apples, do not need to peel
- 1 cup unsweetened applesauce
- 2 eggs – beaten
- ⅓ cup extra virgin olive oil
- 3 tablespoons maple syrup – can sub honey or extra applesauce
- 2 teaspoons vanilla extract
- 1.75 cups whole wheat flour
- 1 teaspoon baking powder
- 1 teaspoon baking soda
- 2 teaspoons cinnamon
- ½ teaspoon salt
Instructions
- First, cook the beets
- Preheat the oven to 350℉. Line a muffin pan (if not using a silicone one) and set aside.
- Using a hand or box grater, shred the cooked beets and apples.
- In a large mixing bowl, whisk together the unsweetened applesauce, beaten eggs, olive oil, maple syrup, and vanilla extract.
- In a measuring cup or separate bowl, combine the whole wheat flour, baking powder, baking soda, cinnamon, and salt.
- Add the dry to ingredients to the bowl with the wet ones. Stir to combine.
- Fold the shredded beets and apples into the batter. Mix until evenly distributed.
- Spoon the batter into the prepared muffin pan, filling each cavity about ¾ of the way.
- Bake for 23 to 25 minutes until a toothpick inserted in the center of a muffin comes out clean.
- Let the muffins cool for a few minutes, then enjoy!
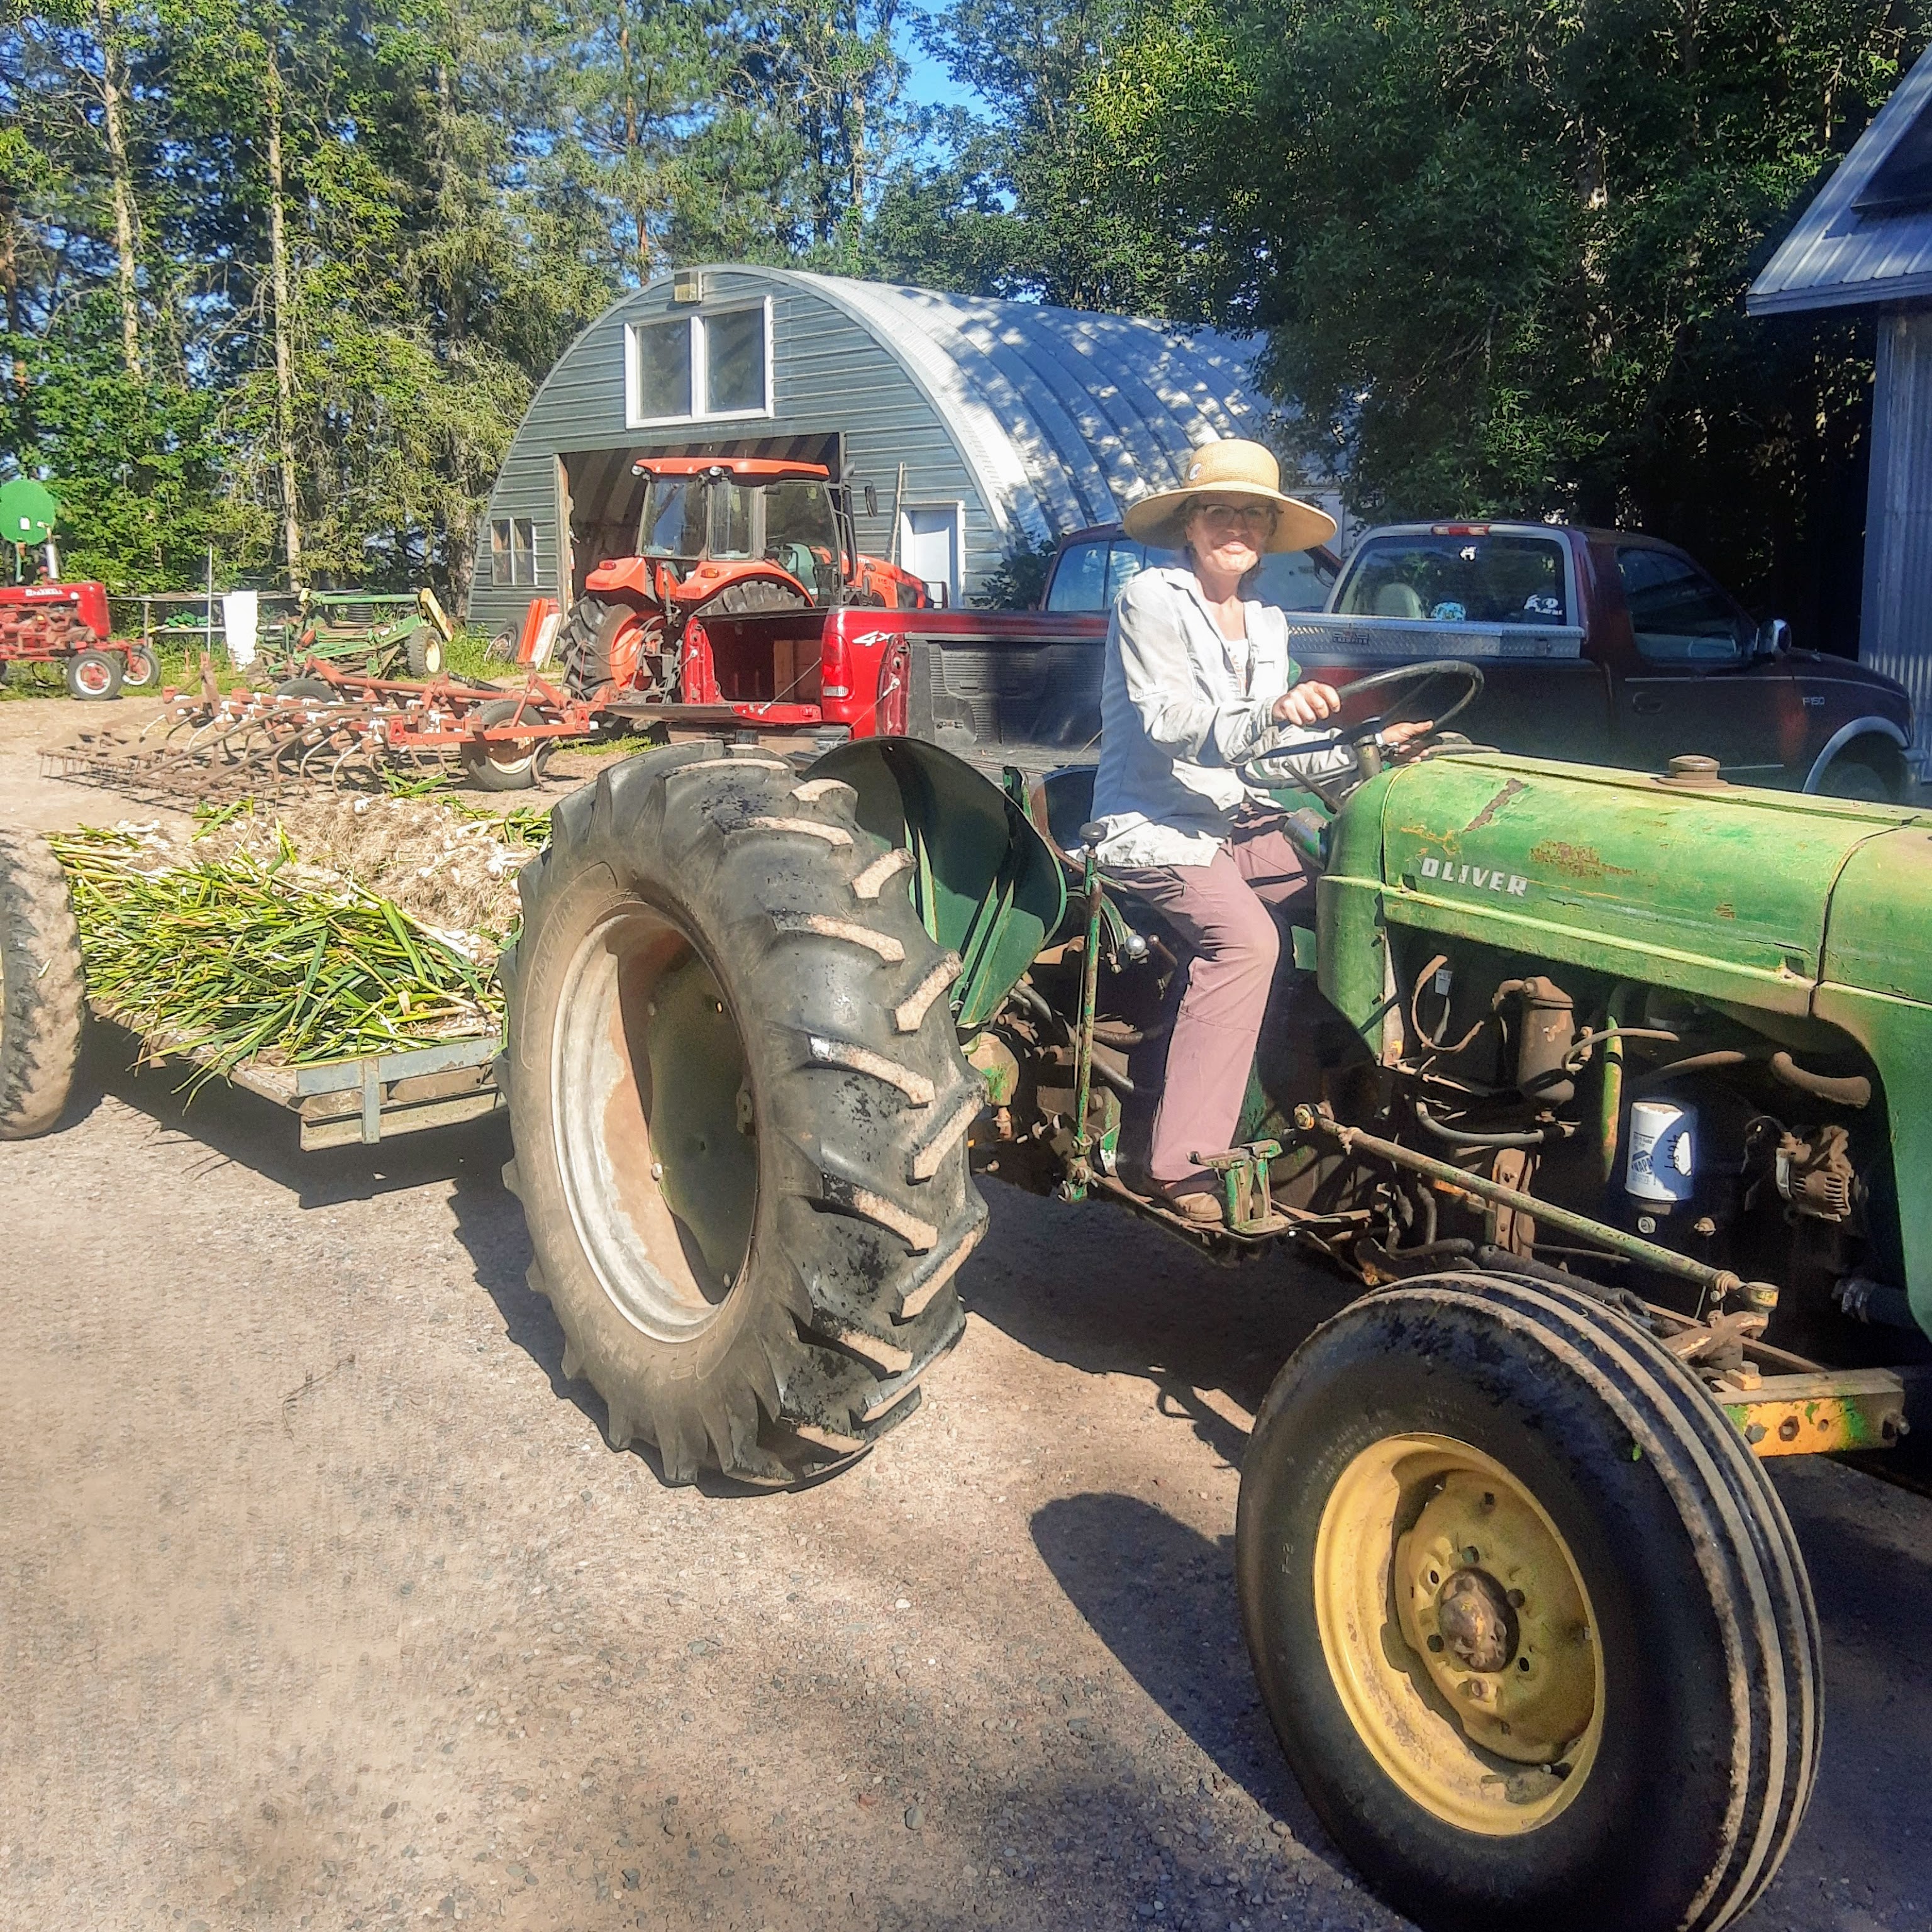
For the farm crew,
Jennifer