Winter CSA Box 3, January 2023

Janaki and Ellis are spending a lot of time moving snow these days!
We have lots more snow on the farm a than there is in town.

Welcome to the New Year!

As soon as the last few roofs are clear of snow we’ll be turning our energy to signups for the 2023 season! We hope to be ready for folks to sign up beginning around January 20th.

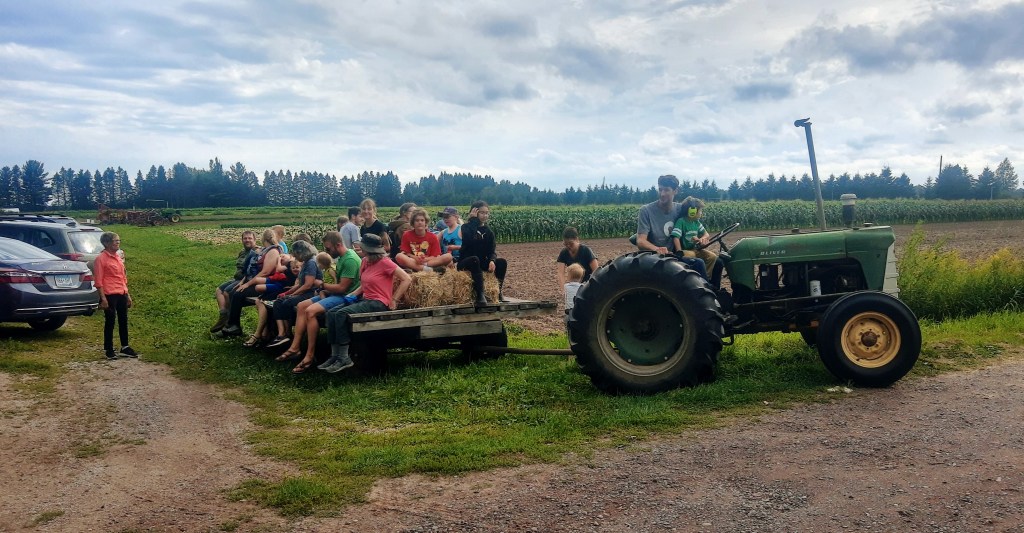
Mark your calendars for our annual Farmers Come to Town/Rutabaga Giveaway (and curling) event on February 15th at Wild State Cider. We will be there from 4pm to 7pm introducing one and all to the exciting sport of rutabaga curling, and enjoying the company of farm members.


In your share this month:

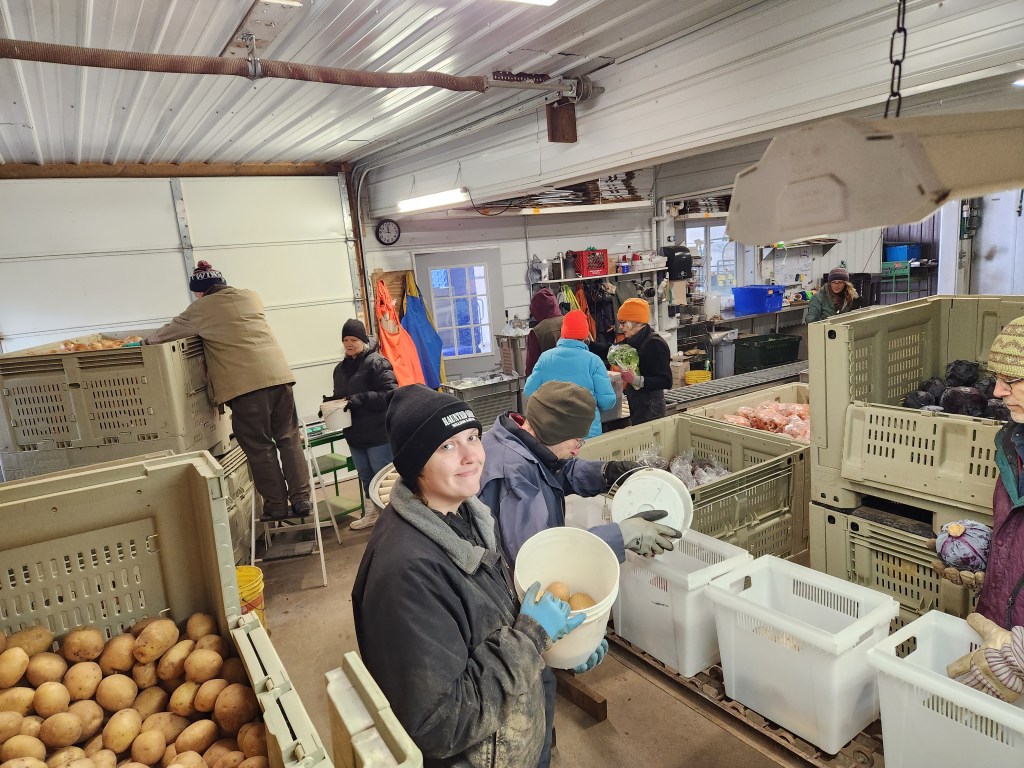
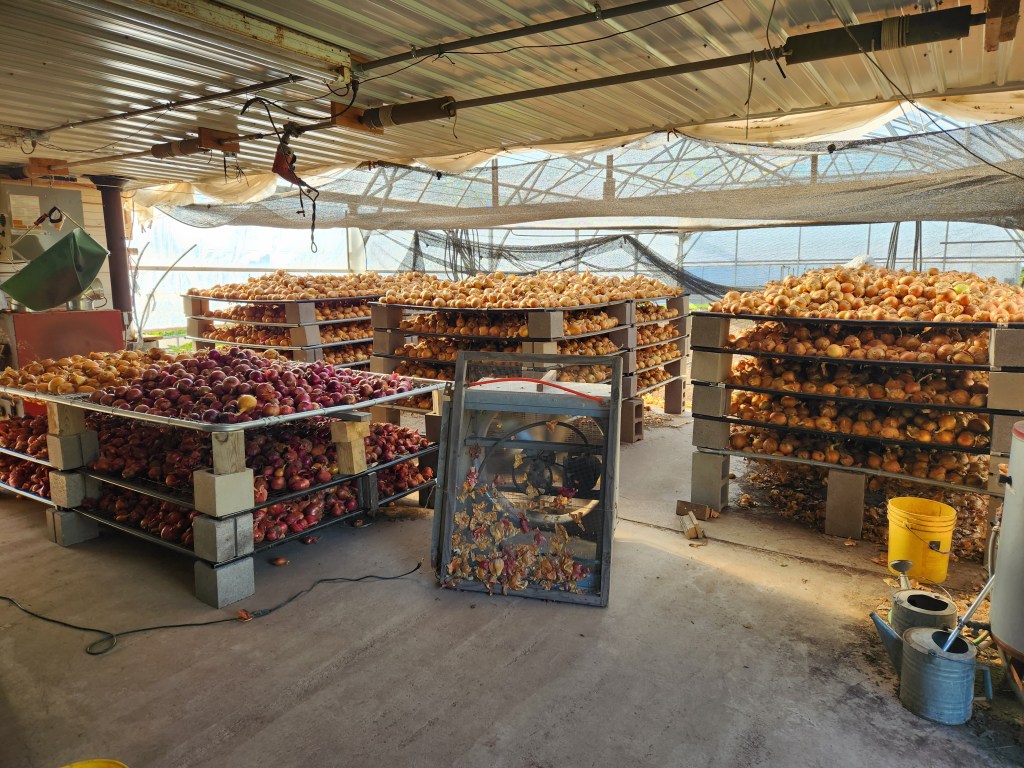
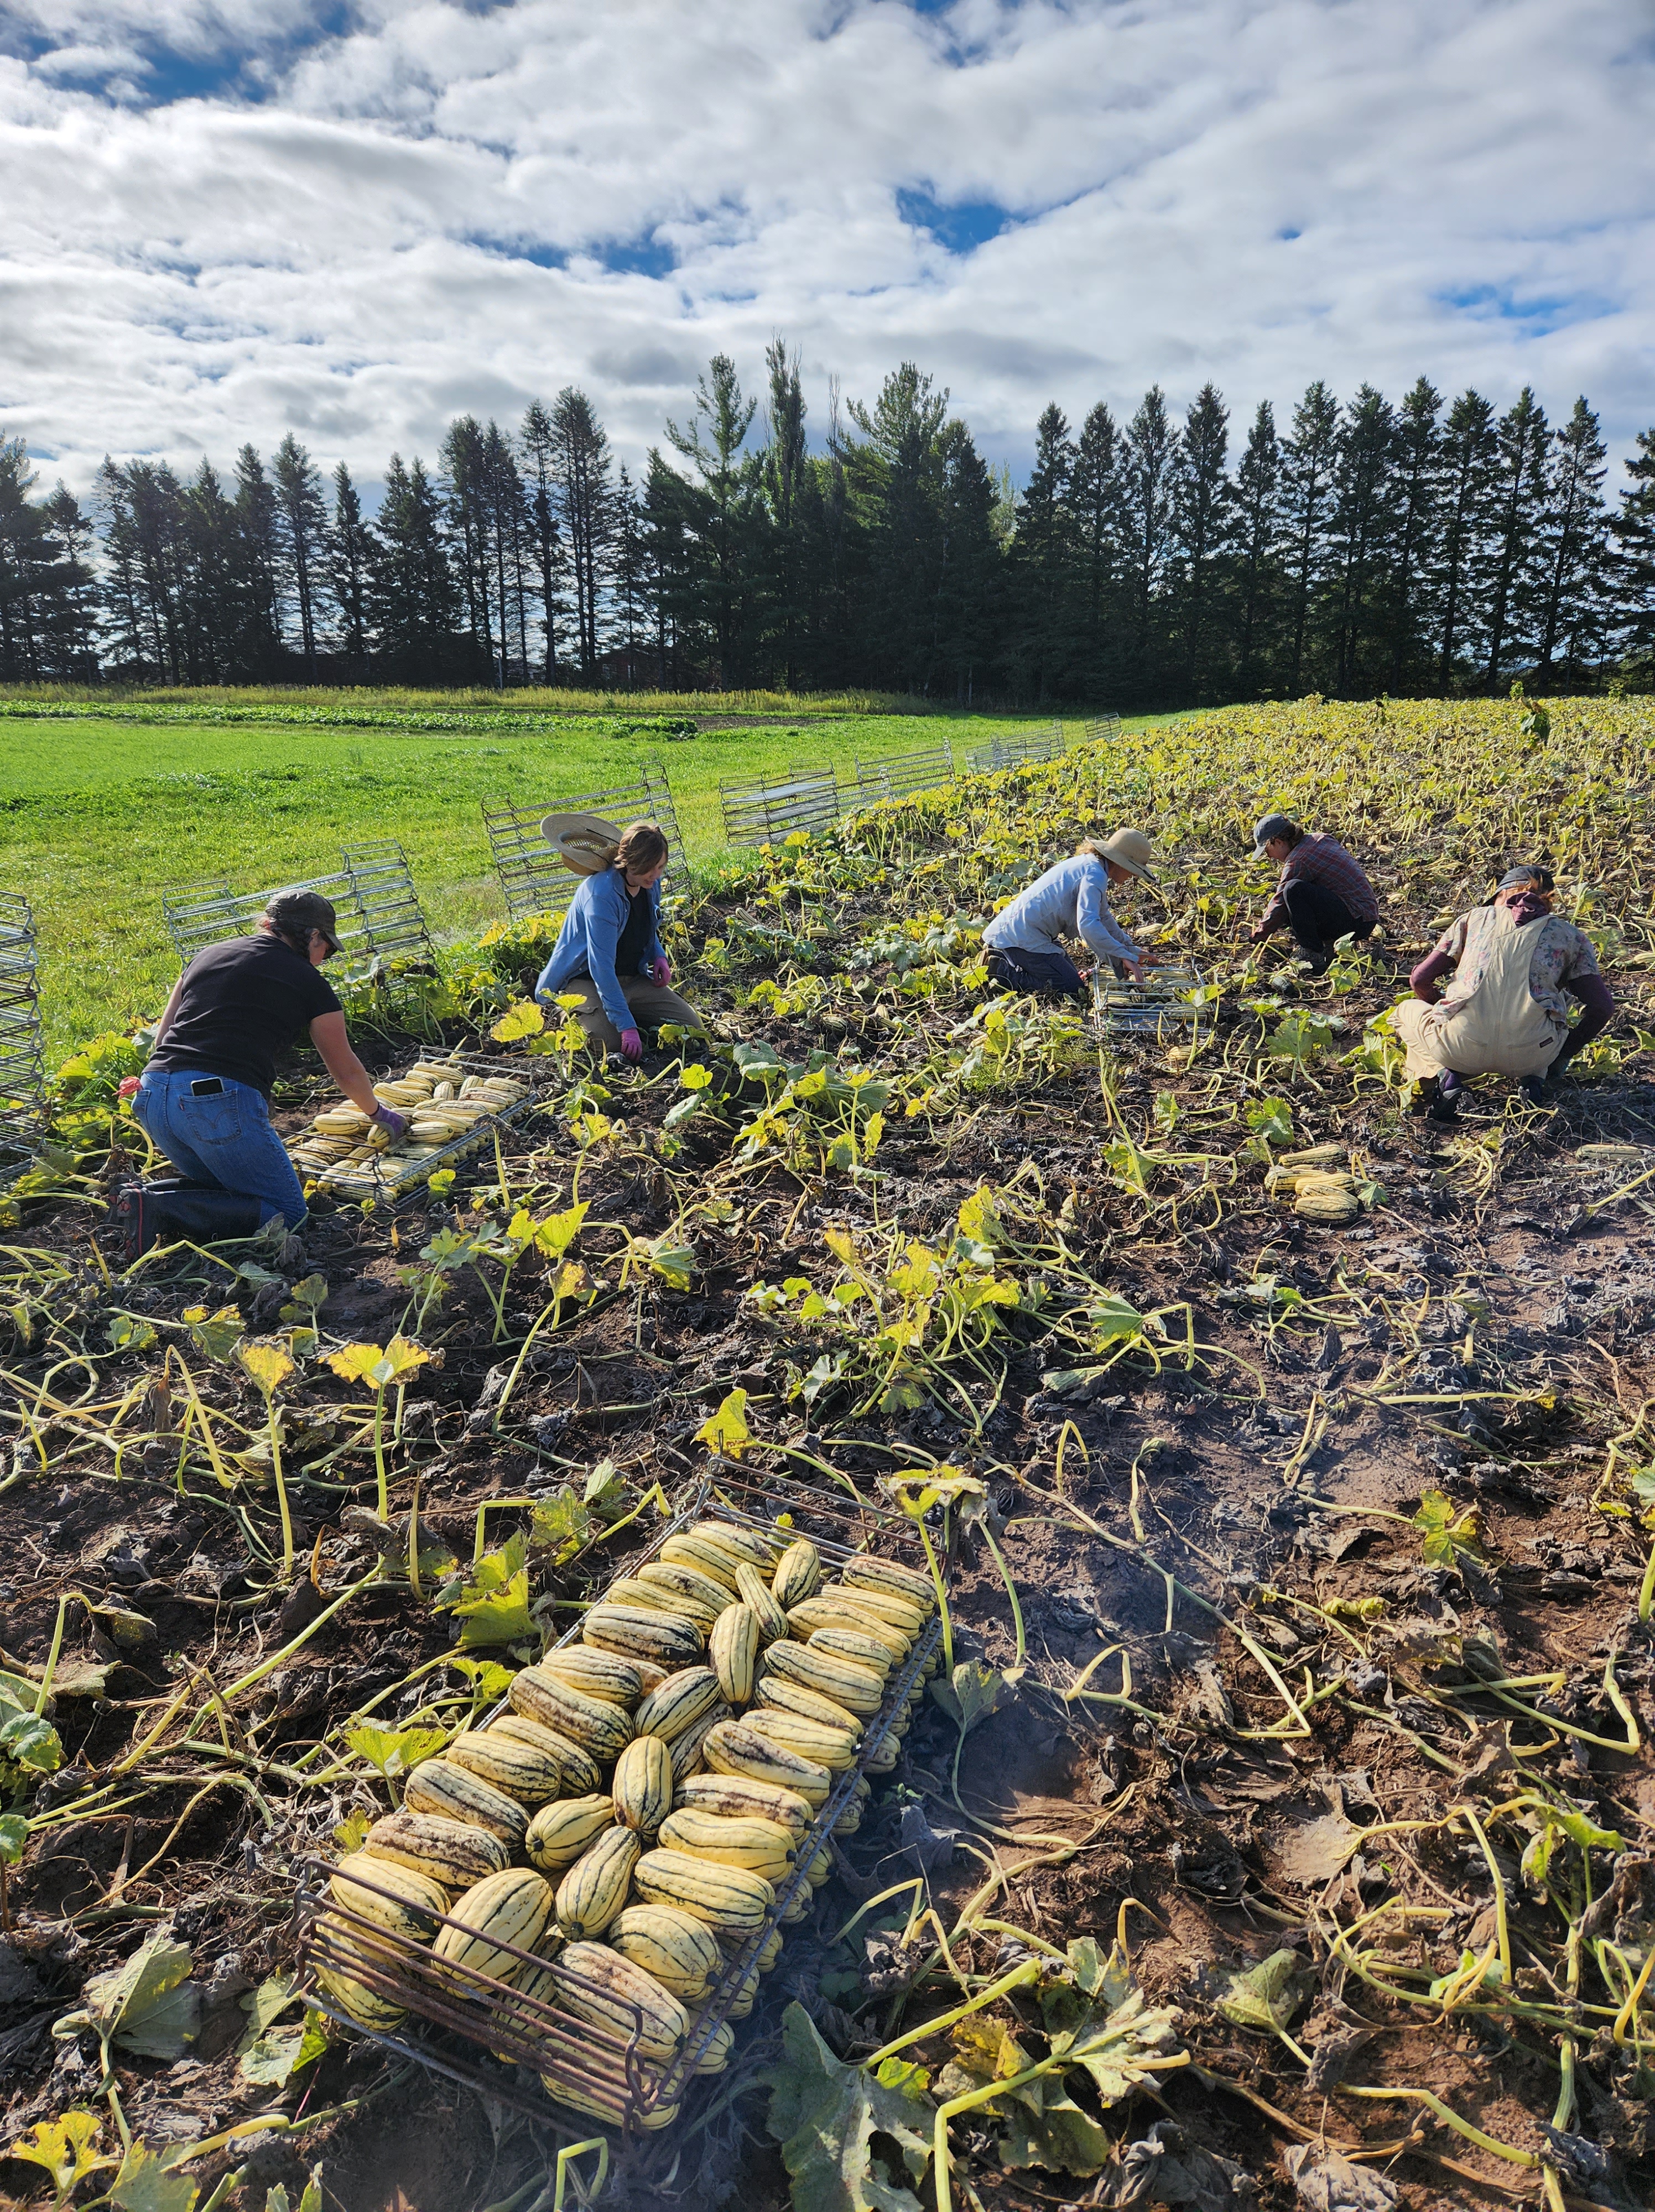
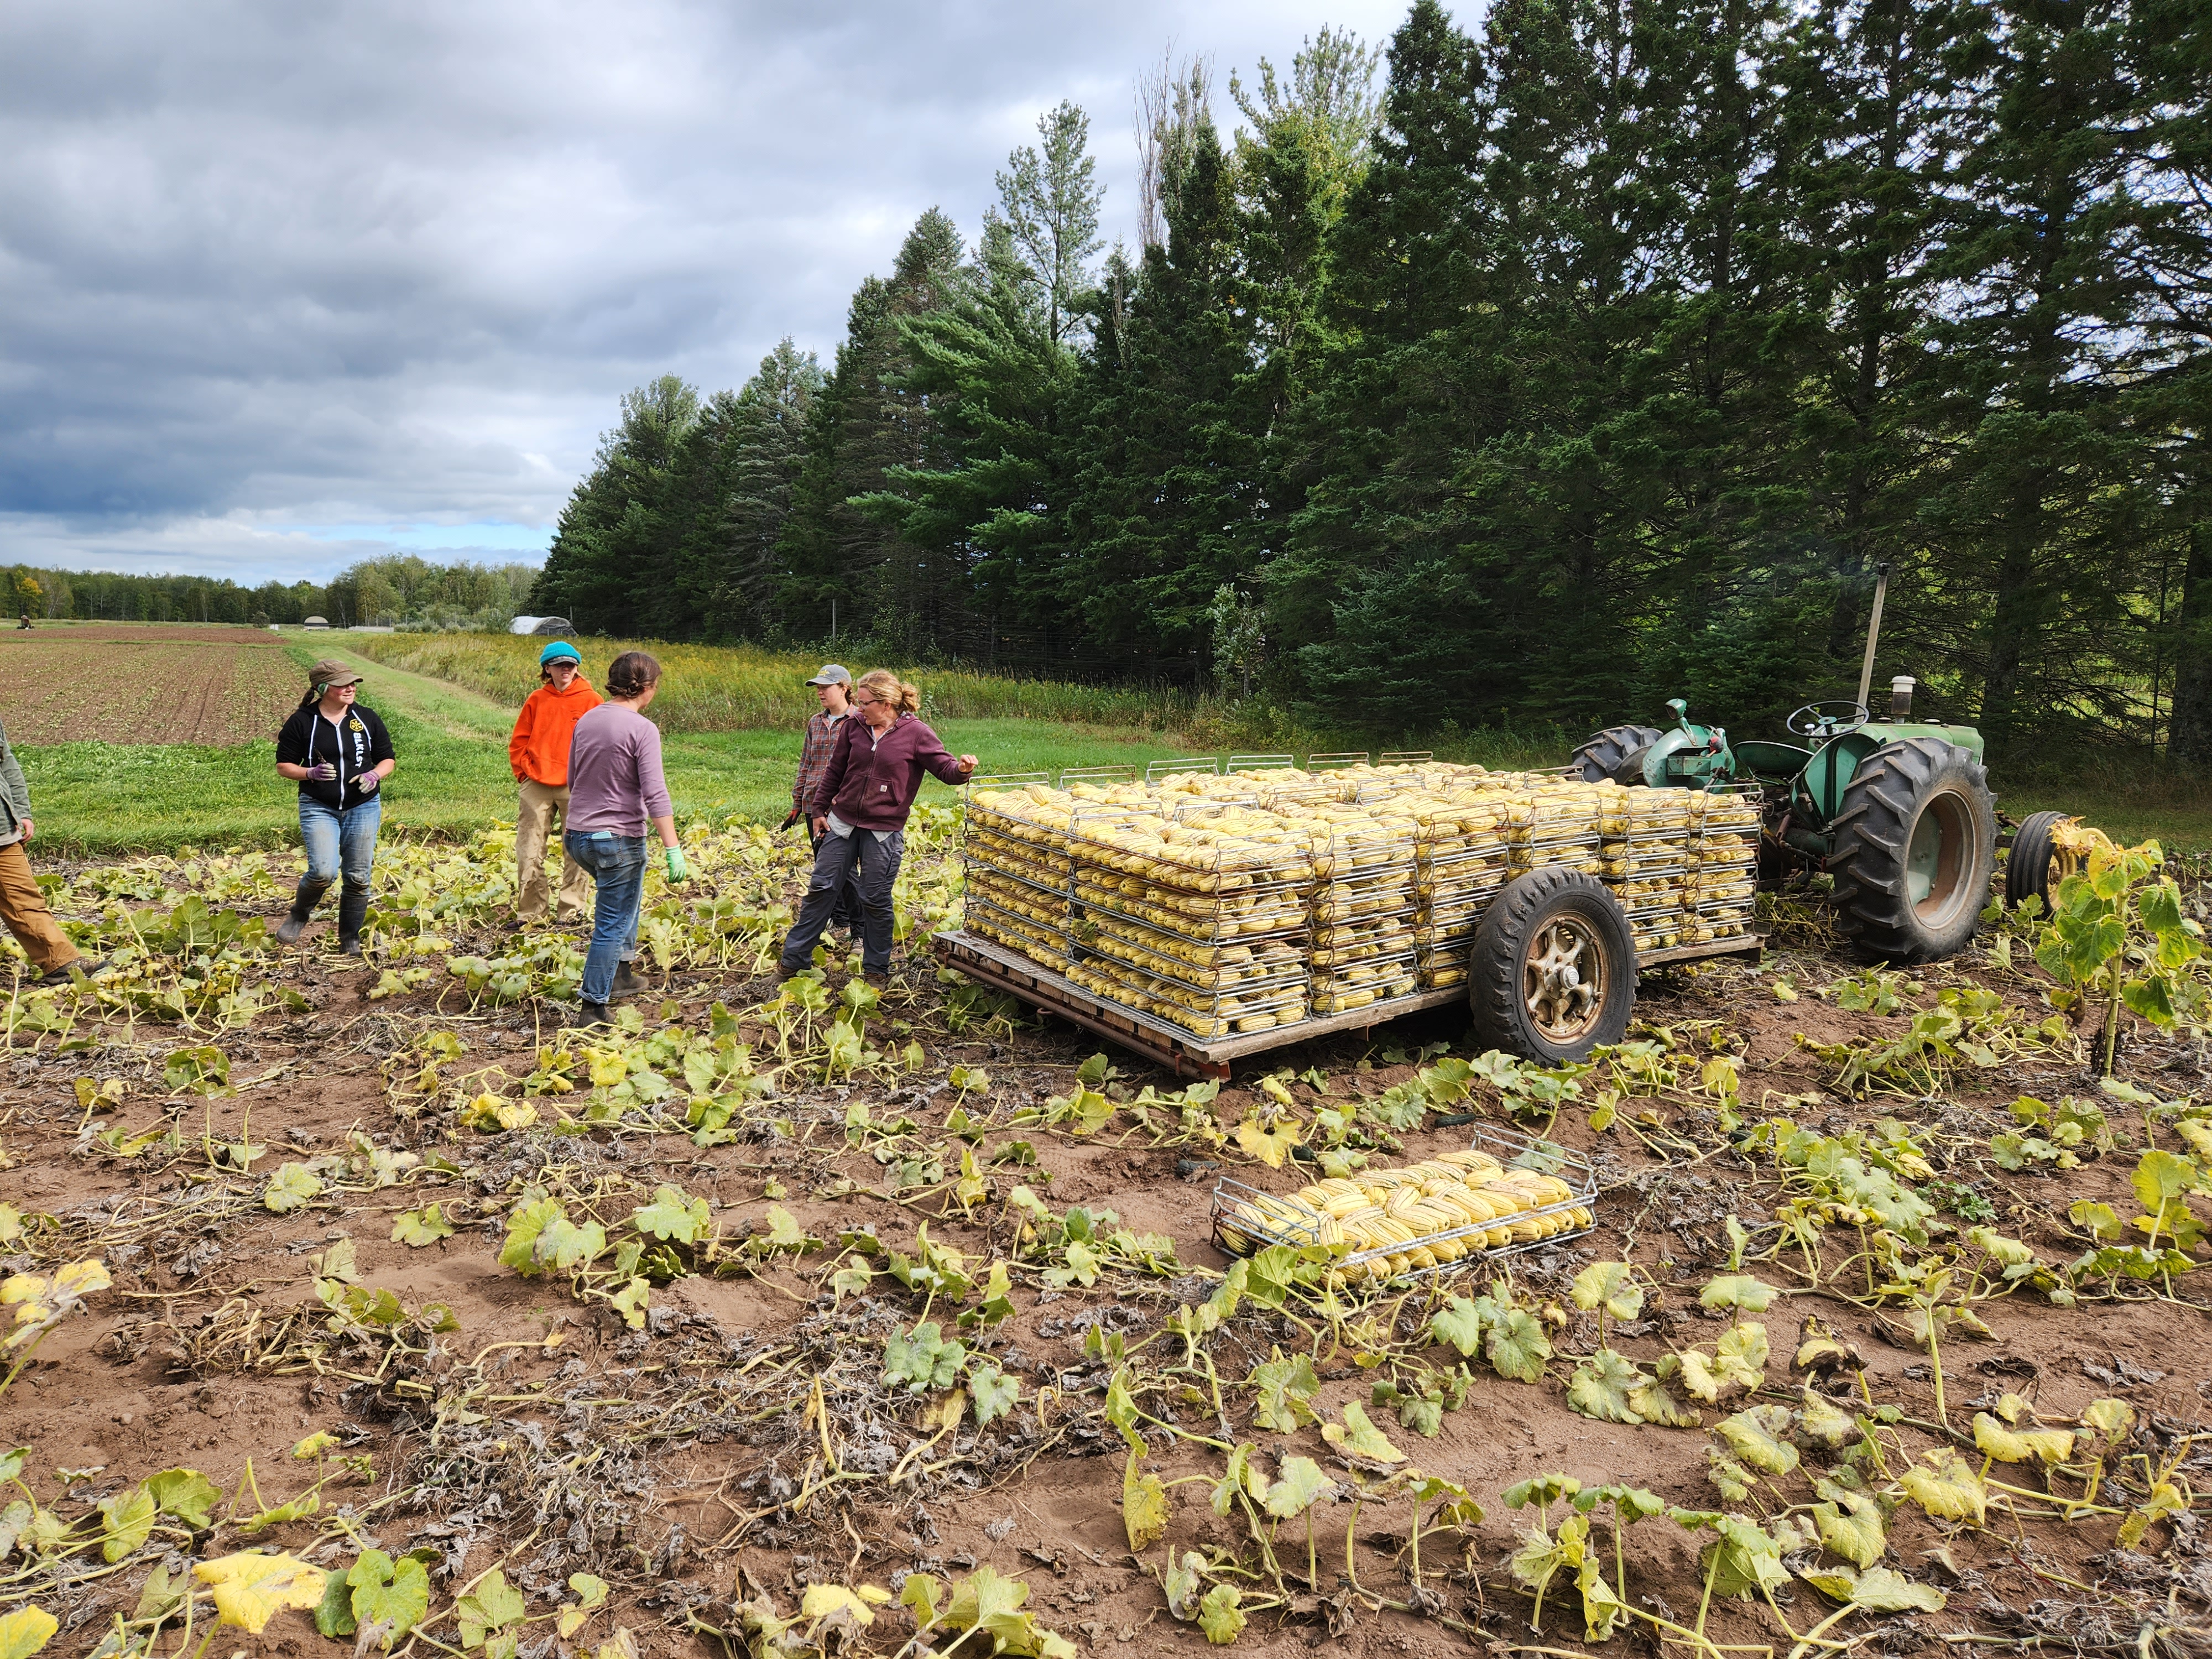
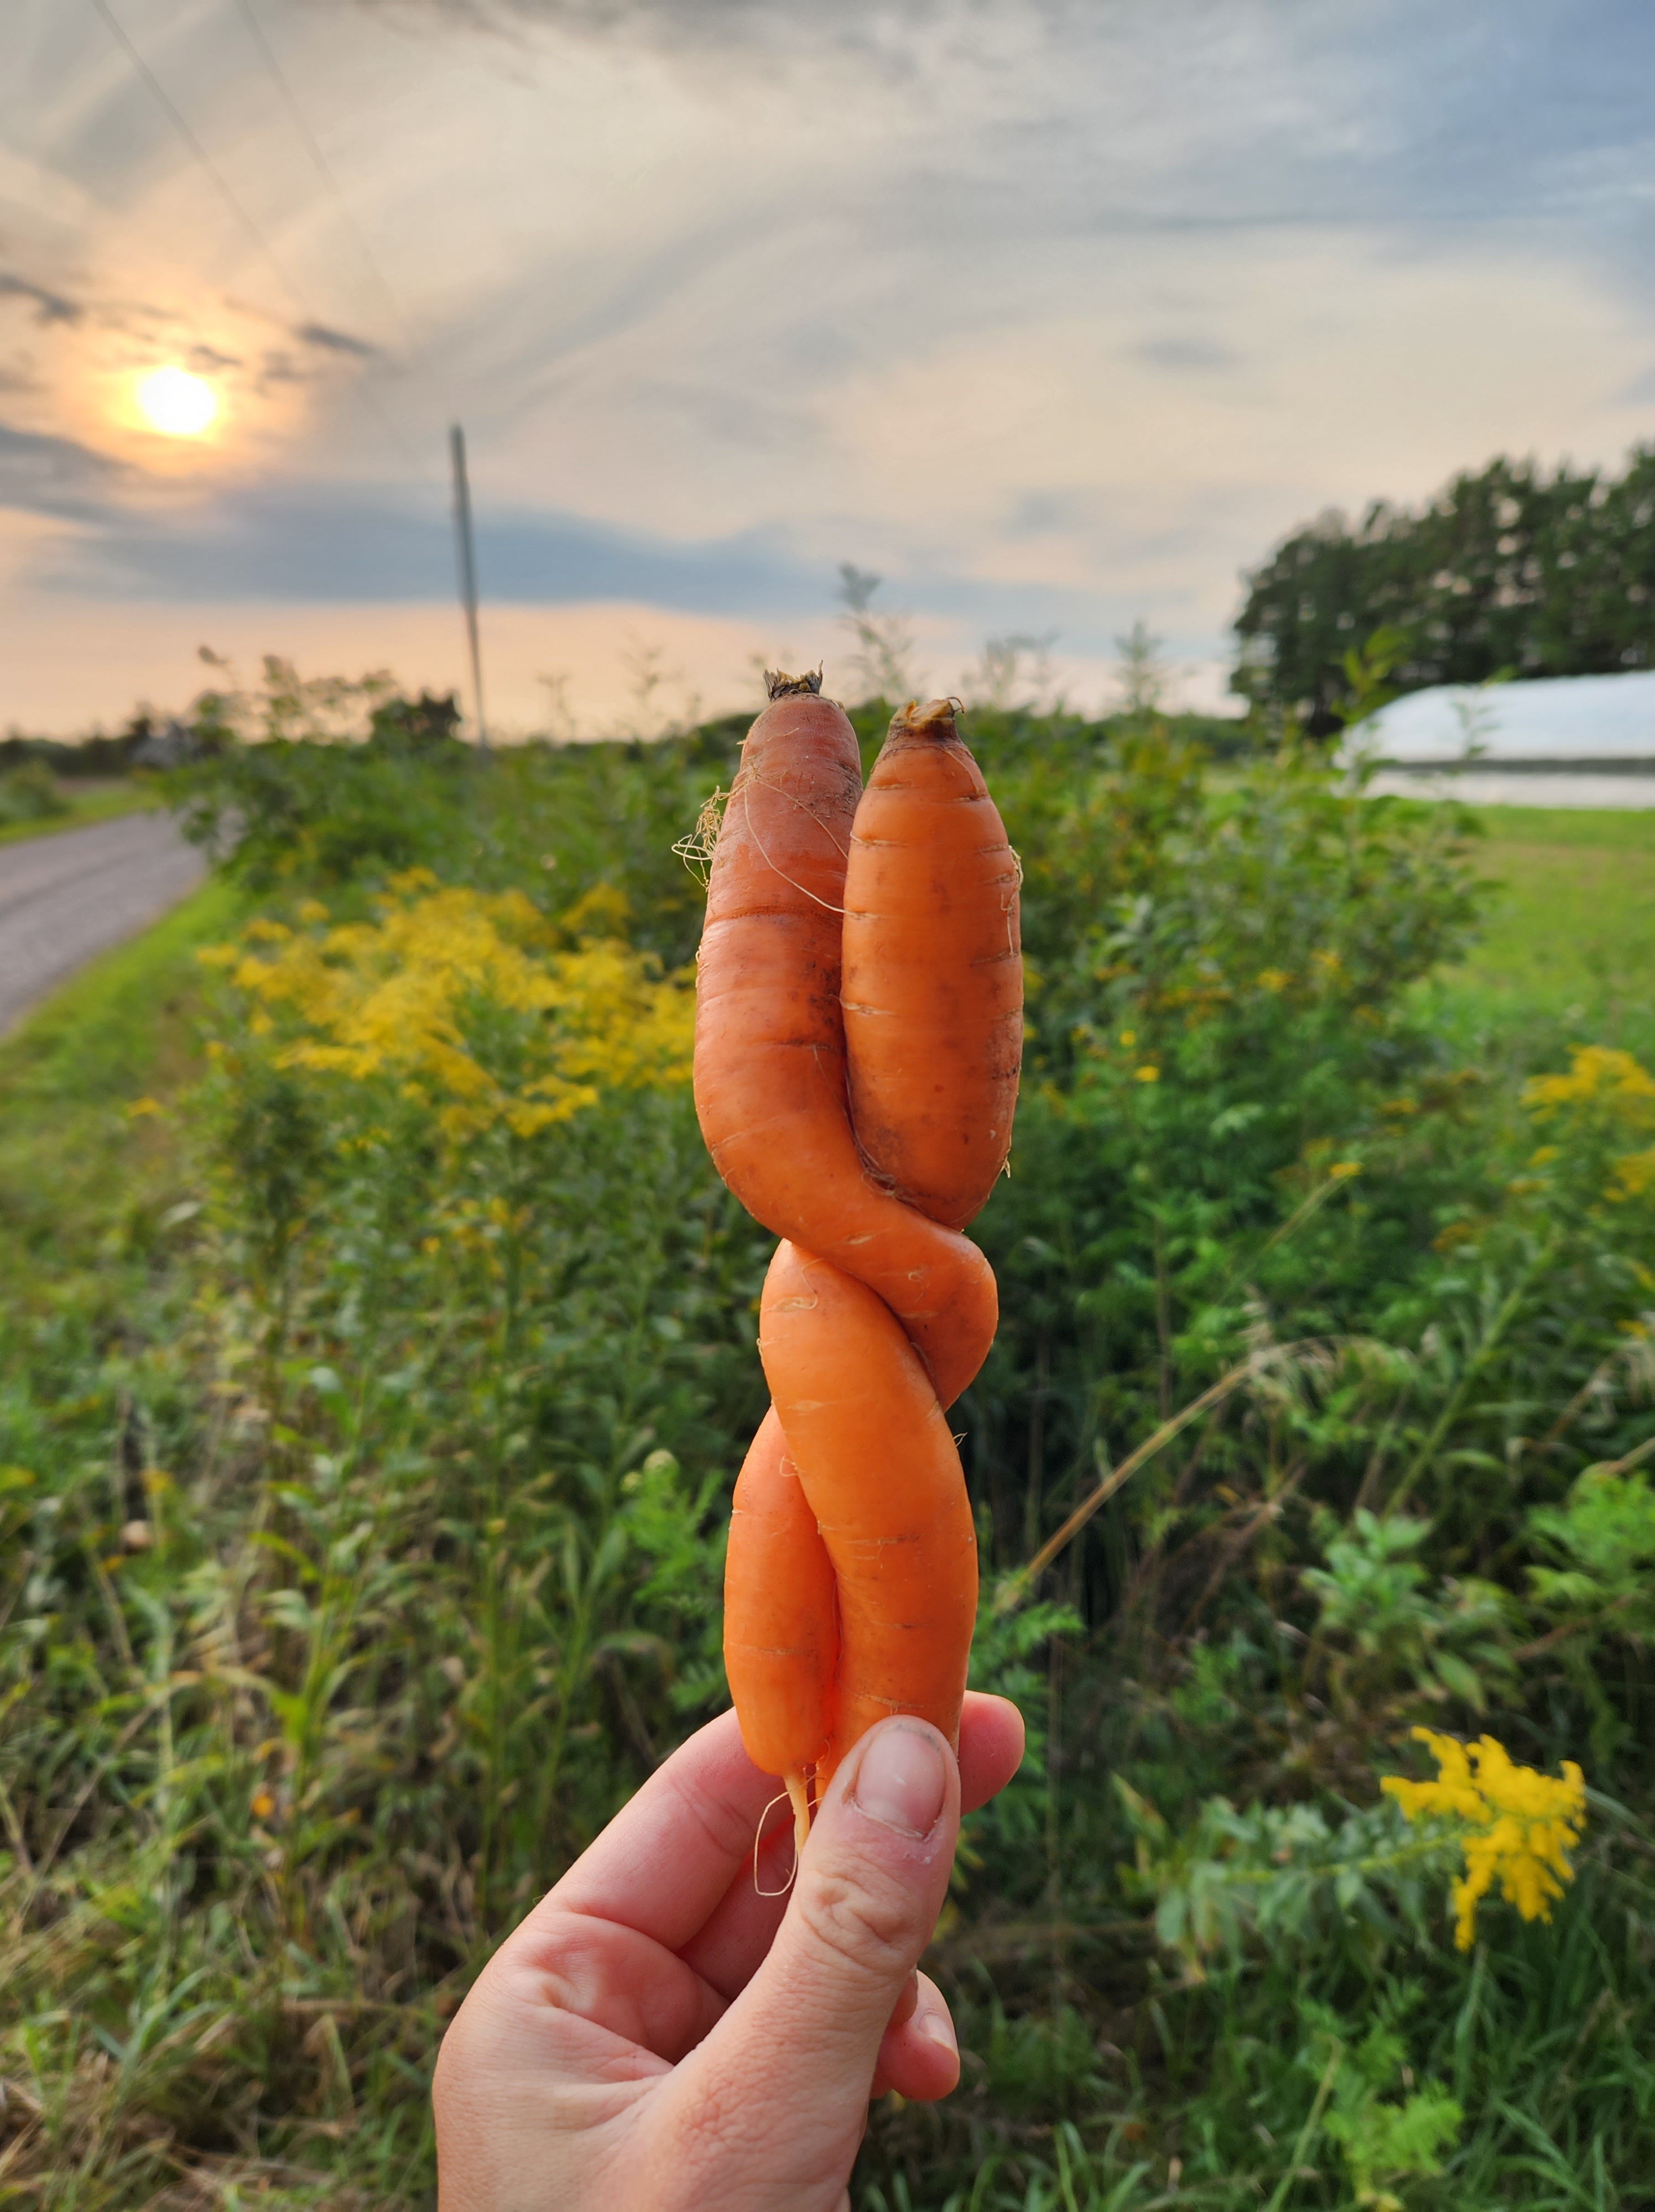
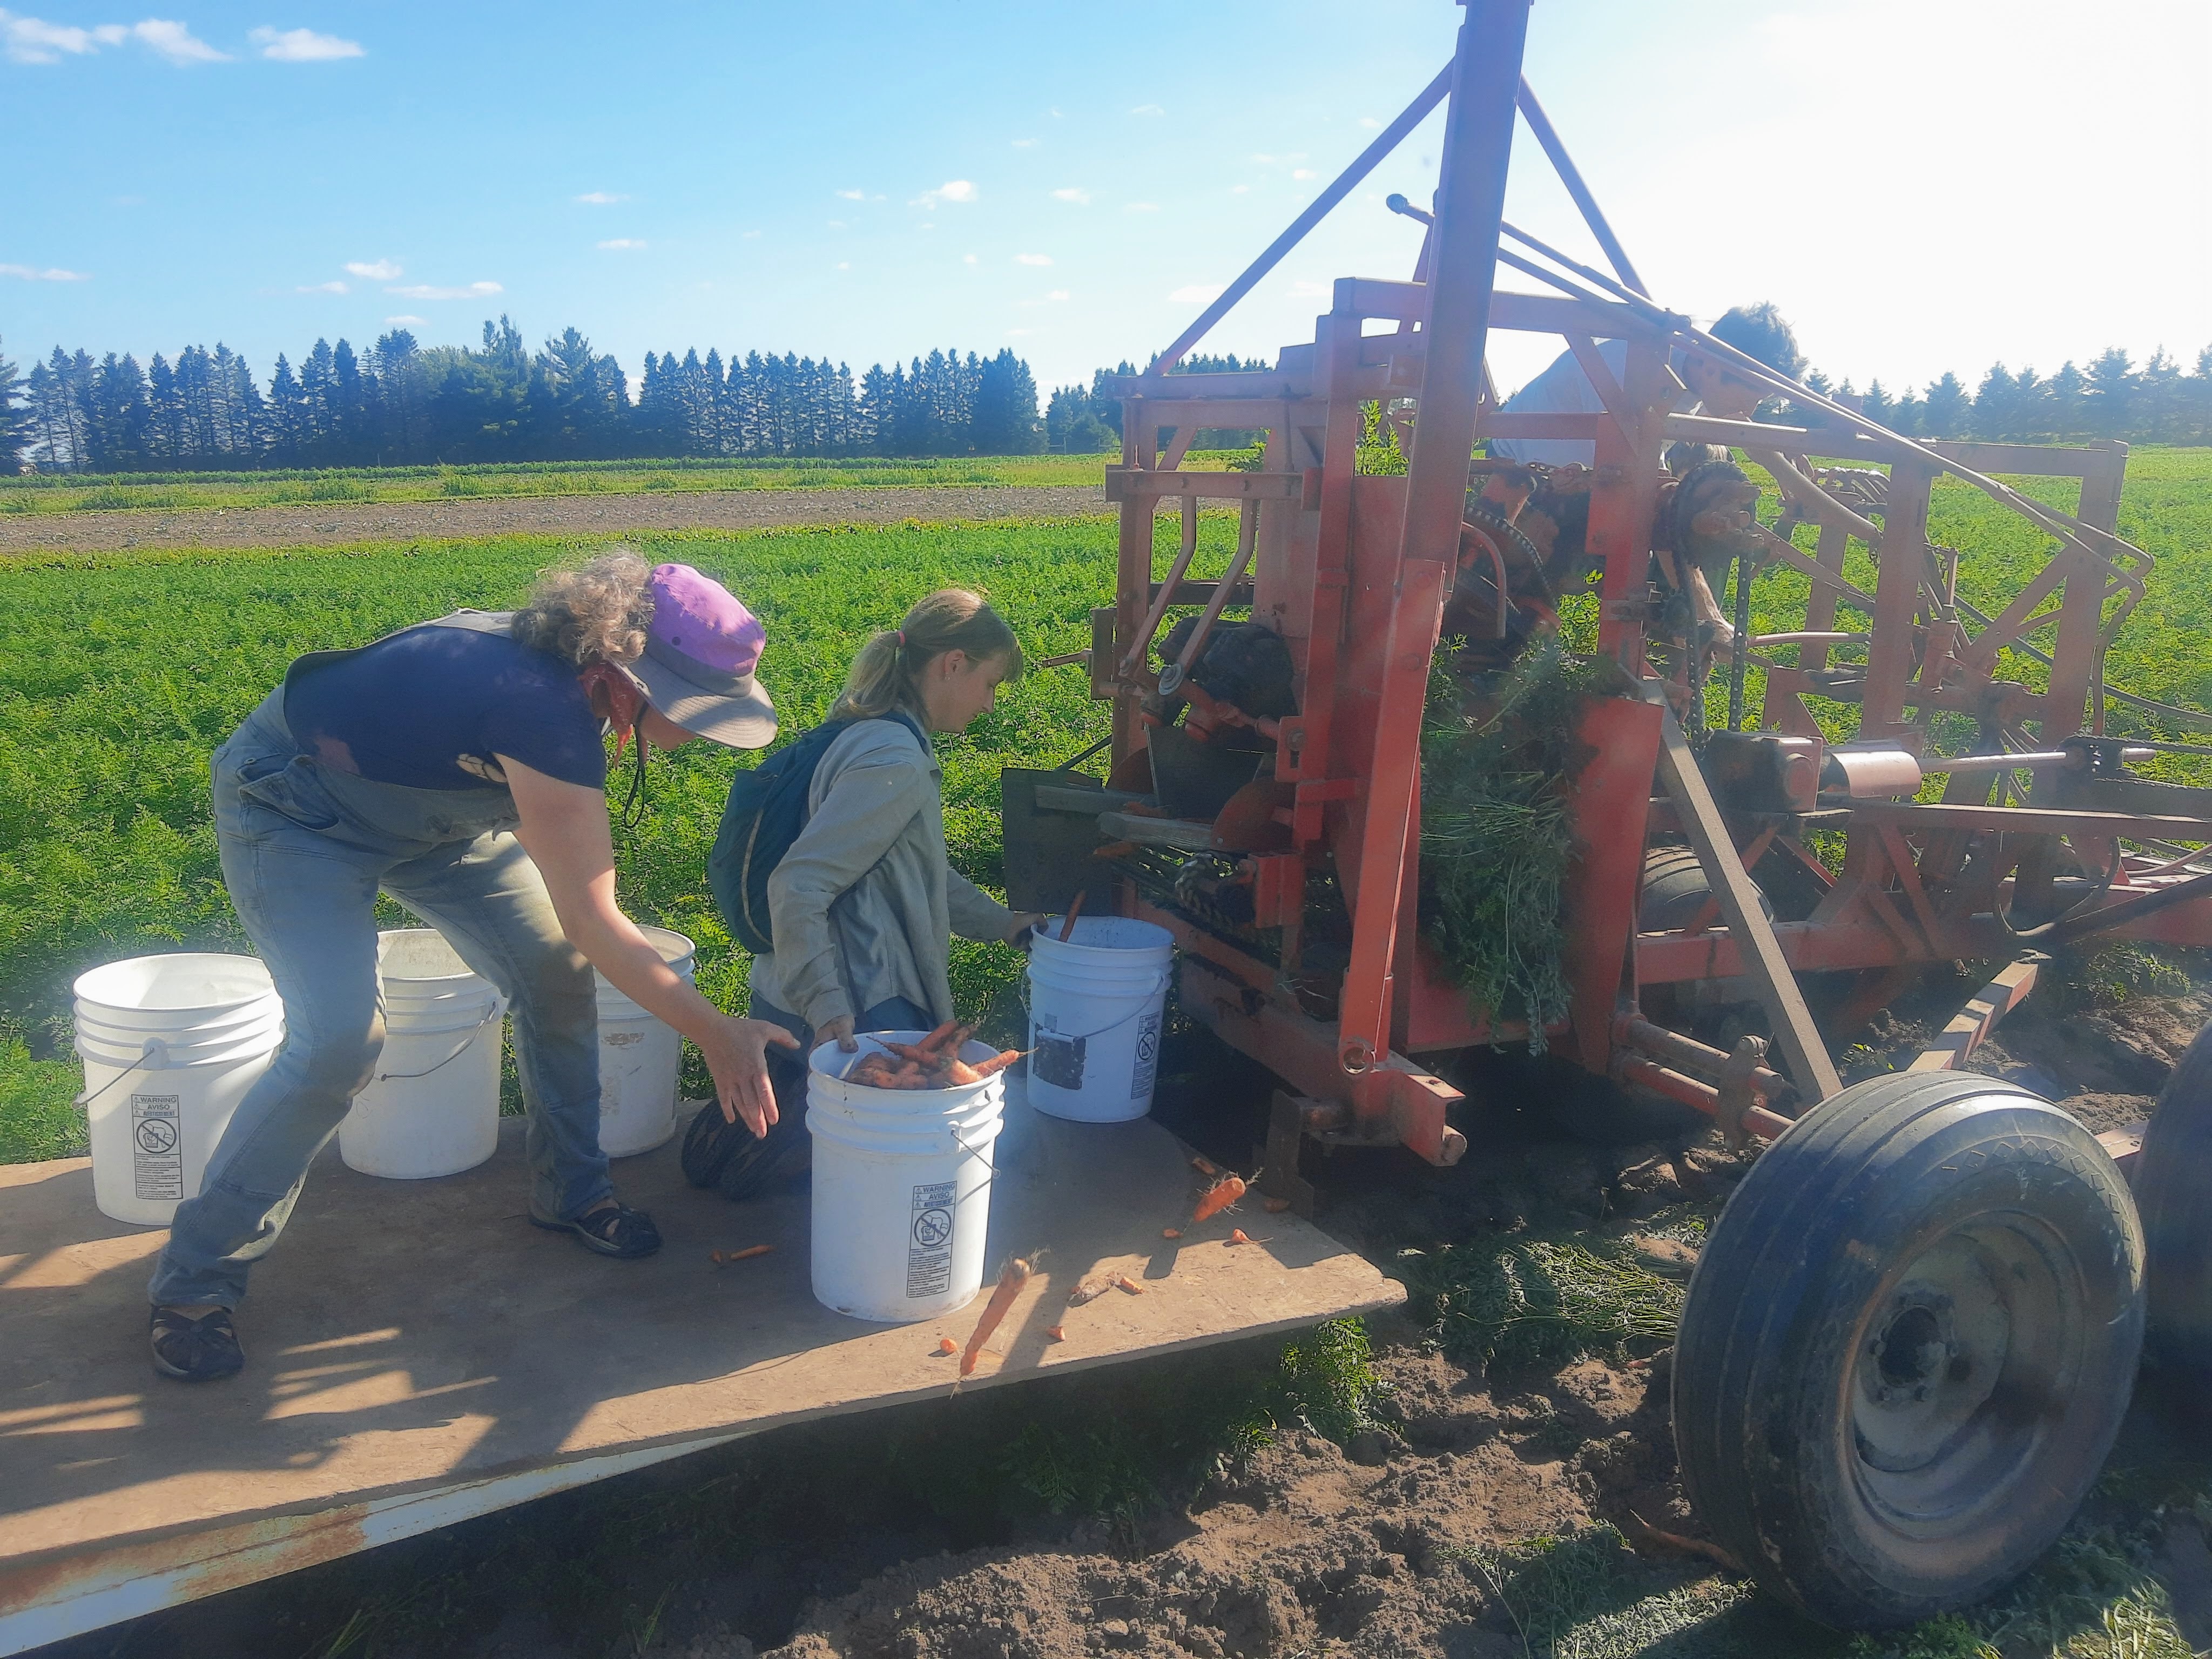
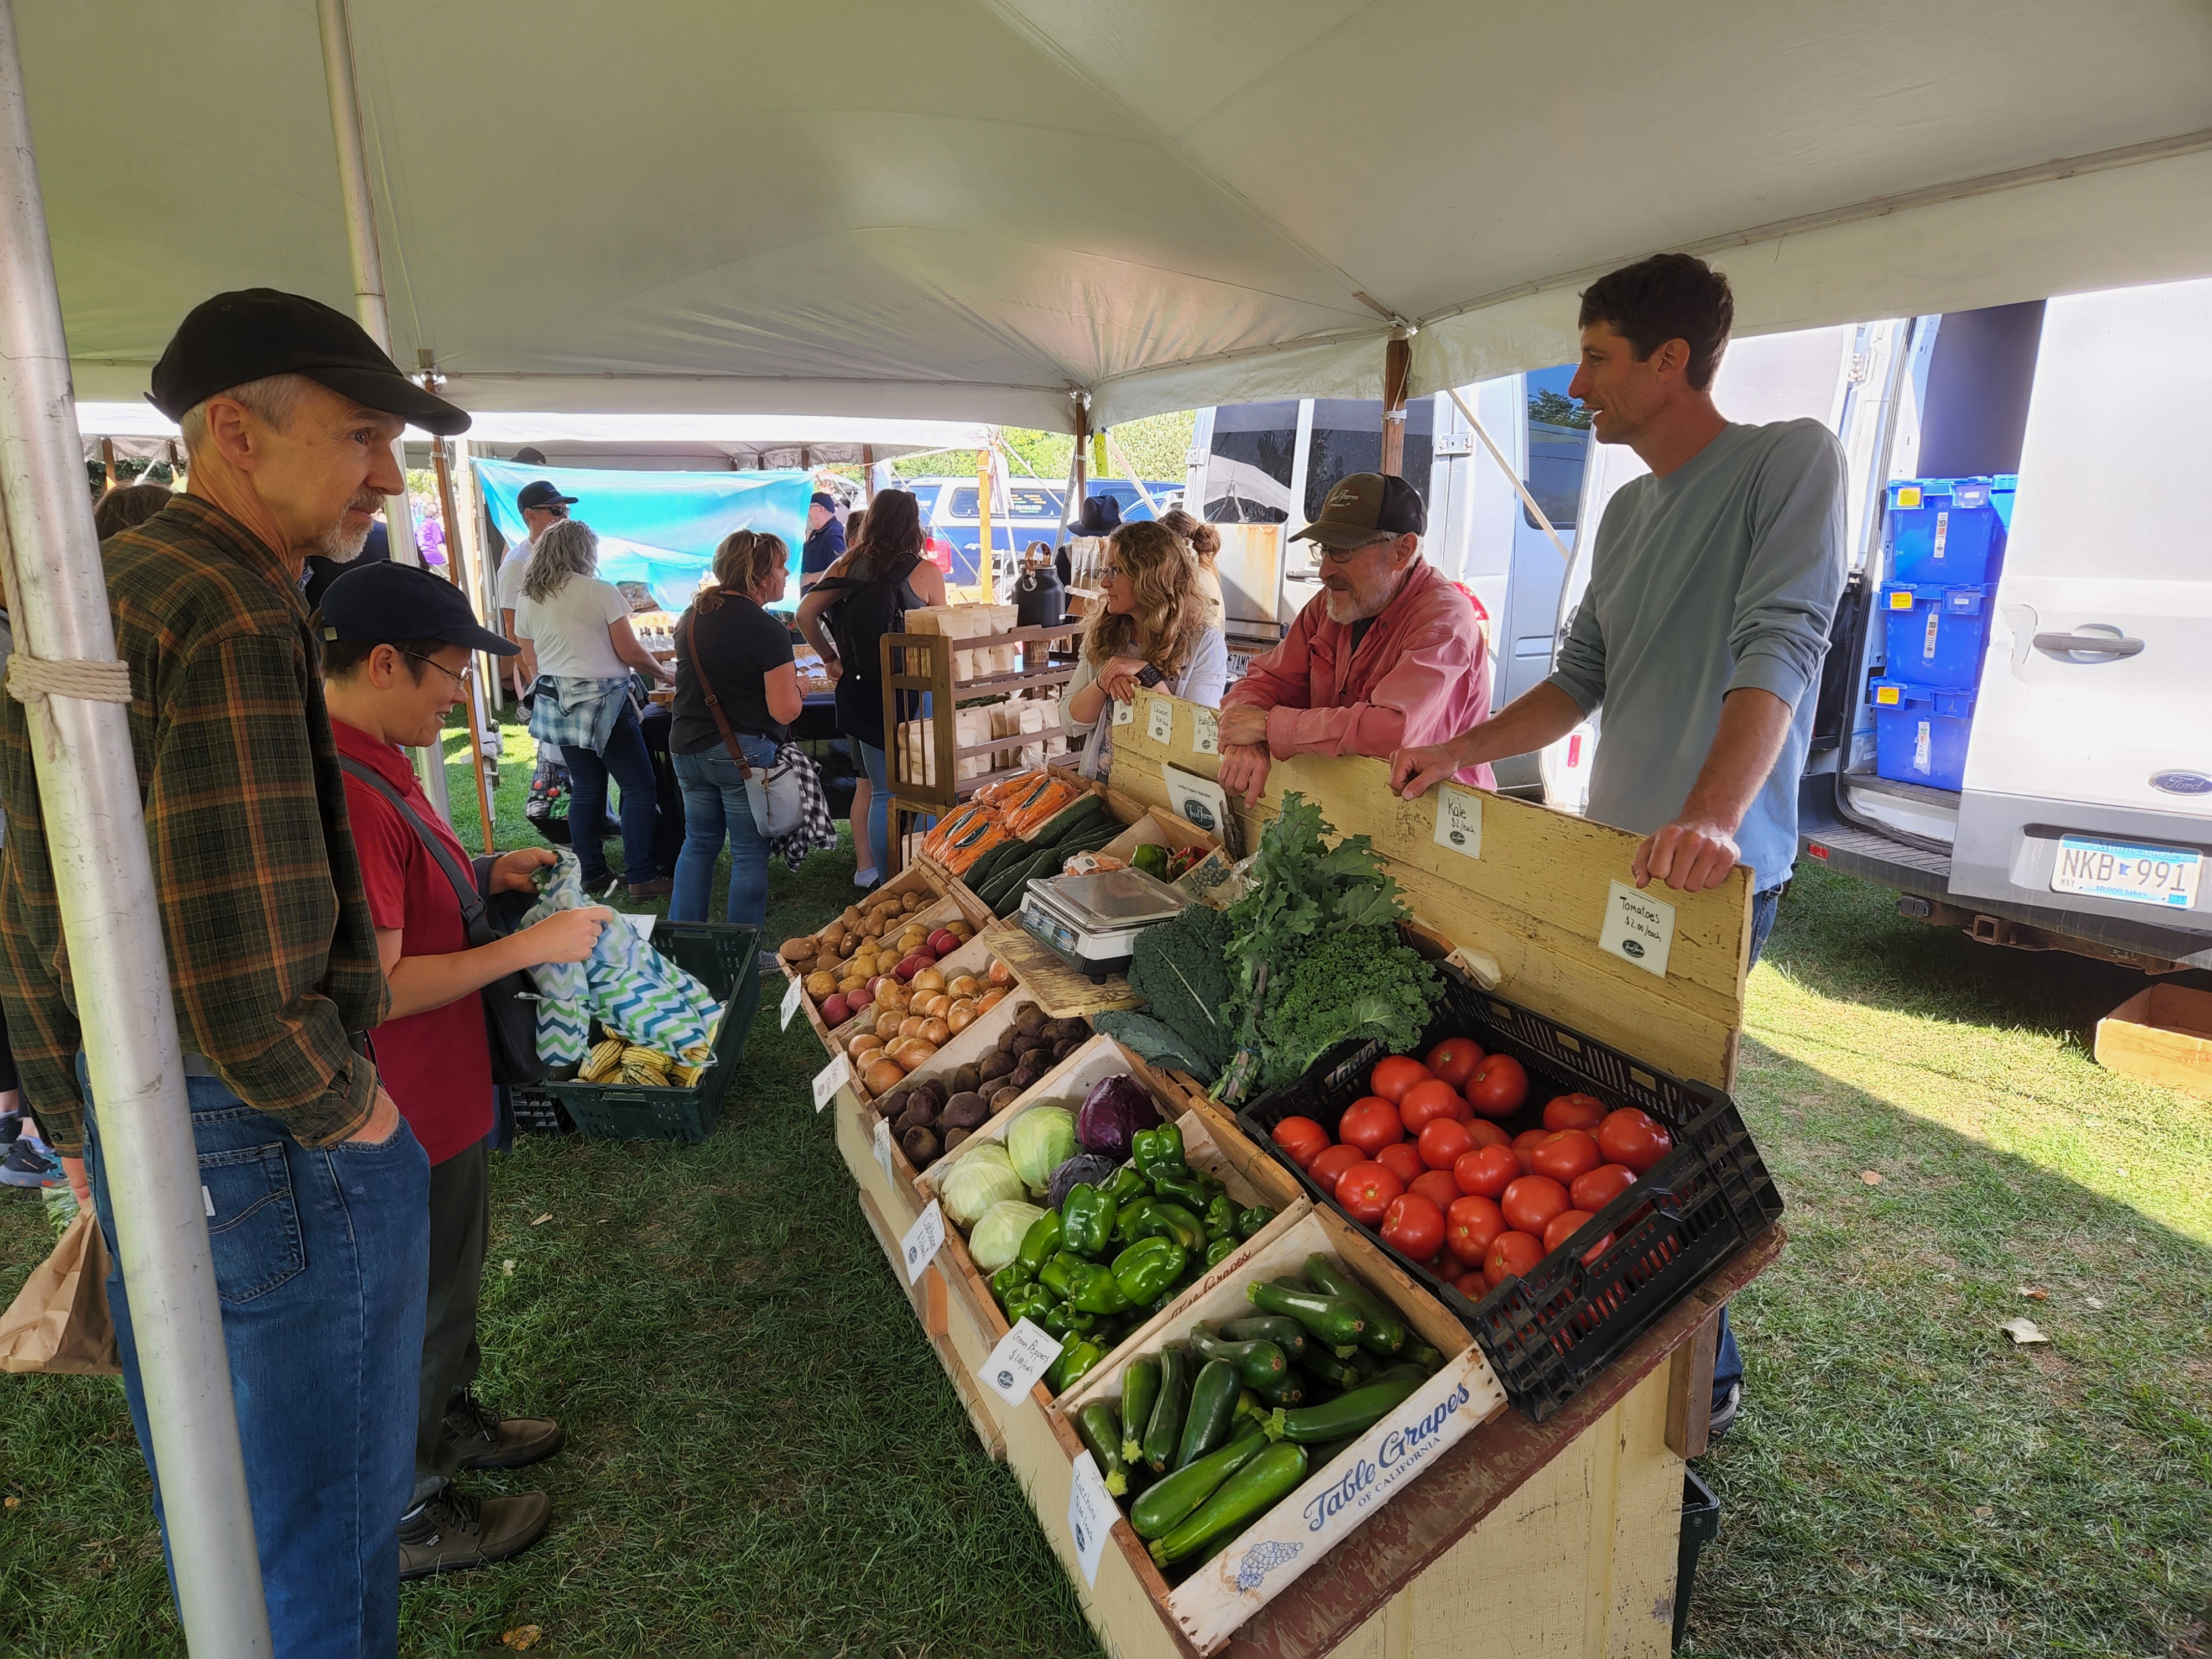
Red Beets – Carrots – Onions – Parsnips – Baby Red & Baby Russet Potatoes – Yellow Potatoes – Rutabagas – Delicata & Winter Sweet Squash


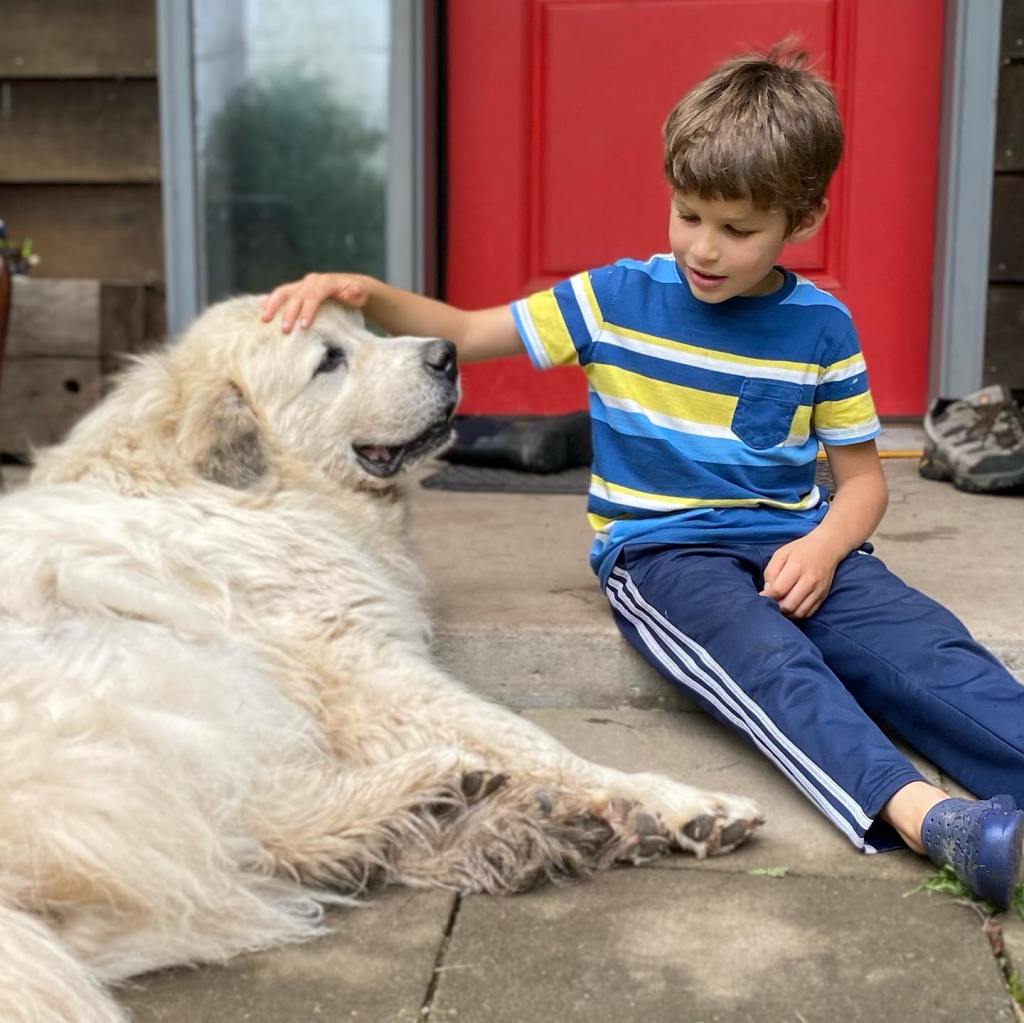
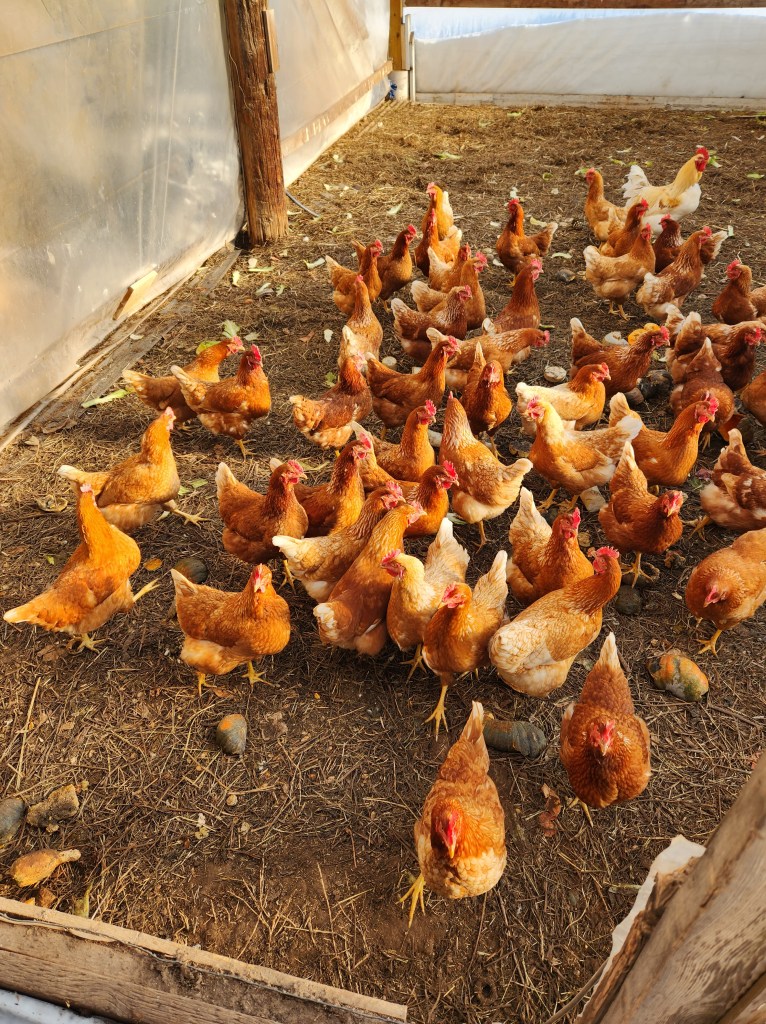
Happy animals on the farm. Our baby polar bear, Chester, is in his element with winter in full swing. He’s a white dog and in white world and we’ve never seen him so clean! Our laying chickens are warm in their greenhouse home and enjoying reject produce so nothing goes to waste. We even have song birds on our bird feeders!


Baby Russet Hash Browns!

Our simplest recipe yet! Tested and approved by numerous Food Farm staff and volunteers. Small russet potatoes make delicious easy hash browns because they have a low moisture content and a high ratio of skin to flesh, so no draining or precooking is required.

Ingredients

  • Baby russet potatoes (grated, as many as desired)
  • Oil
  • Season to taste with salt and pepper

Instructions

  1. Grate baby russet potatoes
  2. Heat a skillet or pan to medium heat and add a generous amount of oil
  3. Spread grated potatoes in a layer no thicker than one inch in the pan. Do not stir or agitate. Cover with a lid until the bottom appears toasted and crispy, then flip the hash browns. (This will likely need to be done in sections around the pan unless you’re just doing a small amount.)
  4. Add a little more oil after flipping (I usually use canola oil at first when the pan is hot and olive oil after flipping)
  5. Once the 2nd side is toasted as well, season and serve!

Want to get experimental? Janaki’s favorite is to add some grated beets to the mix–even kids who normally don’t like beets don’t argue! Or you could try rutabagas, parsnips, or onions, too.


Some folks are unsure what to do with rutabagas and parsnips, but we’re here to help! If the ideas below don’t get you interested, try emailing our Veggie Hotline–fellow farm members who love to help people figure out what to do with produce: veggiehotline@foodfarm.us

How do I use parsnips???

Parsnip is a root vegetable related to carrots and parsley. It looks like a white carrot. The flavor is starchy like potatoes, sweet like carrots and bitter like turnips.

Browse all previously posted parsnip recipes here.

Try something unique like Parsnip Flan or something classic like Simple Roasted Parsnips.


How do I use rutabaga???

Rutabaga is also known as “Swede” and is part of the same plant family as cabbage and turnip. Try substituting rutabaga for potato for a slightly sweeter, lower carb option. We recently added some rutabagas to air-fried french fries and they turned out great!

Browse all previously posted rutabaga recipes here.

Try making some Easy Mashed Rutabaga or Swede Nutmeg Cake.


For the farm crew,

Starr

Winter CSA Box 2, December 2022

Garlic ready to go out in shares.

Happy December! We hope you’re keeping warm and enjoying the holiday season.


In your share this month:

Chioggia Beets – Orange and Purple Carrots – Green Cabbage – Garlic – Yellow and Red Onions – French Fingerling & Russet Potatoes – Sunshine and Delicata Squash


Packing winter share boxes is quite a production! We have all hands on deck and a conveyer table set up that reaches all the way across the pack house.


Egyptian Stuffed Cabbage

Serves 10

Ingredients

Cabbage braising

  • 1 head of cabbage
  • 2 tablespoons salt
  • 1 tablespoon ground cumin

Stuffing

  • 1 tablespoon vegetable or olive oil
  • 1 large onion, finely minced
  • 1-1.5 pounds lean ground beef
  • 1 tablespoon minced garlic
  • 1 can, tomato paste (6 oz.)
  • 3 cups Egyptian rice, or Goya medium grain rice, washed until water is clear
  • 2 tablespoons salt
  • 2 teaspoons ground black pepper
  • 1 teaspoon allspice (optional)
  • 1+ can, crushed tomatoes (28 oz)
  • 1 cup finely minced flat leaf parsley
  • 1 cup finely minced cilantro
  • 1 cup finely minced dill
  • 1 tablespoon Better Than Bullion Chicken flavor
  • 2 tablespoons butter

Instructions

Cabbage braising

  1. In a large, heavy pot, fill with water until about 2/3 full. Add salt and cumin, cover and bring to a boil. 
  2. Remove any wilted or damaged leaves from the cabbage. Turn cabbage upside down (with stem facing you) on a cutting board. Make deep gashes into the cabbage leaves as close to the stem as possible in a circular fashion. Hold the stem and gently pull apart the leaves, one at a time, careful not to rip them. 
  3. Place leaves 2-3 at a time in the boiling water. Allow to cook for 2-3 minutes until it becomes less stiff and just wilted. Do not overcook. Remove and place in a colander. 
  4. Gently peel leaves from the cabbage and cook in small batches. At some point, the cabbage will become too compact to remove the leaves. Hold the cabbage stem and gently lower half the remaining cabbage in the water. With your other hand, you can begin loosening the cabbage leaves one by one into the water. Once you have loosened 2-3 leaves, remove the head and set aside. Repeat until most of the cabbage is cooked. It’s ok to stop at the deepest part of the cabbage, as the leaves become too crinkly to be rolled. 
  5. Allow cabbage to cool. Meanwhile, prepare the stuffing mix. 

Stuffing

  1. In a large Dutch oven or non-stick pot, add the vegetable oil and bring to medium high heat. 
  2. Add the onions and sauté until translucent. If using, add the beef all at once, mixing with the onions and breaking up the clumps. Sauté until browned. 
  3. Add the garlic and mince until fragrant (about 1 minute). Add all of the tomato paste, stirring constantly for 3-4 minutes (the texture will change and become less of a formed paste). Add salt, pepper, and all-spice.
  4. Add the can of crushed tomatoes and stir until evenly mixed. Turn off the heat. 
  5. Pour in all of the washed rice, stirring until mixed. Now add all of the herbs and stir until everything is combined. If necessary, adjust the salt. Transfer to a large mixing bowl and allow to cool. 
  6. Prep the cabbage leaves for rolling. Set up a clean work area with a cutting board. Take one cabbage leaf at a time and spread it out over the board. Cut out the thick stem, reserve for later. With the flat leaf on the board, cut it into 2-3 even pieces that can be rolled in a straight line, about 2 inches wide x 3-5 inches long. See Photo. Make a stack of leaf segments on a clean plate. 
  7. Prepare the pan for cooking: generously drizzle vegetable or olive oil at the bottom of the Dutch oven or nonstick pot. Take several of the cabbage stems and cover the bottom to prevent the rolled leaves from scorching on the bottom layer. 
  8. Roll the leaves: place an entire leaf segment on the cutting board. Leaving 1/2 inch of space at one end, place a line of the stuffing mixture about 1/2 inch wide inside the leaf. Gently roll it up (important to roll it securely but not too tightly, as the rice still needs to expand). See photo. 
  9. Layer the rolled cabbage leaves in one direction until one layer is completely filled, then top with another layer at a ninety degree angle to the first one to prevent the rolled cabbages from unraveling. Continue rolling and layering at 90 degrees until all of the cabbage leaves are rolled (extra rice mixture may remain). 
  10. In a small saucepan, bring 1 cup of crushed tomatoes + 1 1/2 cups of water to a boil. (Alternatively, you can use 2 1/2 cups of water and 1/2 can of tomato paste). Add 1 tablespoon of butter and 1 heaping tablespoon of bullion paste and boil until dissolved. 
  11. Place the pot with the rolled cabbage on medium heat. Pour all of the water/tomato mixture on the rolled cabbages. Cover and cook on medium low for 45 minute-1 hour. Do not uncover for the first 30 minutes, then begin checking if the rice is cooked on the top layers. If it appears too dry, add in 1/2 cup of water and continue to check. The cabbage is done with the rice is completely cooked and the liquid has been absorbed. 
  12. Turn off heat. Add small pats of butter to the top. Cover. Allow to rest for 15 minutes. Enjoy, or: 
  13. Place a large plate over the opening of the pot. Carefully invert the entire pot and let rest for 5-10 minutes. Gently remove the pot and serve immediately.

Recipe from Food52.


Archived Recipes

You can now search previously posted Food Farm recipes using the “Tag Cloud” below. If you click an ingredient below it will take you to a list of the newsletters that include a recipe using that ingredient. Larger text means there are many recipes using that ingredient while smaller text means fewer recipes have been tagged so far.


Arugula Basil Beet Bell Pepper Broccoli Brussels Sprouts Cabbage Carrot Carrot Leaf Cauliflower Celery Chard Chives Cilantro Cucumber Delicata Squash Dill Dressing/Sauce Egg Garlic Garlic Scape Green Bean Green Onion Kale Leek Mint Napa Cabbage Onion Parsley Parsnip Pepper Potato Radish Red Onion Red Potato Rutabaga Scallion Shallot Spinach Thyme Tomato Turnip Winter Squash Yellow Onion Zucchini


We hope this will help you explore new and old recipes and take advantage of the produce in your share!


For the farm crew,

Starr

Winter CSA Box 1, November 2022

Welcome to the first month of the Winter CSA Season! Thank you for choosing local and organic.

Farm polar bear, Chester, wandering the fields around the chickens after a light dusting of snow. Chester keeps everyone safe on the farm!

Things have been busy busy busy this fall! The farm crew has been working hard filling up the root cellar with all the produce that will feed the CSA members through the winter and be sold to local restaurants and grocery stores. Our final full crew work day culminated in a party where we honored Dave our farm manager, who has been working at the Food Farm for 30 years! Thank you for being a great leader Dave!

I took the liberty of wearing my Halloween costume to the party, because I felt it was appropriate to what we do at the farm. Can you tell which vegetable I am? If you’re confused, just look at the skirt and ignore the rest. You’ll be getting this vegetable in next month’s CSA box!


In your share this month:

Beets – Brussels Sprouts – Red Cabbage – Carrots – Celery – Fresh Herbs – Onion – Red Potatoes – Yellow Potatoes Delicata Squash Kabocha Squash


On our last full crew work day last Friday, we moved the chickens into their winter home. The girls would get too cold out in the field during the deep winter, so they are moved to an indoor barn area to keep warm. You may wonder how we move 100 chickens from a wide open field to another area of the farm. In the evening all the chickens go into their coop for protection (the metal structure pictured above). Little do the chickens know that their house is actually a trailer on wheels that can be pulled by tractor to a new location. Once the the coop is moved close to the chickens’ winter home, we get them into the building by forming a long line of farm crew, family members and volunteers, and we commence the biannual chicken hugging. Janaki hands each person two chickens which are held in a “bear” hug and walked to the barn where they are loving deposited into their winter coop. As we move them, Farmer John serenades them with a special song he wrote for the occasion!


Balsamic-Roasted Brussels Sprouts

2-3 servings

Ingredients

  • 2 Tbsp extra-virgin olive oil
  • 1.5 Tbsp balsamic vinegar
  • .5 Tbsp. (or more) honey
  • 1 tsp. Diamond Crystal or .5 and a pinch tsp. Morton kosher salt
  • 2 medium garlic cloves, finely grated
  • Freshly cracked black pepper
  • 1lb. brussels sprouts, trimmed, halved, quartered if large
  • Flaky sea salt (as garnish)

Instructions

  1. Place a rimmed baking sheet on middle rack in oven; preheat oven to 425°. Stir together olive oil, balsamic vinegar, honey, salt, and garlic in a medium bowl; season with freshly cracked black pepper. Taste mixture and add more honey if needed. Add Brussels sprouts along with any loose leaves; toss to coat.
  2. Carefully remove baking sheet from oven. Using tongs, arrange brussels sprouts cut side down on baking sheet. Roast until deeply browned underneath and tender, 25–30 minutes. Sprinkle with flaky sea salt.

Based off recipe from Bon Appétit.


Stuffed Delicata Squash with Quinoa, Cranberry and Pistaschio.

Ingredients

Squash

  • Delicata squash, sliced in half lengthwise and seeds removed (recipe for 3, but make as many or few as you like or have, adjust the stuffing quantity accordingly)
  • 1 tablespoon pure maple syrup or olive oil
  • 2 teaspoons thyme, fresh or dried (try substituting with rosemary from your CSA box!)

Quinoa Stuffing

  • 1 cup dried quinoa, rinsed well
  • 1 3/4 cup water
  • 1/2 – 3/4 cup dried cranberries
  • 1/2 – 3/4 cup pistachios
  • 1 shallot, finely diced (try substituting with onion from your box!)
  • salt & pepper to taste

Instructions

  1. Preheat oven to 375 degrees F. Line a baking sheet with parchment or silicon mat.
  2. Prep and roast the squash: Wash and dry squash. Slice each squash in half lengthwise, remove seeds. The seeds should come out easily by scraping the inside of the squash with a spoon. Lightly brush the inside of each squash with a little oil or maple syrup. Sprinkle with a bit of salt and herbs. Place on baking sheet cut side up. Bake in oven for 35 – 40 minutes, or until squash is tender and pierces easily with a fork.
  3. Quinoa Stuffing: In a medium pot, add quinoa and water, bring to a boil, cover, reduce heat to low and simmer for 15 minutes. Remove lid, fluff a fork and let set 10 minutes. Add pistachios, cranberries, shallots, salt, pepper. Toss well to combine.
  4. Assemble: Scoop quinoa into squash halves, place back in the oven for 10 minutes to warm if needed, and serve.

Recipe from The Simple Veganista


Pictures from Harvesting

In preparation for this Winter season.

Cabbage
Winter Squash
Onions drying
The carrot harvester in action

For the farm crew,

Starr

Summer CSA Week 18, 2022

The last share of the 2022 summer season!

Last week the leaves along the road were golden (pictured left) and this week there are more leaves on the ground than in the trees (pictured right). It is time for us to wrap up our 2022 delivery season. Winter shares will start November 14th. See below what to do with your Summer Share boxes. In your email inbox soon you will find a link to an online survey about how the Summer Share worked for you this season–thanks for taking the time to help us improve!

It has been a pleasure having you as part of the Food Farm family!


In your share this week:

Arugula – Beets – Brussels Sprouts – Red Cabbage – Carrots – Celery – Greens Mix – Onion – Sweet Red Peppers (not hot) – Yellow Potatoes – Rutabaga – Spinach – Winter Squash – Tomato – Thyme


What should I do with my CSA box now that the season is over?

I’m so glad you asked! You have two options:

  1. Bring your own bag or box to your CSA pick-up location. Take your produce and leave the CSA box for us.
  2.  Bring your empty Food Farm CSA share box back at your Please have your box back to your pickup site by next Thursday, October 20th, or bring bags with you to take your veggies home.

Returning your box helps us avoid buying more plastic. 


Beet Arugula Salad

Ingredients

  • 6 medium (2 lbs) beets
  • 5 oz (6 cups) baby arugula, rinsed and spun dry
  • 4 oz or 1/2 cup feta cheese or blue cheese, diced or crumbled
  • 1/2 cup pecans or walnuts, toasted
  • 1/2 cup dried cranberries

Balsamic Vinaigrette

  • 1/2 cup extra virgin olive oil
  • 3 Tbsp balsamic vinegar
  • 1 Tbsp dijon mustard (we love Grey Poupon brand)
  • 1 garlic clove, pressed or finely minced
  • 1/4 tsp salt
  • 1/8 tsp black pepper
  • Try adding minced rosemary and/or thyme

InstructionS

How to Cook Beets in an Instant Pot:

1. Wash and trim the beets so that the stems are about ½-inch long and the roots are no more than about 2 inches long.

2. Place basket insert into instant pot and add 1 cup water. Arrange the beets in a single layer over the insert.

3. Lock the lid and make sure the valve on the lid is pointed at the “Sealing” position. Press the “Pressure Cook” button and cook on high pressure for 15 minutes. (If you have smaller beets, it might take just 10 min to cook. Larger beets, however, will take 20 to 30 minutes to cook.)

Or without an Instant Pot:

1. If you don’t have an instant pot yet: Preheat the oven to 400˚F. Line the bottom of a medium rimmed baking sheet with foil. Wrap each beat in a sheet of foil, wrapping tightly to seal and arrange the beets on the lined baking sheet. Bake in a preheated oven for 1 hour or until largest beet is easily pierced. Remove from oven, unwrap and allow them to cool to room temperature then peel the skins (see Pro Tip Below) and slice into halves and then wedges.

2. Toast 1/2 cup pecans on a dry skillet, tossing frequently until golden and fragrant. Remove from heat and cool to room temperature.

3. Transfer the arugula to a large mixing bowl then add remaining salad ingredients: sliced beets, 1/2 cup feta cheese, 1/2 cup toasted pecans and 1/2 cup dried cranberries.

4. To make balsamic vinagreate, combine all dressing ingredients in a small jar and shake well to combine. Drizzle over salad to taste. If not serving salad right away, shake the dressing again just before drizzling over salad.

Recipe based off Natasha’s Kitchen.


Harvesting cabbages. We love throwing our food!
And there’s lots more harvesting to be done before snow comes!

For the farm crew,

Starr

Summer CSA Week 17, 2022

It’s pumpkin time!

This is the penultimate CSA week! You will be receiving a carving pumpkin with your share this week. The pumpkins do not fit in the box, so please remember to grab your pumpkin when you pick-up. Enjoy carving jack o’lanterns! Try roasting your pumpkin seeds for a bonus tasty snack.

Next week will be the 18th and final CSA box for this season. It has been a joy having you as part of the Food Farm family!

Loading up pumpkins for Monday deliveries.

In your share this week:

Noreaster Beans – Broccoli – Carrots – Garlic – Leeks – Lettuce – Onion – Sweet Red Peppers (not hot) – Jalapeño Pepper (hot) – Yellow Potatoes – Daikon Radish – Delicata and Acorn Squash – Tomatoes – Parsley


Leaves changing at the farm


Universal Cream of Vegetable Soup

This recipe works for nearly any vegetable the farm grows – from celery to leeks to squash! This is also a great way to use up veggies from last week.

Ingredients

  • 4 tbsp butter
  • 6-8 cups coarsely chopped veggies (suggested starting point: 1 med onion coarsely chopped, 2 leeks, one clove garlic minced, 2 diced carrots,  2-3 stalks celery coarsely chopped, 2 potatoes diced. Add any other veggie like broccoli, cauliflower, or  squash to total 6 cups veggies.)
  • 1/4 cup flour.  
  • 4 cups broth (chicken, pork or veggie)
  • 1/2 to 1 cup milk or cream
  • Salt and pepper to taste

Instructions

  1. Sauté veggies in the butter 10-15 minutes (until tender but not brown).
  2. Add flour and cook for a couple of minutes.  
  3. Turn heat to high and add 4 cups of broth (chicken, pork or veggie), while constantly stirring as the soup thickens.  Bring to a boil.  
  4. Reduce heat to simmer the soup.  Cook, partially covered, until the vegetables are very tender (appx 30 minutes).   Using an immersion blender, food processor, or blender process the soup until smooth.  Add a little water or more broth if the soup is too thick and difficult to process.  
  5. Return soup to the pot and add 1/2-1 cups milk or cream.  Salt and pepper to taste.
  6. Can be served with grated cheese.

Recipe from Deb Rausch


What to do with Daikon Radish?!

This week you will find daikon radish in your box. Daikon is a large peppery variety of radish that is common in Asian cuisines. This crunchy vegetable can be eaten raw, pickled (like in traditional kimchi), or cooked.

Vietnamese Pickled Carrots & Daikon Radish (Đồ Chua)

Ingredients

  • 1/2 lb daikon radish*
  • 1/2 lb carrots*
  • 1 tbsp salt
  • 1/2 c boiling water
  • 5 tbsp granulated white sugar
  • filtered room temp. water
  • 4 tbsp distilled vinegar

Instructions

  1. Peel daikon and carrots, then cut with mandolin slicer medium to small matchsticks. Smaller cuts will pickle faster.
  2. In a large bowl, sprinkle with salt evenly and toss to coat. Soak for 15 minutes.
  3. Rinse thoroughly to remove the salt and in small hand-fulls, squeeze to remove as much moister as you can.
  4. Add to jars, filling almost to the top.
  5. Create the vinegar solution (brine) by boiling water then adding sugar. Mix to dissolve. Add vinegar.
  6. Pour this liquid evenly into your jars. If needed, add extra room temp water to barely fully submerge the veggies.
  7. Screw on the lids, store at room temperature until pickled to your taste, checking every 12 or 24 hours. It usually takes 2-5 days depending on the temperature.
  8. Refrigerate when ready, for up to 3 weeks, or until too sour or veggies lose their crunch.

*You can change the ratio of veggies to your preference and/or scale the recipe up or down depending on how much veg you have to pickle. Just make sure you have enough brine to completely submerge your veggies.

Based off recipe from Hungry Huy.

Check out other daikon recipes here.


For the farm crew,

Starr

Summer CSA Week 16, 2022

Leaves are starting to change color on the farm.

Sixteen weeks! Can you believe it? After this week, we have two more distributions in our summer CSA. Autumn is truly harvest season. Shares this week are overflowing and the farm crew is building muscle bringing in heavy squash, pumpkins and carrots. Temperatures are brisk and refreshing and we are making preparations for the fast approaching first frost.

Crew harvesting kale and rutabagas

In your share this week:

Green Beans – Carrots – Cilantro – Cucumber – Kale – Onion – Sweet Red Peppers (not hot) – Green Bell Peppers – Hot Wax Pepper – Potatoes – Rutabaga – Squash – Spinach – Tomatoes


Harvesting Squash

It’s always fun when throwing food is encouraged! The squash plants spreads out across the whole field, so when we harvest, squash are spread everywhere. To get squash consolidated we toss squash to each other across the field. You will find delicata and kabocha squash in your shares this week


Onions curing

Minnesota Pasties

This week’s box has all the vegetable ingredients you need for tasty pasties!

Ingredients

Crust

  • 1 stick butter, cubed
  • 1/2 cup shortening (Crisco)
  • 1 cup boiling water
  • 1 tsp salt
  • 3 1/2 to 4 cups flour

Filling

  • 1 1/2 lb meat, 70% ground beef, 30% ground pork (make vegetarian by excluding meat and adding a vegetarian gravy to the veggie filling)
  • 2 diced onions
  • 1 cup carrots, diced
  • 1 1/2 cups rutabaga, peeled and diced
  • 4 cups potatoes diced
  • 2 tsp salt
  • 1 tsp pepper
  • dash of garlic salt (or use a minced fresh garlic clove)
  • butter
  • milk

Instructions

  1. Melt butter and Crisco in microwave. Stir in rest of crust ingredients. Do not over mix. Let cool to room temperature.
  2. Preheat oven to 400°F.
  3. In a very large bowl, add ground beef and pork together, squishing together with a clean hand to combine. Roughly break apart into dime sized pieces. Add in all veggies and seasoning and mix ingredients well.
  4. For jumbo sized pasties, roll dough into 10 inch circles. Add 1 cup filling on one side of each circle. With water, wet the edges of the dough around the filling. Add 1/2 tsp butter on top of filling. Fold dough over the side with the filling making a pouch. Press and seal all edges tightly. Trim any uneven edges and make a 1 inch slit on top of the pasty. Brush top with milk. Repeat until all ingredients are gone. For smaller pasties use 5 inch circles of dough and 1/2 cup of filling.
  5. Bake for 1 hour at 400° F. Let cool slightly before serving, or let cool completely before storing.

Recipe from Just a Pinch Recipes.

Check out some other great rutabaga recipes in our “April Winter CSA” post.


A sneak peak of what’s to come!

For the farm crew,

Starr

Summer CSA Week 15, 2022

At the Food Farm, we love our carrots, and our carrots love each other.

We are moving towards fall with seasonal favorites like leeks and acorn squash. We also have Noreaster beans, a very distinctive green bean and a favorite of the farm crew because of its great flavor.


In your share this week:

Noreaster Beans – Beets – Cabbage – Carrots – Cucumber – Leeks – Lettuce – Onion – Sweet Red Peppers (not hot!!!) – Green Bell Peppers – Russet Potatoes – Acorn Squash – Tomatoes


How we harvest our carrots

You probably love Food Farm carrots as much as we do. Our carrots go into your CSA boxes, go to several wholesale accounts including the Whole Foods Co-ops in Duluth, and are part of the our winter CSA shares. Long story short, we grow A LOT of carrots, and harvesting those carrots is quite a production!

We need three different pieces of equipment and a farm crew of at least five to harvest carrots mechanically. First in the harvest train is the tractor, which pulls and powers everything mechanical. Next is the carrot harvester. The carrot harvester digs up the carrots, pulls them up a conveyor by their tops (leaves), and then slices off the tops so they fall into a collection bucket. One person drives the tractor while another person (always Janaki) steers the carrot harvester making sure it is perfectly lined up with the rows, digging to the appropriate depth and generally running properly. Lastly, is the trailer with the collection buckets and farm crew. Carrots come down the chute FAST. One person kneels down swapping out new buckets as they fill, approximately a new bucket every eight seconds. The first crew member sets full buckets aside, and a 2nd crew member moves that bucket from the front to the back of the trailer and gets a new empty bucket ready for the first person to grab. The third and final person arranges full buckets in the back of the trailer or dumps buckets into a pallet box so we can fit as many carrots on the trailer as possible! It’s cardio, weight-bearing, and teamwork so let us know if you’d like to add it to your workout routine this fall.


Gado Gado (from The Moosewood Cookbook)

Ingredients

  • 2 cups rice
  • ½ tsp turmeric
  • broccoli or cauliflower
  • green beans
  • green or red cabbage, finely shredded
  • carrots, sliced thinly
  • cucumber
  • peppers
  • squash
  • tomato
  • lettuce

Instructions

  1. Make yellow rice by cooking 2 cups of rice in 3 cups of simmering water with 1/2 tsp of turmeric until tender.
  2. Cut all vegetables into small bite-sized pieces. Exact measurement are not necessary, just use what you like! Lightly steam the cauliflower/broccoli, green beans, and squash.
  3. Tear the lettuce or greens mix and place on a platter or plate.  Top the greens with the yellow rice.  Arrange the chopped vegetables on top of the rice.  Top with hard boiled eggs and/or tofu.  Dress with the peanut sauce.

Peanut Sauce

Ingredients

  • 1 cup peanut butter
  • 1 heaping tablespoon grated ginger (fresh)
  • 1 heaping tablespoon finely minced garlic
  • 3 tablespoons brown sugar
  • 1.5 cups hot water
  • 4 tablespoons cider vinegar
  • 2 tablespoons soy sauce
  • 1 tsp salt
  • crushed red pepper, to taste

Instructions

  1. Put everything in a blender and puree until smooth.  If the sauce is too thick, add a little extra water.  Drizzle over Gado Gado.

The Gado Gado can also be topped with sauteed ginger and garlic (very thin slices), crispy fried onions, shredded coconut, and slices of oranges.


Looking for past recipes?

You can search all past newsletters using the search box in the upper right hand corner of your screen. If you remember the title or unique keywords in a previously posted recipe, this can be helpful way to find old recipes.

If you’re looking more generally for a recipe to use something in your box check out the tag cloud below:

Arugula Basil Beet Bell Pepper Broccoli Brussels Sprouts Cabbage Carrot Carrot Leaf Cauliflower Celery Chard Chives Cilantro Cucumber Delicata Squash Dill Dressing/Sauce Egg Garlic Garlic Scape Green Bean Green Onion Kale Leek Mint Napa Cabbage Onion Parsley Parsnip Pepper Potato Radish Red Onion Red Potato Rutabaga Scallion Shallot Spinach Thyme Tomato Turnip Winter Squash Yellow Onion Zucchini

The larger the word above the more posts with a recipe that features that vegetable. Click the vegetable you’re seeking a recipe for, and our website will return a list of all the newsletters that feature that vegetable!


For the farm crew,

Starr

Summer CSA Week 14, 2022

The whole crew picking green beans.

It has been an exciting week! Saturday was Harvest Fest at Bayfront Festival Park. It was great seeing all of you that stopped by our booth. We have also had a new crew member join the gang and an old crew member move on to great new things.

A note about peppers: The large pointy red peppers are a SWEET pepper variety named Carmen. The smaller yellow pointy pepper are a HOT pepper variety.

In your share this week:

Green Beans – Carrots – Celery – Cilantro – Cucumber – Garlic – Onion – Red Pepper – Green Peppers – Hot Peppers – Potatoes – Tomato – Zucchini


Here are pictures from our Harvest Fest booth! We moved a lot of produce on Saturday. Thank you to everyone who came out. Harvest Fest is hosted by the Lake Superior Sustainable Farming Association.


Tomato and Pepper Chunky Salsa

Salsa is one of the joys of summer. It’s great as a snack with tortilla chips or on top of eggs. Luckily, salsa is very easy to make!

Ingredients

  • 7 medium tomatoes
  • 1 red bell pepper (the long pointed one)
  • 1 small diced red onion
  • 1 hot pepper
  • ½ cup fresh cilantro
  • 1–2 garlic cloves
  • juice of 1 lime
  • ½ tsp pepper
  • ½ tsp cumin
  • 1 tsp salt, or to taste

Instructions

  1. Finely dice the tomatoes, red bell pepper, red onion, hot pepper, garlic and cilantro. Combine in a large bowl and add lime juice and seasonings.
  2. Alternatively, process all ingredients in a food processor for 30 seconds.
  3. Store in the refrigerator in an airtight container for up to 1 week.

Recipe based off the green creator..


Congrats to our former crew member, Emily, who is moving on to a great new job in her field. Emily has been with the Food Farm for two years and wrote last year’s newsletters.

This beautiful key lime pie was made in Emily’s honor by Charlie, a fellow crew member.


A great morning for spiders!

The first spider is a funnel-weaver spider with in her name-sake funnel web beautifully outlined in morning dew. This spider was found next to our celery rows. The picture doesn’t do justice to the unique 3D tunnel structure this spider builds. The second spider is a black and yellow argiope, also called a black-and-yellow garden spider, which may be the largest web-building spider in the northern United States. She was a big one! She was found feasting on a fly in her web that spanned one of the green bean paths. (We made certain not to disrupt her.) Many think because this spider is so colorful and large it must be dangerous, but in reality, they are shy and rarely venture off their webs. We appreciate these spiders eating the more annoying bugs for us!


For the farm crew,

Starr

Summer CSA Week 13, 2022

After a couple of cool days, we’re ready for another warm dry week at the farm. Aside from routine harvest tasks, the main jobs for this week are bringing in a beautiful crop of storage onions and scouting the fields for weeds that eluded summer’s cultivation and hand weeding.

In your share this week:

Basil – Green Beans – Carrots – Cucumber – Lettuce – Melons – Green Peppers – Hot Peppers – Sweet Onion – Red Potatoes – Tomato – Zucchini


A friend flew over the farm this weekend–it’s nice to see that it looks just as good from the air!

Classic Stuffed Peppers

Ingredients

  • 4 large green bell peppers or about 5 small ones
  • 15 ounce can tomato sauce
  • 1/2 pound ground beef or turkey
  • 1/3 cup chopped onion
  • 1 cup cooked brown or white rice
  • 1/8 teaspoon salt
  • 1/8 teaspoon black pepper
  • 1/8 teaspoon garlic powder

Instructions

  1. Place minced garlic and chopped cilantro in a large bowl and set aside.
  2. Bring water to a boil and plunge in green beans. Cook just until tender, about 5-10 minutes, do not overcook. Drain well and place beans back in hot pan, turn on stove burner and shake for 30 seconds to dry the beans out. Pour hot beans in the bowl with the garlic and cilantro mixture and stir briefly, then let sit untouched for ten full minutes. Add olive oil, toss and place in refrigerator overnight or for at least 4 hours.
  3. Before you are ready to serve, remove beans from refrigeration and let sit for 45 minutes at room temperature. Add lemon juice, vinegar and pepper. Toss, taste for seasoning and serve.

Recipe from Feast and Farm.


Fruit Dip to serve with your melon!

Ingredients

7oz marshmallow fluff

8oz cream cheese, softened to room temperature

2 Tablespoons frozen orange juice concentrate, thawed

Instructions

  1. Spoon marshmallow fluff into a large, microwave safe mixing bowl then microwave for 15 seconds. Add softened cream cheese and orange juice concentrate then whisk or beat with an electric hand mixer until very smooth. Chill for several hours or overnight. Serve with assorted fruit.

Based off a recipe from iowa girl eats.


Chester and Ellis

For the farm crew,

Starr

Summer CSA Week 12, 2022

Loading up the tractor for a hayride last Saturday.

It was so great seeing so many of you at the farm on Saturday. We hope you enjoyed the pizza, hay rides and exploring the farm. The farm crew loved meeting the families we feed each week!

In your share this week:

Green Beans – Beets – Carrots – Cilantro – Cucumber – Lettuce – Green Peppers – Hot Peppers – Onion – Red Potatoes – Tomato – Zucchini

Taste the rainbow 😉

Guess what vegetable these baby plants will grow up into!

Scroll to the bottom for the answer.


The weather was beautiful on Saturday in spite of threatening rain in the morning. The pizzas were not and tasty and covered in farm fresh produce. Thank you to the farm family and extended family for providing the awesome food. The pizza was cooked in a home-built woodfire oven right in the farm house backyard. Have you ever had a breakfast pizza? If you haven’t had egg on your pizza, you’re missing out!


Marinated Green Beans with Cilantro and Garlic

Ingredients

1 tablespoons minced garlic

1/3 cup chopped fresh cilantro

1 pounds fresh green beans, trimmed and washed

Salted water to boil

2 1/2 tablespoons extra virgin olive oil

1/2 tablespoon lemon juice

1 1/2 tablespoons cider vinegar

freshly ground black pepper to taste

Instructions

  1. Place minced garlic and chopped cilantro in a large bowl and set aside.
  2. Bring water to a boil and plunge in green beans. Cook just until tender, about 5-10 minutes, do not overcook. Drain well and place beans back in hot pan, turn on stove burner and shake for 30 seconds to dry the beans out. Pour hot beans in the bowl with the garlic and cilantro mixture and stir briefly, then let sit untouched for ten full minutes. Add olive oil, toss and place in refrigerator overnight or for at least 4 hours.
  3. Before you are ready to serve, remove beans from refrigeration and let sit for 45 minutes at room temperature. Add lemon juice, vinegar and pepper. Toss, taste for seasoning and serve.

Based off a recipe from A Family Feast.


Parsnip!

Parsnip is a member of the parsley family. You eat the root of the mature parsnip, which looks similar to a white carrot.


For the farm crew,

Starr