The Farm Crew, Part III: Jennifer Cartwright

Jennifer had been working at Food Farm for just three weeks when I conducted this interview, but she had already proved herself to be a valuable member of our team. She’s enthusiastic about learning each task and quick to master new skills.

How did you make your way to the Food Farm, and what’s your first memory of working here?

Before this, I was working in corporate America, which was not very interesting to me, and I was tired of waking up to do something that I wasn’t excited about. So, I figured if I could get paid to do something I loved, that would be ideal. And I love food, so working on a farm made sense.

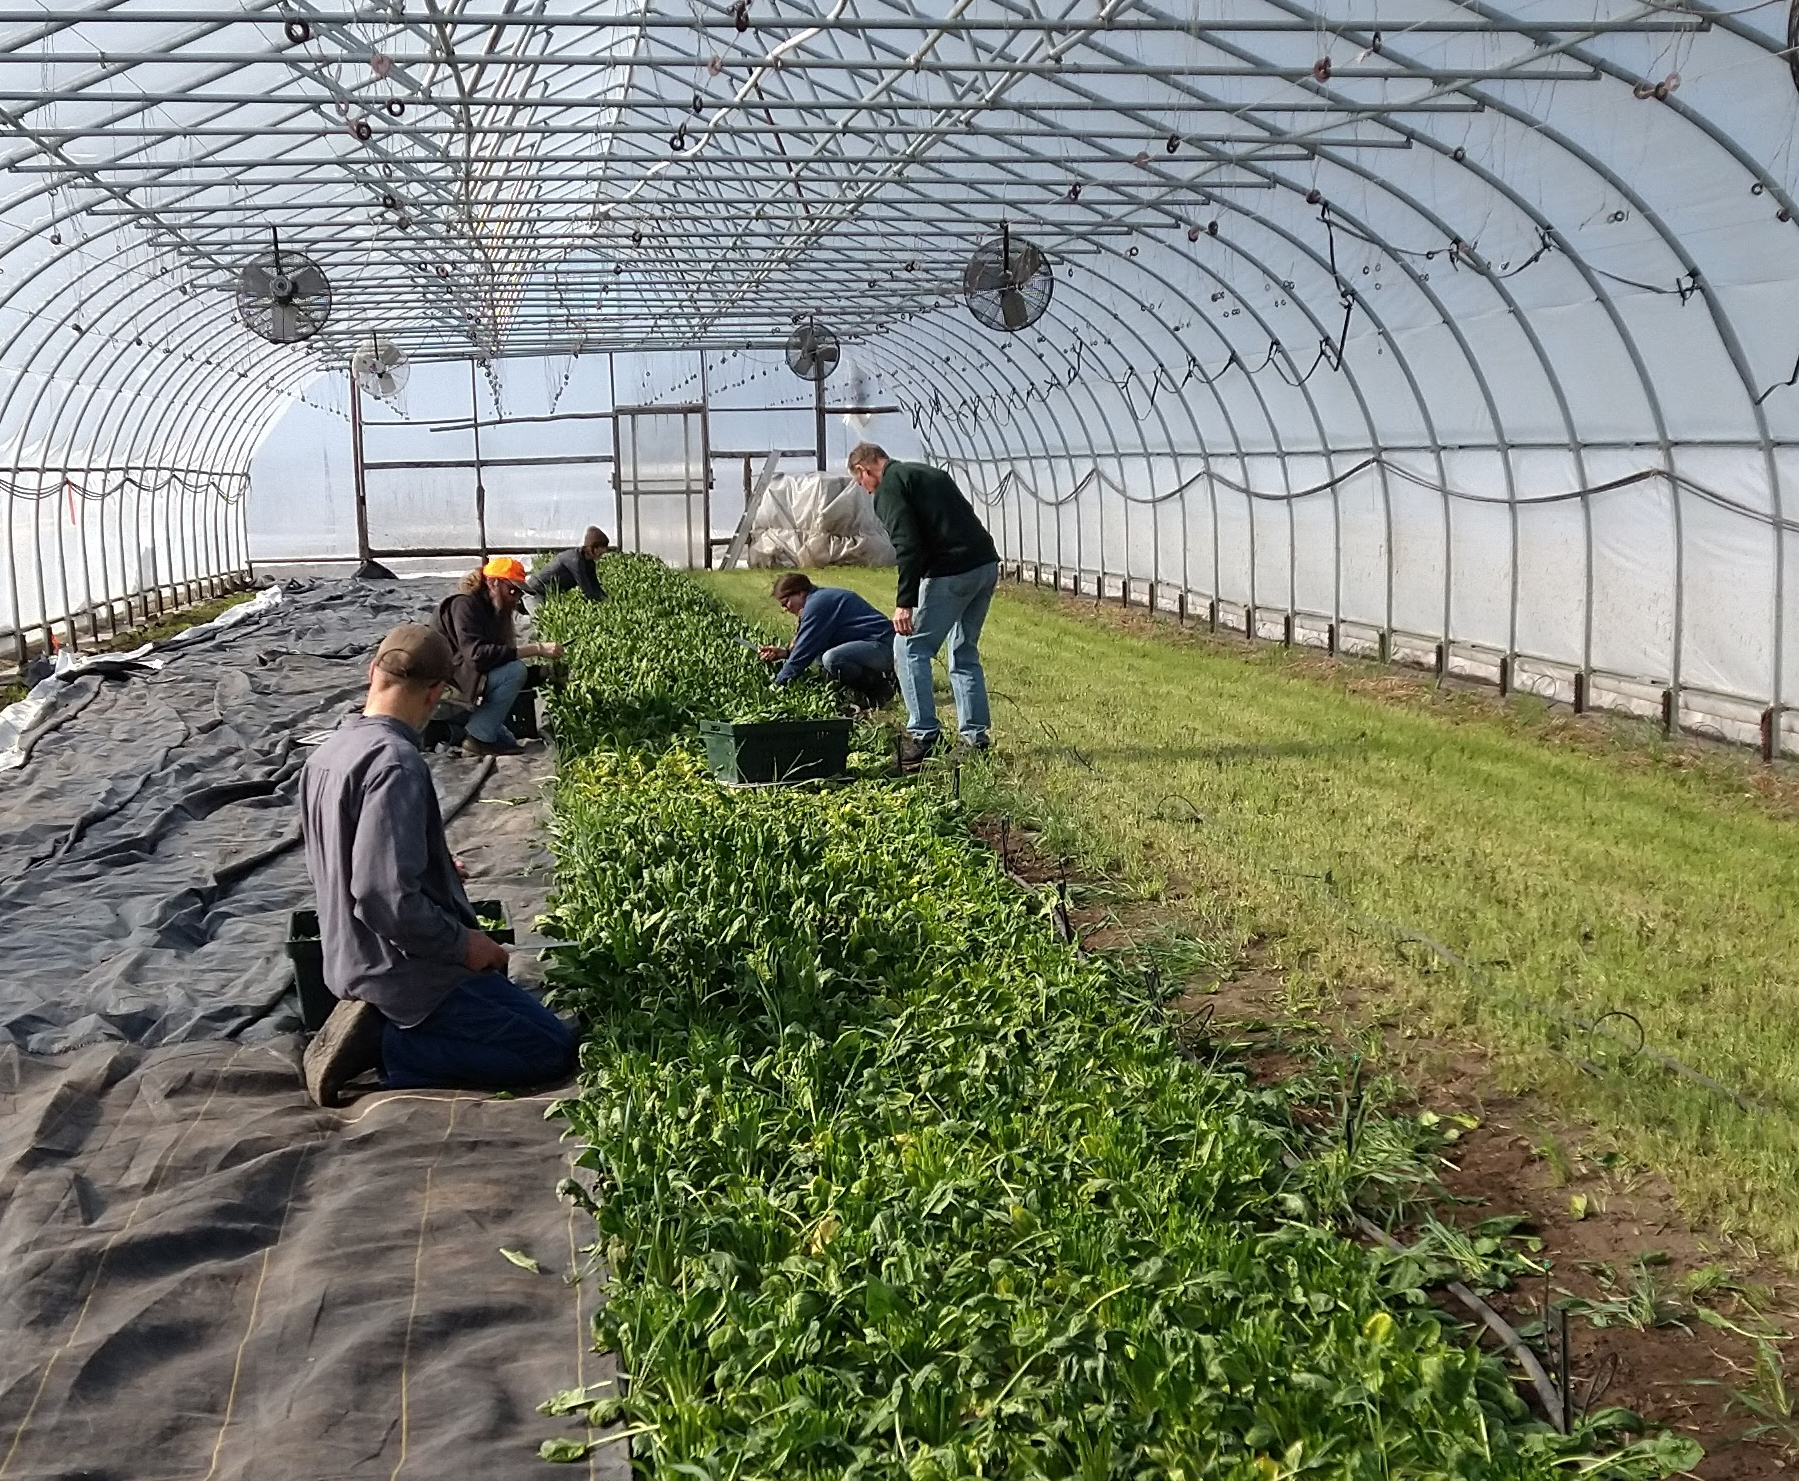
On my first day here, Dave [Hanlon] walked me around to all the greenhouses and showed me everything that was going on, and it was such an exciting moment because I was already learning so much from him. He really took the time to explain things to me, and I appreciated it.

In your short time here, what has been your favorite farm task or activity?

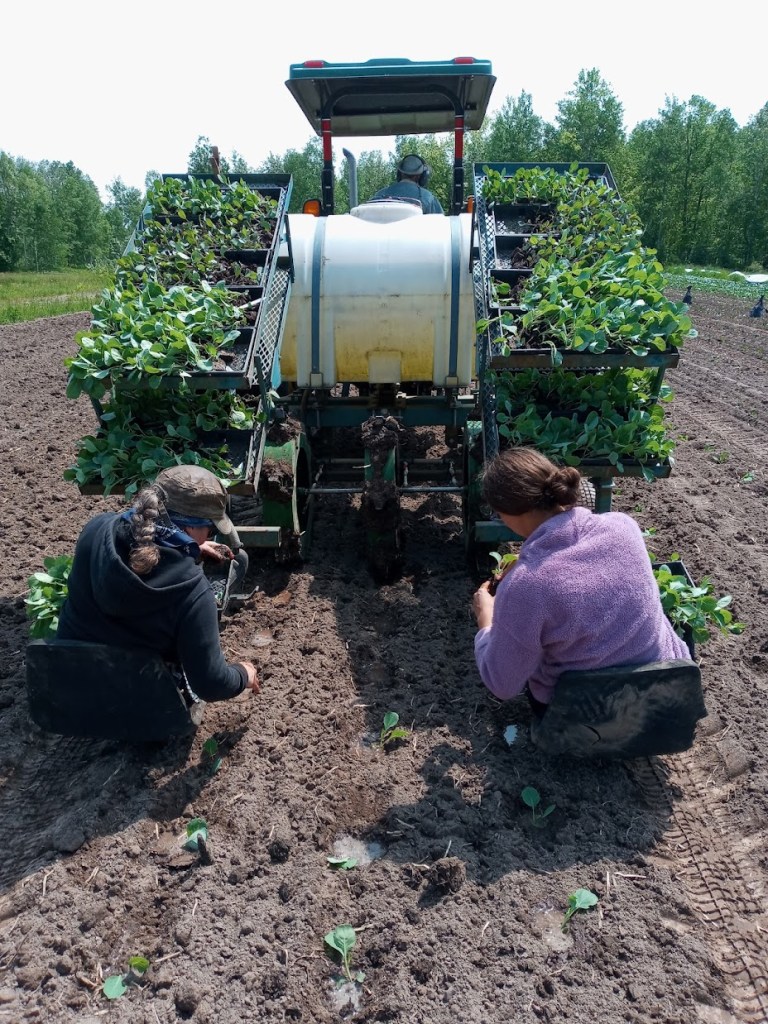
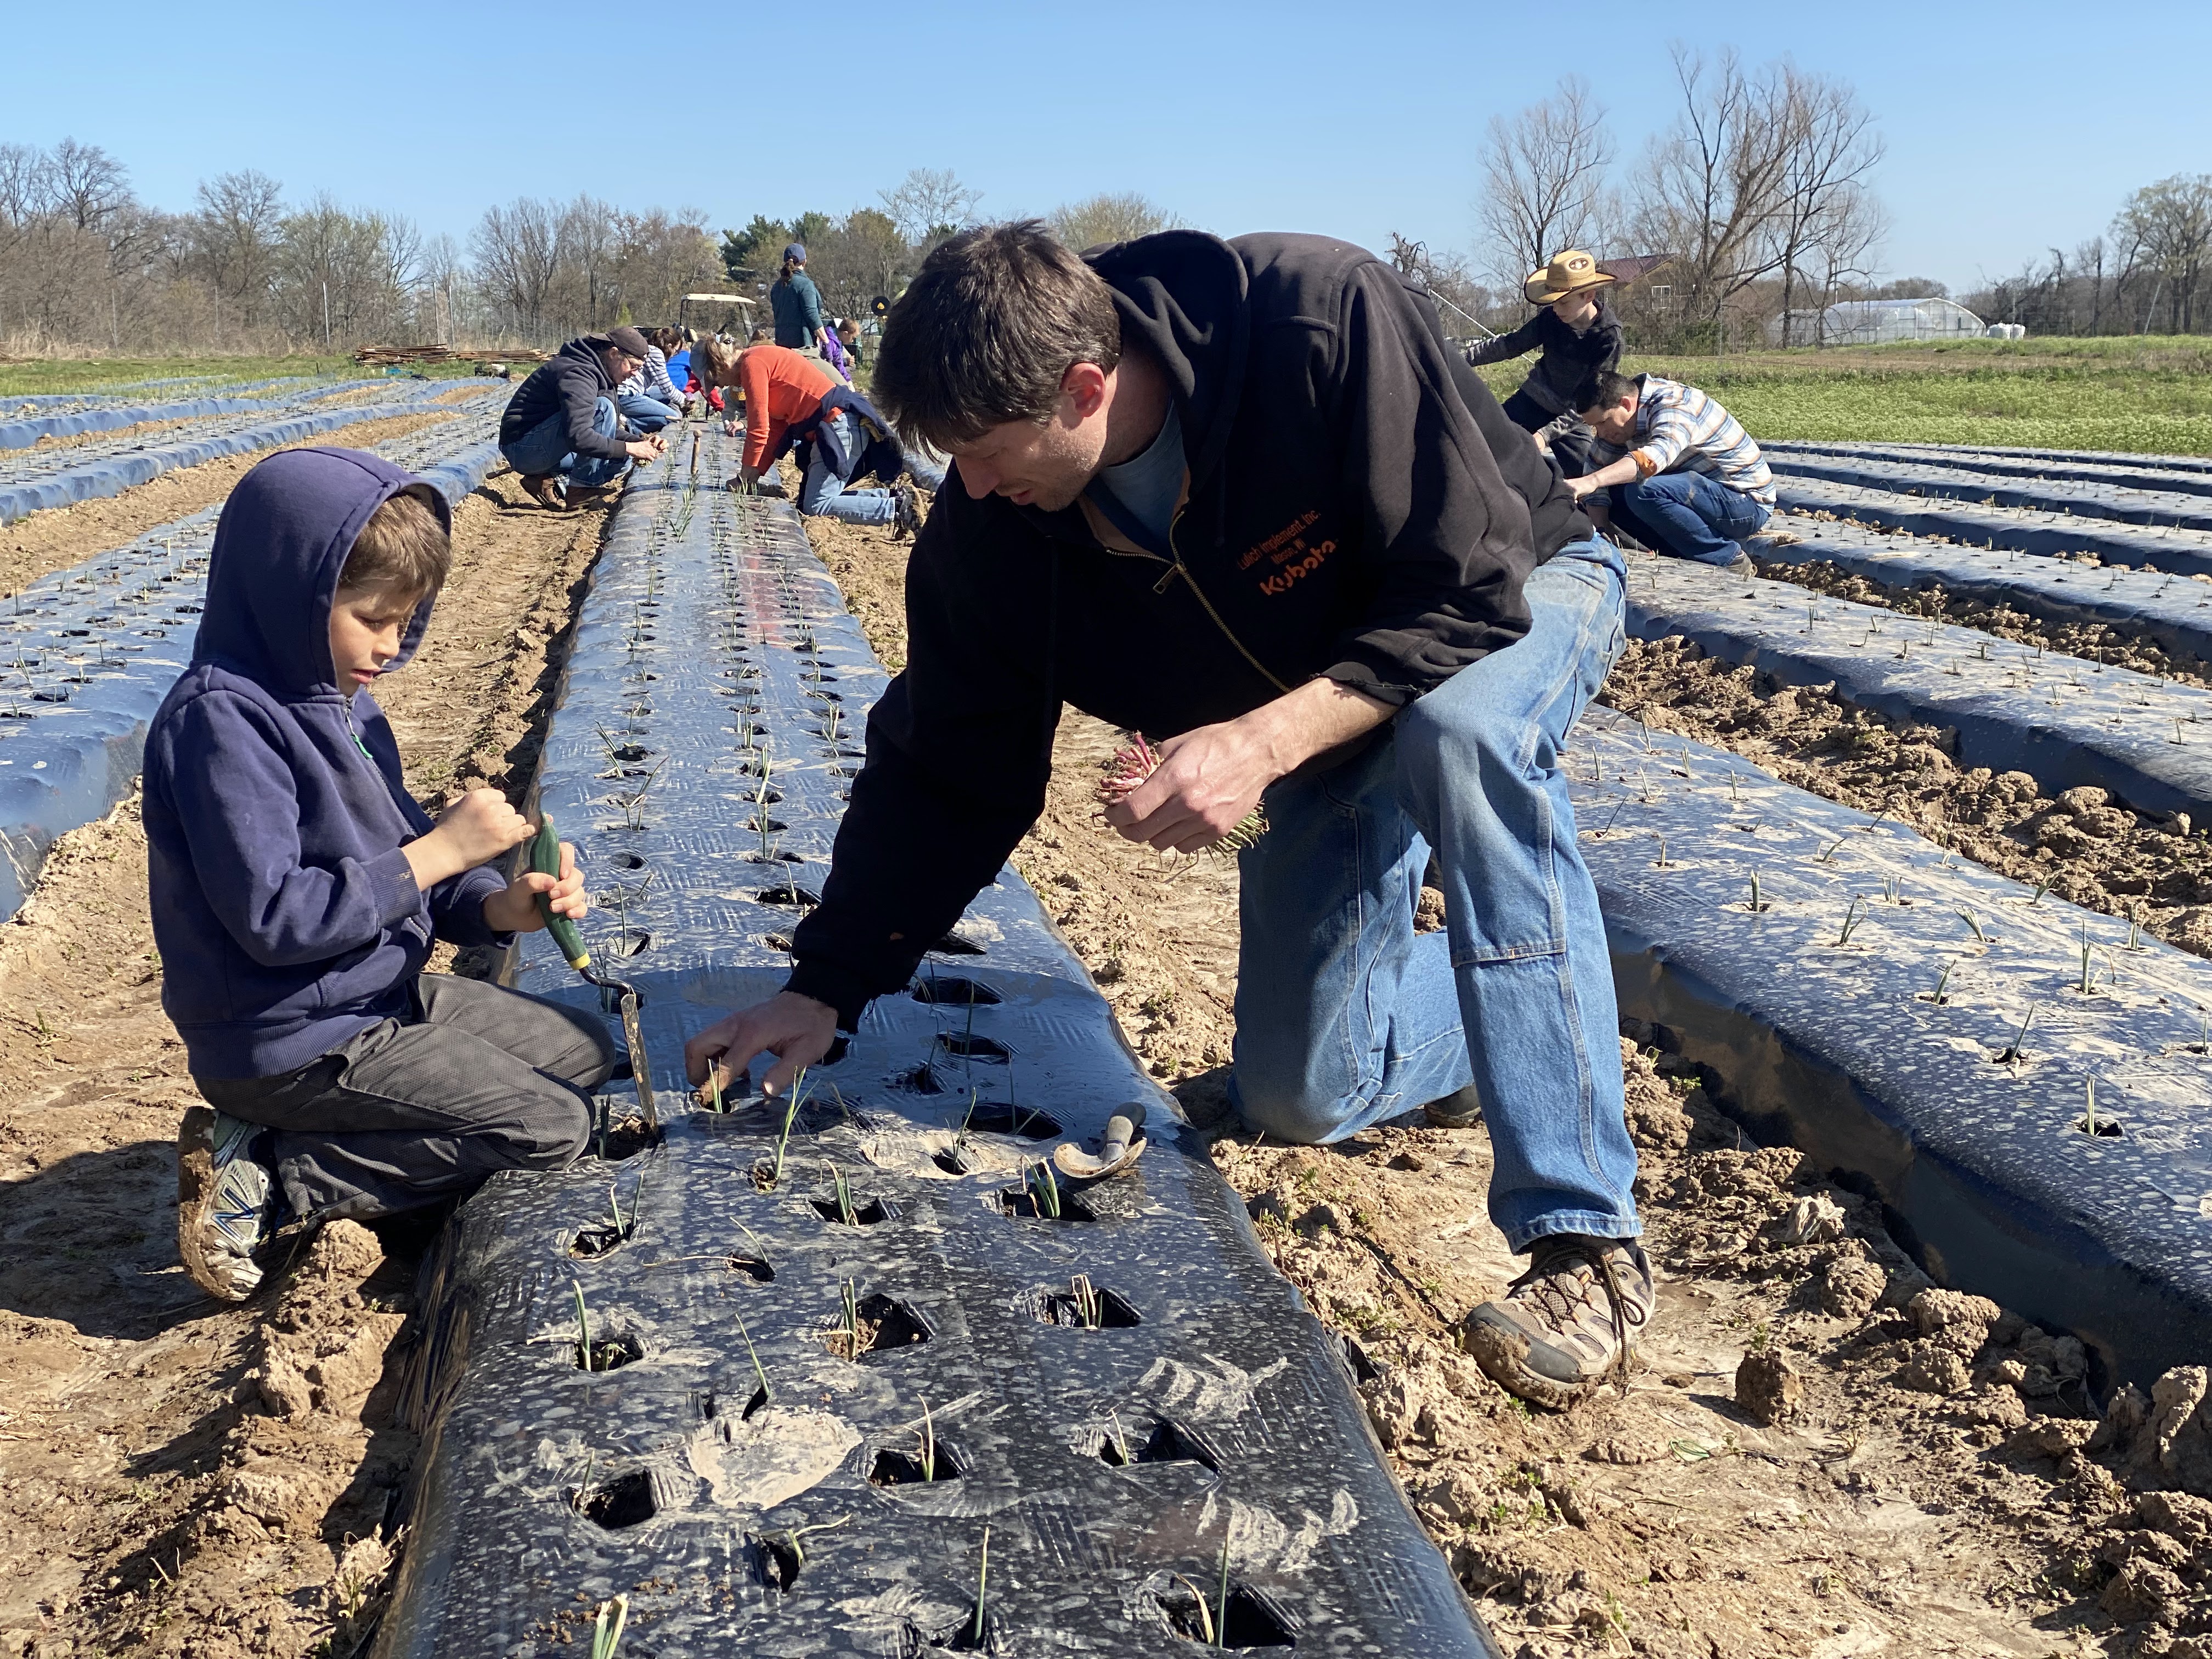
Transplanting onions was one of my favorite things. It was smelly, but it was really cool to be planting something by hand and still using machinery; it was exciting to see how those two things can come together. The transplanter has two seats on it, and there’s shelves above each seat that hold the trays of plants, and there’s a set of wheels that make holes in the soil for the plants and fill them with water. The reason it’s smelly is because there’s fish emulsion added to the water tank, which helps get the plants off to a good start. And, it only takes three days after transplanting for your hands to stop smelling like fish!

What do you think is going to be your farming superpower? 

I love to learn about anything and everything, so it’s really hard for me to say no when asked to do something new or different. I think that could be a superpower, but it might also get me into trouble — sometimes in other jobs I ended up doing extra work!

Are there any aspects of farm work that you think would be surprising for our customers to learn?  

It’s surprising how much time and effort goes into growing each individual crop. I think a lot of people think you plant this seed in this field and you’re done. There’s so much pre-planning: which field will each crop go in, how will it be fertilized — Dave was explaining that they consider which nutrients are being taken out by each plant, and how do we counteract that. It takes a lot of time before the seed even hits the soil.

What do you like to do when you’re not at the farm?

I like to knit, and I really enjoy being outside, either by myself or with my husband and our dogs. We like hiking and biking. I enjoy gardening at home, too. I feel like my favorite things to grow are probably tomatoes, and the most exciting things to grow are tomatillos and peppers. Tomatoes are safe and you kind of know what to expect from them, but the others are more unpredictable.

What’s your favorite thing to cook?

One thing I’ve been trying to do is to find new and creative ways to reduce food waste. For example, I save my carrot peels to put into soup stock. When the stock is done, I dry the carrot peels and grind them up to add to smoothies. I really like to use all the parts of the plant. Another example is using the leaves of the broccoli plant instead of kale in salads and sandwiches. We use broccoli stems in place of water chestnuts sometimes in stir fries. It’s all edible!

The Farm Crew, Part II: Charlie Kratz

I’m not sure if Charlie’s positive energy helps the plants at Food Farm, but the crew definitely benefits from his good nature! I think it’s safe to say we’re all happy he’s back for a second season.

How long have you worked here, and how did you make your way to the Food Farm?

I’ve worked here a little over a year; I came to it through food. I was working as a cook and for a short time at Third Street Bakery. When Covid happened, I wanted to keep working with food but not work in a restaurant anymore. Working at Food Farm seemed like a good way to explore my love for food, but in a different way than cooking it.

What’s your first memory of working at Food Farm?

My first week of work, we did a lot of bin washing, which is washing and sanitizing all the CSA boxes and the plastic containers that we use for some of our wholesale customers. I also helped install the sink and the kitchen countertops in the new shop [where the crew has lunch and farm events take place]. I remember Dave [Hanlon] saying, “Now you’re farming,” and I learned that there’s a lot of work that’s not necessarily dealing with plants that goes into farming. I did get to do some seeding of something in the greenhouse that week, too, which was more like what I thought I’d be doing here.

Do you have a favorite farm task or activity?

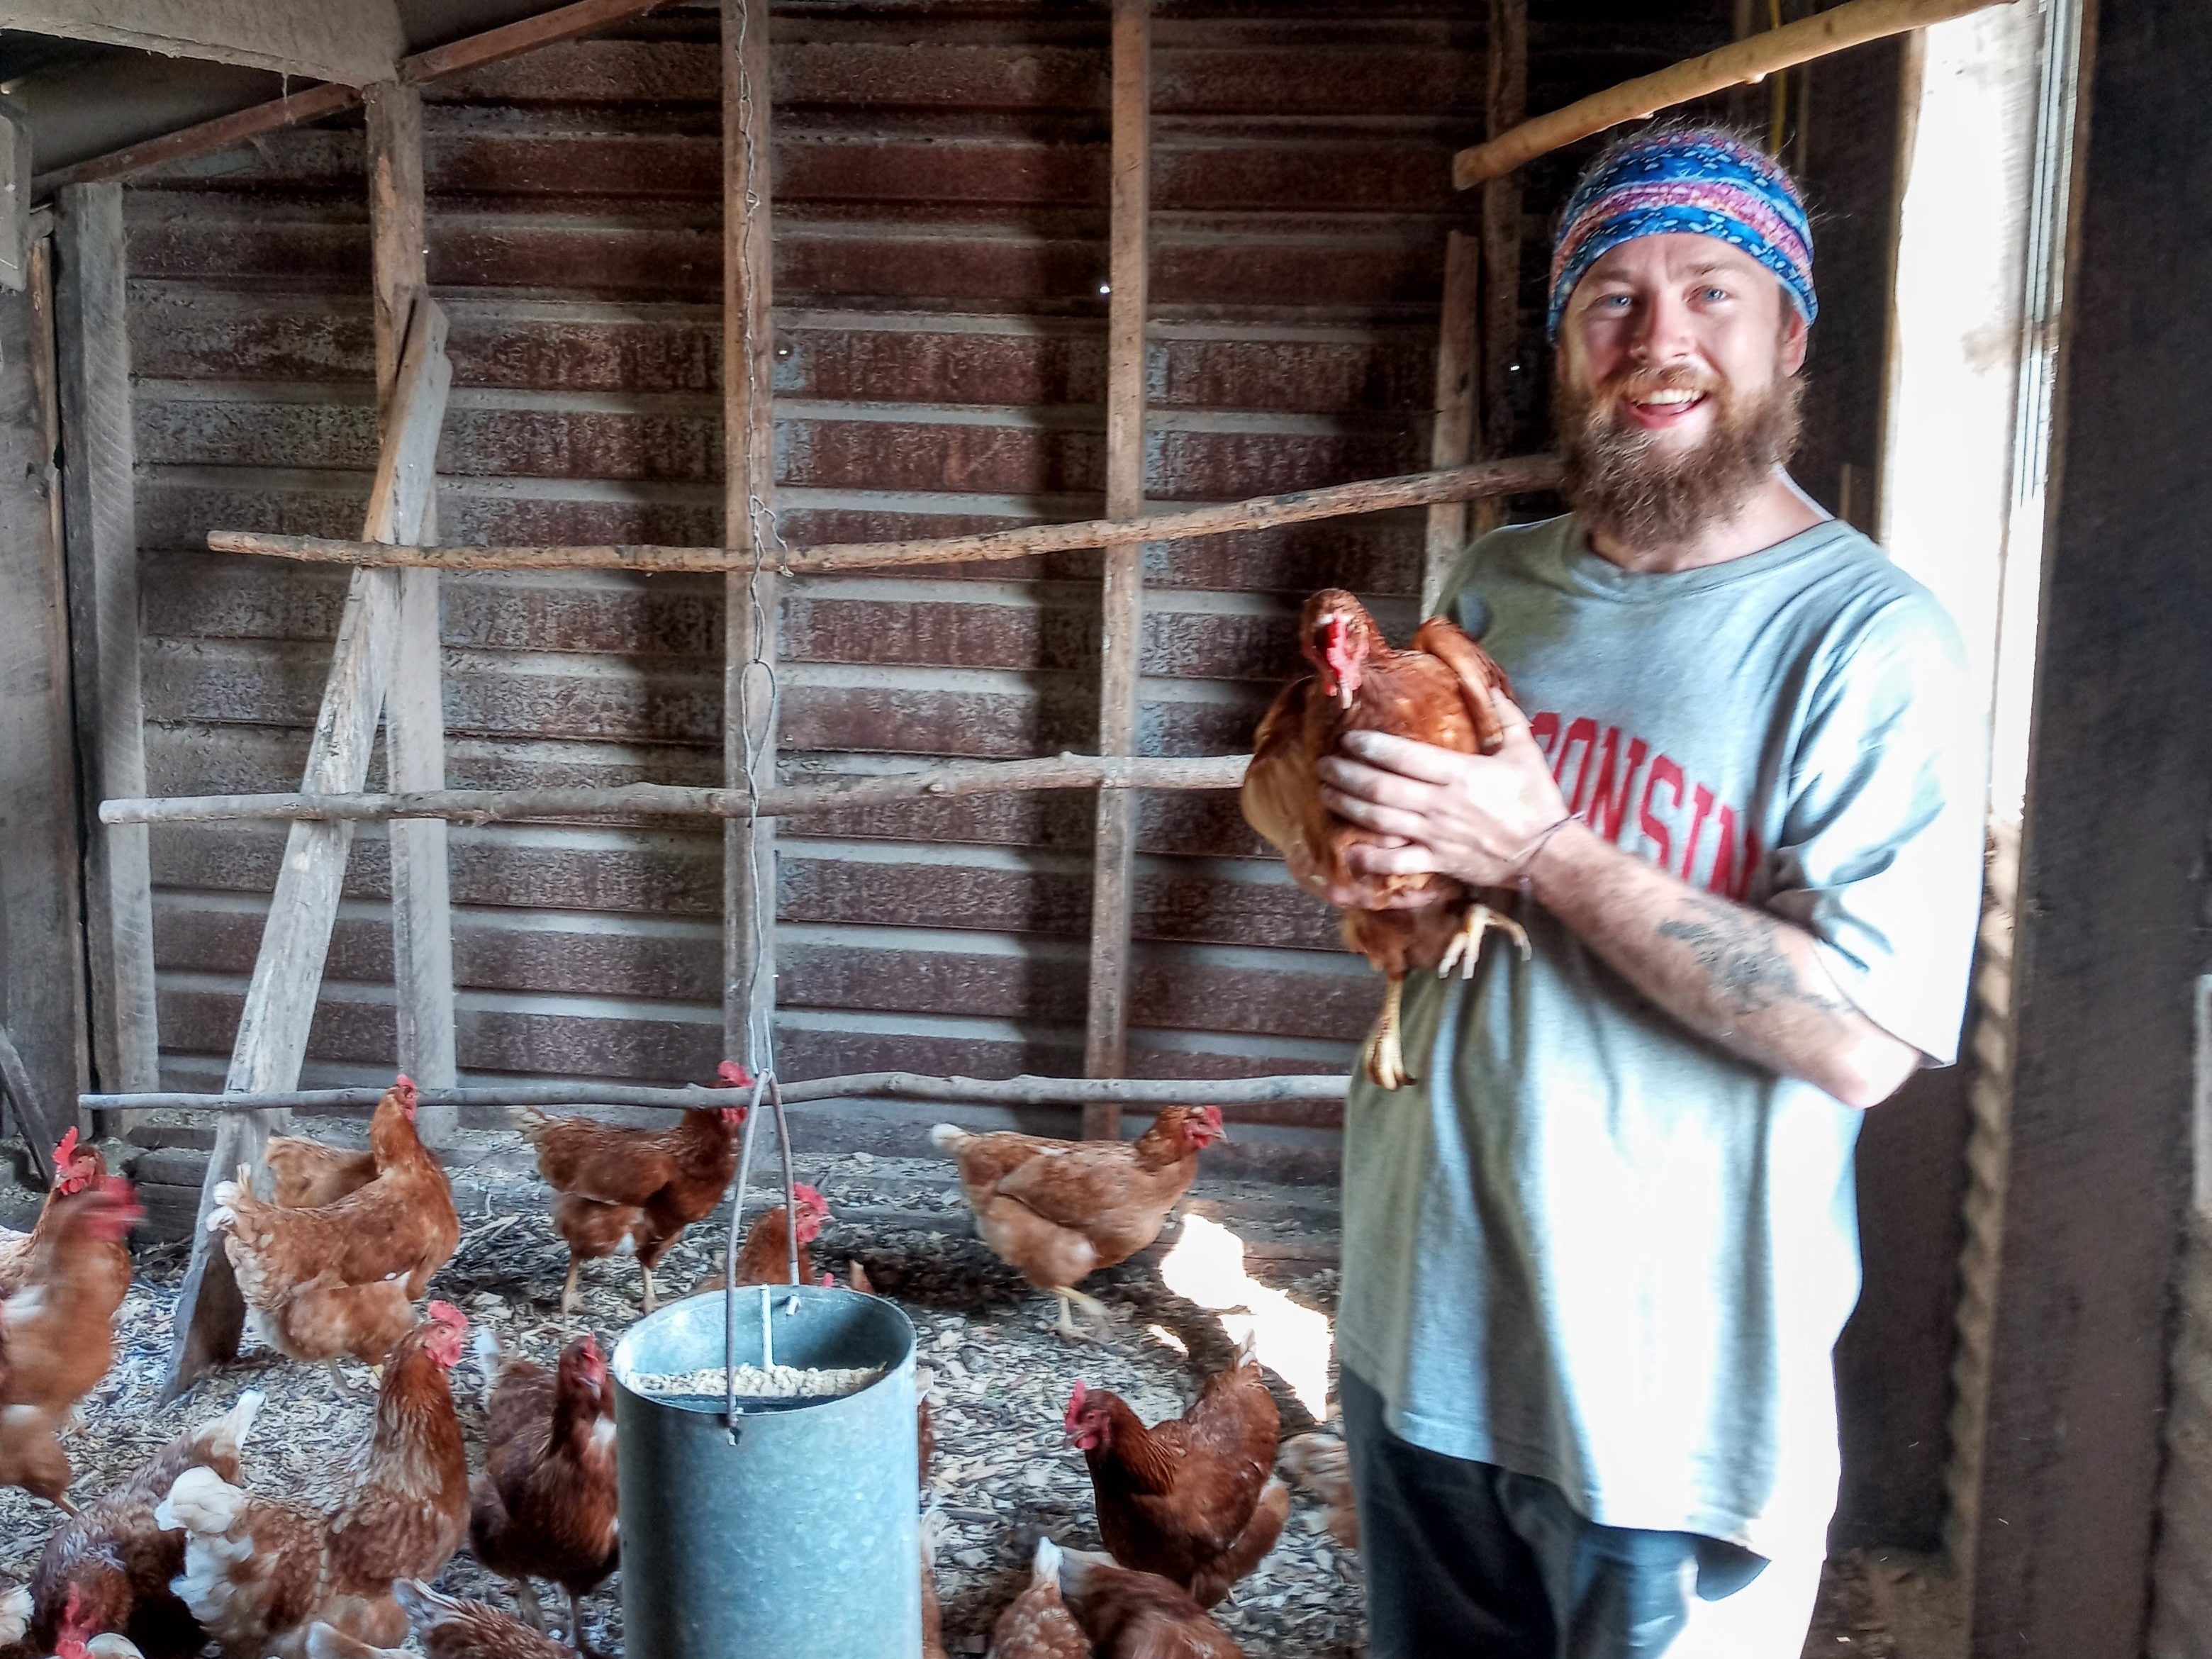
I like the chicken chores a lot; I like to hang out with them. I feed and water the laying hens and keep their grit and calcium full. I collect the eggs and John [Fisher-Merritt] cleans them. The chickens are like little dinosaurs, in a way; I think they’re trippy! I do like the construction-y stuff that I do here, too. I have some background in it, and it’s nice to work with Janaki on stuff like that; he’s a good teacher.

What would you say is your farming superpower? 

Giving the plants good vibes; I like to say nice things to them and wish them well. I don’t know for sure that it helps, but it definitely can’t hurt.

Are there any aspects of farm work that you think would be surprising for our customers?  

Like I mentioned before, the number of odd jobs that happen on the farm to keep it going. One of the other things that really surprised me was the toughness of the plants. At first, I was afraid of hurting the plants; I was very gentle with them. Dave kind of explained to me, “They want to grow.” Learning about the resiliency of plants was surprising – not that you just throw them around, but it seems like when the plant is healthy, it’s tougher than I thought it would be.

What do you like to do when you’re not at the farm?

I like to play music and cook a lot. The band I’m in now is very indie music; very blended. I also do recording; I record bands and artists and do mixing and mastering. I enjoy that a lot as well. I have a studio set up in my parents’ garage right now; I’ve been doing that for six years. 

What sort of things do you like to cook?

Lately my favorite thing has been making stuff from the pantry. Instead of going out and finding a fancy ingredient, just using what the farm has and combining it with pantry staples, and finding something fun to do with what we have. Making broths – vegetable stock and meat stock – is something I’ve been excited about. We have a big tub in the freezer that we put peels and seeds and scraps in, and once it’s full, I’ll make a stock. I really enjoyed making Delicata squash stock last winter.

The Farm Crew, Part I: Jane

Throughout the season, you’ll hear about what the Food Farm crew has been busy doing. Most of you probably know Janaki and Annie, the farm’s owners, and their family, but we thought we’d also introduce you to the rest of the crew, before you start enjoying the fruits of their labors.

First up is Jane Marynik, who not only helps keep the farm running smoothly as our crew leader, but also has her own business and is mom to four kids!

How did you make your way to the Food Farm, and how long have you worked here?

This is my fifth season at Food Farm. I worked at UMD’s Land Lab for two seasons, but after I graduated from UMD, I couldn’t work there anymore. I was just looking to get more experience farming. I remember that when I interviewed with Janaki and Karin [White, Food Farm’s former crew leader] for the Food Farm job, my sister had just gotten married and she had made us get our nails done, so I was trying to hide my nails because I didn’t want them to think I was some prissy girl!

What’s your first memory of working at Food Farm?

My first day was seeding the fifth planting of Brassicas, which is an enormous planting. I spent the whole day looking down, and I wasn’t used to that, so my neck really hurt afterward. Everyone was pretty happy that I even came back after that experience.

What is your current role at the farm?

My role is crew wrangler, or crew leader. I get the list of tasks that need to be done from Janaki and plan out who’s going to do what, and I try to keep things organized and smoothly flowing. I take care of our people; if someone is having a physical issue, I try to give them tasks that work for them. I also try to make sure everyone is getting a good variety of tasks so they can learn more about what we’re doing.

Do you have a favorite farm task or activity?

I like being outside in general, and I like helping to grow food for people and helping take good care of the soil. It’s a meaningful job. For specific tasks I like weeding carrots and picking peas. Peas because we get to taste a few as we pick! Weeding I like because I don’t have to think about it too much; you can have good conversations with the other workers while you work.

What would you say is your farming superpower?

I’m good at harvesting broccoli. Normally I’m picking broccoli at least a couple of times a week. The last couple of years we’ve sometimes been harvesting from three different plantings at once, because they all matured at once, so for a while it felt like all I was doing at the farm was just picking broccoli.

The challenge with broccoli is deciding which heads to cut, and which ones will hold in the field until the next harvest. It depends on the weather, the heat, the moisture level, the varieties, etc., so you have to get a feel for it. We’re also watching out for disease–if I notice there’s disease starting in a certain area, I cut those heads right away before it spreads to another area. I’m also trying to judge how much broccoli is out there; if the heads are bigger, they fill up the containers faster, so I’m trying to figure that into the mix.

Are there any aspects of farm work that you think would be surprising/unexpected for our customers to learn? 

It’s surprising how many flat tires you get on a farm! And, sometimes what the plants look like while they’re growing in the field is surprising to people. People walking by my garden in Superior one time saw the garlic growing and thought it was corn.

I also think people would be surprised by how early plants go in–how early we start onions (early March); how early we start transplanting in the field (April or May); some of the hardy crops can go out well before the frost date. Also people don’t realize how long you can keep things in the ground, and how long we keep harvesting in the fall.

What do you like to do when you’re not at the farm?

I have my own business called Four Beans Farm; I’ve been doing that for three seasons; this will be my fourth. I grow dry beans, and small scale vegetables. I don’t do a lot of spring stuff, because I don’t have the greenhouse capacity, but I can’t wait to grow more things. I grow some of my crops here at Food Farm and I grow stuff in my gardens at home, and the soil’s different; the temperature’s different; it’s like two different worlds.

I also like to run, which isn’t very compatible with farming [because of the physical demands of vegetable farming], but I enjoy it. My family likes to go canoeing.

What’s your current favorite vegetable, or what veggie do you get most excited about eating?

I’m excited for the first greens of the season, and the first carrots–even though they’re not as good as the fall carrots, there’s just something about them. And snap peas; I eat just snap peas for lunch sometimes!

April Winter Share

Greetings! The outside world has temporarily regressed into winter, but things are moving quickly at the farm. We have a full crew lined up for this season, the root cellar is nearly empty, and the greenhouse is filling up with onions, tomatoes, peppers, broccoli, cabbage, and cauliflower transplants. Even with as late of a spring as this, there’s still a good chance that we’ll be able to start the Summer Share season on time. We’re fortunate to have invested a lot in greenhouse space for early crops, and the combination of drainage tile and little to no frost over winter means that we could be ready to get in the field fairly quickly with another stretch of sun and heat.

Speaking of sun and heat, we were able to sneak in a quick getaway to southern Illinois while the kids were on spring break last week. It was delightful to enjoy some sunshine and warm weather, and what do farmers do when they’re on vacation? Farm work, of course! Our friends Segue and Amy of Three Rivers Farm had a work party over the weekend, so we got to help plant onions with them and had a good time talking with their CSA members as we worked.

It may seem like that scene is a long way off for us, but things can turn around quickly and we’re hopeful for a great start to the season. Ultimately, we’re at the mercy of mother nature but we feel pretty well prepared for whatever the season brings. Think sun!

For the farm crew,

Janaki

In your share today:  

Beets — Orange and Purple Carrots — Garlic — Onions — Red and Russet Potatoes Rutabagas — Shallots — Spinach

Allo Palak (Spinach and Potatoes)
modified from NYT

  • 1/4 cup neutral oil
  • 1 large yellow onion, finely chopped
  • 1.5 tsp grated ginger
  • 1 clove garlic, finely grated
  • 1 tsp cumin seeds
  • 3 Thai green chilis, sliced
  • 1 tsp red pepper flakes (or to taste!!)
  • 1/4 tsp turmeric powder
  • 1 cup crushed tomatoes
  • 1/5 tsp salt
  • 3 medium potatoes cut into 1-inch cubes
  • 1 lb fresh spinach, chopped
  • 1/2 tsp garam masala

1.  In a large pot, heat oil and onion, ginger, and garlic.  Stir for 30 seconds.  Add cumin, green chilis, pepper flakes, and turmeric.

2.  Add tomatoes and salt.  Stir and continue cooking until the tomatoes are jammy and the oil has separated (3-5 minutes).

3.  Stir in potatoes.  Add 1/2 cup water, bring to a boil and lower heat to medium.  Cover and cook for 12 minutes or until potatoes are almost done.

4.  Add spinach and turn the heat to high.  Once the mix begins to bubble, lower the heat to medium, cover and simmer until potatoes are cooked through, stirring occasionally, 7-10 minutes.  Top with garam masala and serve with rice.  

March Winter Share

Whew, what a winter! Onion seeds are already up, and the greenhouse is tucked in a cozy blanket of snow, but we’re definitely ready to see the banks recede. The first broccoli plants are scheduled to go in the field in just six weeks so we’re getting a little bit antsy! Ellis pretty much summed up our feelings right here: https://photos.app.goo.gl/bhbWAt1VpbyWUFyq8

We are still hiring, so please have folks reach out if they’re looking for some good work this summer.

For the farm crew,

Janaki

In your share today:  

Beets — Green Cabbage — Orange and Purple Carrots — Onions — Parsnips Baby Red, Fingerling, and Yellow Potatoes – Rutabagas

Indian spiced pasties

Dough

  • 1 cup boiling water
  • 1 cup shortening
  • 3 cups flour
  • 1 tsp salt

Stir shortening and water in a large bowl until the shortening is melted.  Slowly add flour and salt while stirring.  When the dough is soft, cover and refrigerate for 1.5 hours.  

Filling

  • 2 lbs potatoes, peeled
  • 1 lb rutabaga, peeled
  • 1/2 lb carrot, peeled
  • 2  cups cabbage, finely chopped
  • 1 finely minced onion
  • 2 medium cloves garlic, minced
  • 1.5 cups frozen peas
  • 1 tablespoon freshly grated ginger
  • 1 tsp mustard seeds
  • 1 tsp ground coriander
  • 1 tsp ground roasted cumin seeds
  • 1/4 tsp cayenne pepper
  • 1 tsp salt
  • 2 tablespoons lemon juice

Cube potatoes, rutabagas, and carrots (1/4″ cubes- all veggies to similar size to ensure even cooking).  Mix all filling ingredients in a large bowl and stir.  

Assembly

On a floured surface, cut the dough into 10 equal portions.  Roll one portion into a 8-10″ (appx) circle.  Heap 1-1.5 cups of filling onto one half the dough.  Fold the dough over (to make a half-moon shape) and crimp edges with fingers or a fork.  

Arrange samosa/pasty on ungreased baking sheets.  Freeze or bake.

Bake appx 1 hour at 350degrees

February Winter Share

What a difference a month makes! We know that there’s a lot more of winter left, but it feels like spring is just around the corner. Annie and the kids and I are getting away for a family trip to Washington, DC this week to visit friends and family. We’re really looking forward to having a little time away before we open up the greenhouse for onion planting in just two weeks!

Share signups are going well, we’re about 90% full for the summer season, but there’s still a chance to get a spot if you haven’t done it yet.

We are looking for a couple of seasonal farm crew members for the upcoming season, if you know of someone who is interested in good, meaningful work with a team of great people, have them reach out, I’d love to talk with them! https://foodfarmcsa.com/employment/

Unfortunately, it looks like the weather won’t be cooperating for curling on Wednesday, but we’re still planning to bring in a bunch of rutabagas to give away at Wild State Cider on Wednesday evening, and we’d love to see you! If you have friends or family who are interested in the farm, send them down to meet us and answer any questions they might have about being a member.

Enjoy the sunshine! For the farm crew,

Janaki

218-384-4421

In your share today:  

Beets — Green Cabbage — Orange and Purple Carrots — Garlic — Onions — Parsnips Red and Russet Potatoes –Delicata Squash

Valentine’s Casserole (or Hotdish for you true Minnesotans)

  • 5 cups cream or 1/2-n-1/2 (see Tips)
  • 5 cloves garlic, minced
  • 2 cups Parmesan cheese (see tips)
  • 1 tsp cornstarch
  • 1 lb dark leafy greens (kale, collards, or finely chopped green cabbage)
  • 3 cups chopped potatoes and squash (total)
  • 2 cups chopped yellow onion
  • 8 slices bacon, diced (omit if vegetarian)
  • 1/2 cup breadcrumbs
  • 1 Tbsp olive oil

1.  Preheat oven to 350°.  Bring first two ingredients to a boil over medium high heat. Reduce heat to low, and simmer 30 minutes or until reduced by half. Stir in 1 cup of cheese.

2.  Stirred together corn starch and 1 tablespoon of water. Whisk into cream mixture until thickened.

3.  Wash and dry greens.  If using collards, cook in boiling water until tender (5minutes).

4.  Cook bacon in large skillet over medium high heat, stirring often When crisp, add onion, cook five minutes or until tender. Add the diced vegetables and saute for another 5 minutes.  Stir in the greens and cook for three more minutes.  

5.  Mix the cream mixture with the vegetables and pour into a lightly greased 11 x 7 baking dish. Stir the breadcrumbs, remaining cheese, and olive oil together and sprinkle over the casserole.

6.  Bake for 35 to 40 minutes until the diced vegetables are cooked thoroughly and the breadcrumbs on top are golden brown. Let stand for five minutes before serving.

Tips:

Try fat free 1/2-n-1/2 rather than milk or the sauce can curdle.

Sharp cheddar also works well but use some Parmesan for the topping.

Winter CSA Box 3, January 2023

Janaki and Ellis are spending a lot of time moving snow these days!
We have lots more snow on the farm a than there is in town.

Welcome to the New Year!

As soon as the last few roofs are clear of snow we’ll be turning our energy to signups for the 2023 season! We hope to be ready for folks to sign up beginning around January 20th.

Mark your calendars for our annual Farmers Come to Town/Rutabaga Giveaway (and curling) event on February 15th at Wild State Cider. We will be there from 4pm to 7pm introducing one and all to the exciting sport of rutabaga curling, and enjoying the company of farm members.


In your share this month:

Red Beets – Carrots – Onions – Parsnips – Baby Red & Baby Russet Potatoes – Yellow Potatoes – Rutabagas – Delicata & Winter Sweet Squash


Happy animals on the farm. Our baby polar bear, Chester, is in his element with winter in full swing. He’s a white dog and in white world and we’ve never seen him so clean! Our laying chickens are warm in their greenhouse home and enjoying reject produce so nothing goes to waste. We even have song birds on our bird feeders!


Baby Russet Hash Browns!

Our simplest recipe yet! Tested and approved by numerous Food Farm staff and volunteers. Small russet potatoes make delicious easy hash browns because they have a low moisture content and a high ratio of skin to flesh, so no draining or precooking is required.

Ingredients

  • Baby russet potatoes (grated, as many as desired)
  • Oil
  • Season to taste with salt and pepper

Instructions

  1. Grate baby russet potatoes
  2. Heat a skillet or pan to medium heat and add a generous amount of oil
  3. Spread grated potatoes in a layer no thicker than one inch in the pan. Do not stir or agitate. Cover with a lid until the bottom appears toasted and crispy, then flip the hash browns. (This will likely need to be done in sections around the pan unless you’re just doing a small amount.)
  4. Add a little more oil after flipping (I usually use canola oil at first when the pan is hot and olive oil after flipping)
  5. Once the 2nd side is toasted as well, season and serve!

Want to get experimental? Janaki’s favorite is to add some grated beets to the mix–even kids who normally don’t like beets don’t argue! Or you could try rutabagas, parsnips, or onions, too.


Some folks are unsure what to do with rutabagas and parsnips, but we’re here to help! If the ideas below don’t get you interested, try emailing our Veggie Hotline–fellow farm members who love to help people figure out what to do with produce: veggiehotline@foodfarm.us

How do I use parsnips???

Parsnip is a root vegetable related to carrots and parsley. It looks like a white carrot. The flavor is starchy like potatoes, sweet like carrots and bitter like turnips.

Browse all previously posted parsnip recipes here.

Try something unique like Parsnip Flan or something classic like Simple Roasted Parsnips.


How do I use rutabaga???

Rutabaga is also known as “Swede” and is part of the same plant family as cabbage and turnip. Try substituting rutabaga for potato for a slightly sweeter, lower carb option. We recently added some rutabagas to air-fried french fries and they turned out great!

Browse all previously posted rutabaga recipes here.

Try making some Easy Mashed Rutabaga or Swede Nutmeg Cake.


For the farm crew,

Starr

Winter CSA Box 2, December 2022

Garlic ready to go out in shares.

Happy December! We hope you’re keeping warm and enjoying the holiday season.


In your share this month:

Chioggia Beets – Orange and Purple Carrots – Green Cabbage – Garlic – Yellow and Red Onions – French Fingerling & Russet Potatoes – Sunshine and Delicata Squash


Packing winter share boxes is quite a production! We have all hands on deck and a conveyer table set up that reaches all the way across the pack house.


Egyptian Stuffed Cabbage

Serves 10

Ingredients

Cabbage braising

  • 1 head of cabbage
  • 2 tablespoons salt
  • 1 tablespoon ground cumin

Stuffing

  • 1 tablespoon vegetable or olive oil
  • 1 large onion, finely minced
  • 1-1.5 pounds lean ground beef
  • 1 tablespoon minced garlic
  • 1 can, tomato paste (6 oz.)
  • 3 cups Egyptian rice, or Goya medium grain rice, washed until water is clear
  • 2 tablespoons salt
  • 2 teaspoons ground black pepper
  • 1 teaspoon allspice (optional)
  • 1+ can, crushed tomatoes (28 oz)
  • 1 cup finely minced flat leaf parsley
  • 1 cup finely minced cilantro
  • 1 cup finely minced dill
  • 1 tablespoon Better Than Bullion Chicken flavor
  • 2 tablespoons butter

Instructions

Cabbage braising

  1. In a large, heavy pot, fill with water until about 2/3 full. Add salt and cumin, cover and bring to a boil. 
  2. Remove any wilted or damaged leaves from the cabbage. Turn cabbage upside down (with stem facing you) on a cutting board. Make deep gashes into the cabbage leaves as close to the stem as possible in a circular fashion. Hold the stem and gently pull apart the leaves, one at a time, careful not to rip them. 
  3. Place leaves 2-3 at a time in the boiling water. Allow to cook for 2-3 minutes until it becomes less stiff and just wilted. Do not overcook. Remove and place in a colander. 
  4. Gently peel leaves from the cabbage and cook in small batches. At some point, the cabbage will become too compact to remove the leaves. Hold the cabbage stem and gently lower half the remaining cabbage in the water. With your other hand, you can begin loosening the cabbage leaves one by one into the water. Once you have loosened 2-3 leaves, remove the head and set aside. Repeat until most of the cabbage is cooked. It’s ok to stop at the deepest part of the cabbage, as the leaves become too crinkly to be rolled. 
  5. Allow cabbage to cool. Meanwhile, prepare the stuffing mix. 

Stuffing

  1. In a large Dutch oven or non-stick pot, add the vegetable oil and bring to medium high heat. 
  2. Add the onions and sauté until translucent. If using, add the beef all at once, mixing with the onions and breaking up the clumps. Sauté until browned. 
  3. Add the garlic and mince until fragrant (about 1 minute). Add all of the tomato paste, stirring constantly for 3-4 minutes (the texture will change and become less of a formed paste). Add salt, pepper, and all-spice.
  4. Add the can of crushed tomatoes and stir until evenly mixed. Turn off the heat. 
  5. Pour in all of the washed rice, stirring until mixed. Now add all of the herbs and stir until everything is combined. If necessary, adjust the salt. Transfer to a large mixing bowl and allow to cool. 
  6. Prep the cabbage leaves for rolling. Set up a clean work area with a cutting board. Take one cabbage leaf at a time and spread it out over the board. Cut out the thick stem, reserve for later. With the flat leaf on the board, cut it into 2-3 even pieces that can be rolled in a straight line, about 2 inches wide x 3-5 inches long. See Photo. Make a stack of leaf segments on a clean plate. 
  7. Prepare the pan for cooking: generously drizzle vegetable or olive oil at the bottom of the Dutch oven or nonstick pot. Take several of the cabbage stems and cover the bottom to prevent the rolled leaves from scorching on the bottom layer. 
  8. Roll the leaves: place an entire leaf segment on the cutting board. Leaving 1/2 inch of space at one end, place a line of the stuffing mixture about 1/2 inch wide inside the leaf. Gently roll it up (important to roll it securely but not too tightly, as the rice still needs to expand). See photo. 
  9. Layer the rolled cabbage leaves in one direction until one layer is completely filled, then top with another layer at a ninety degree angle to the first one to prevent the rolled cabbages from unraveling. Continue rolling and layering at 90 degrees until all of the cabbage leaves are rolled (extra rice mixture may remain). 
  10. In a small saucepan, bring 1 cup of crushed tomatoes + 1 1/2 cups of water to a boil. (Alternatively, you can use 2 1/2 cups of water and 1/2 can of tomato paste). Add 1 tablespoon of butter and 1 heaping tablespoon of bullion paste and boil until dissolved. 
  11. Place the pot with the rolled cabbage on medium heat. Pour all of the water/tomato mixture on the rolled cabbages. Cover and cook on medium low for 45 minute-1 hour. Do not uncover for the first 30 minutes, then begin checking if the rice is cooked on the top layers. If it appears too dry, add in 1/2 cup of water and continue to check. The cabbage is done with the rice is completely cooked and the liquid has been absorbed. 
  12. Turn off heat. Add small pats of butter to the top. Cover. Allow to rest for 15 minutes. Enjoy, or: 
  13. Place a large plate over the opening of the pot. Carefully invert the entire pot and let rest for 5-10 minutes. Gently remove the pot and serve immediately.

Recipe from Food52.


Archived Recipes

You can now search previously posted Food Farm recipes using the “Tag Cloud” below. If you click an ingredient below it will take you to a list of the newsletters that include a recipe using that ingredient. Larger text means there are many recipes using that ingredient while smaller text means fewer recipes have been tagged so far.


Arugula Basil Beet Bell Pepper Broccoli Brussels Sprout Brussels Sprouts Cabbage Carrot Cauliflower Celery Cilantro Cucumber Delicata Squash Dill Dressing/Sauce Egg Garlic Garlic Scape Green Bean Green Onion Jalapeno Kale Leek Lettuce Mint Napa Cabbage Onion Parsley Parsnip Pepper Potato Radish Red Onion Rutabaga Scallion Shallot Spinach Squash Thyme Tomato Turnip Winter Squash Yellow Onion Zucchini


We hope this will help you explore new and old recipes and take advantage of the produce in your share!


For the farm crew,

Starr

Winter CSA Box 1, November 2022

Welcome to the first month of the Winter CSA Season! Thank you for choosing local and organic.

Farm polar bear, Chester, wandering the fields around the chickens after a light dusting of snow. Chester keeps everyone safe on the farm!

Things have been busy busy busy this fall! The farm crew has been working hard filling up the root cellar with all the produce that will feed the CSA members through the winter and be sold to local restaurants and grocery stores. Our final full crew work day culminated in a party where we honored Dave our farm manager, who has been working at the Food Farm for 30 years! Thank you for being a great leader Dave!

I took the liberty of wearing my Halloween costume to the party, because I felt it was appropriate to what we do at the farm. Can you tell which vegetable I am? If you’re confused, just look at the skirt and ignore the rest. You’ll be getting this vegetable in next month’s CSA box!


In your share this month:

Beets – Brussels Sprouts – Red Cabbage – Carrots – Celery – Fresh Herbs – Onion – Red Potatoes – Yellow Potatoes Delicata Squash Kabocha Squash


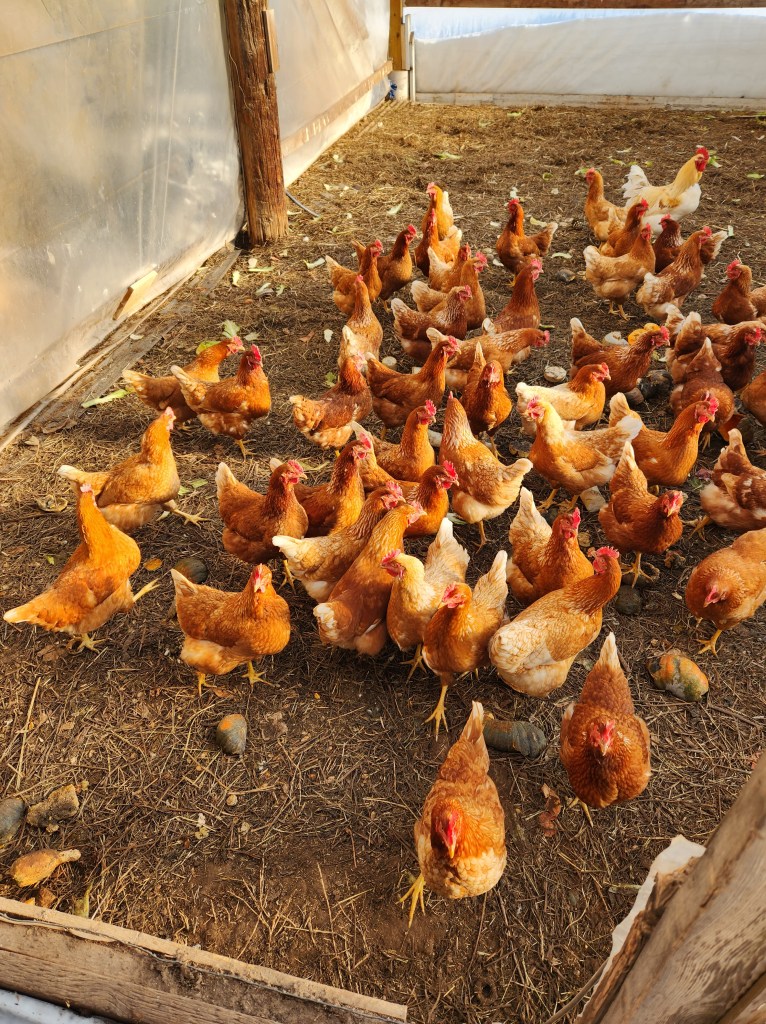
On our last full crew work day last Friday, we moved the chickens into their winter home. The girls would get too cold out in the field during the deep winter, so they are moved to an indoor barn area to keep warm. You may wonder how we move 100 chickens from a wide open field to another area of the farm. In the evening all the chickens go into their coop for protection (the metal structure pictured above). Little do the chickens know that their house is actually a trailer on wheels that can be pulled by tractor to a new location. Once the the coop is moved close to the chickens’ winter home, we get them into the building by forming a long line of farm crew, family members and volunteers, and we commence the biannual chicken hugging. Janaki hands each person two chickens which are held in a “bear” hug and walked to the barn where they are loving deposited into their winter coop. As we move them, Farmer John serenades them with a special song he wrote for the occasion!


Balsamic-Roasted Brussels Sprouts

2-3 servings

Ingredients

  • 2 Tbsp extra-virgin olive oil
  • 1.5 Tbsp balsamic vinegar
  • .5 Tbsp. (or more) honey
  • 1 tsp. Diamond Crystal or .5 and a pinch tsp. Morton kosher salt
  • 2 medium garlic cloves, finely grated
  • Freshly cracked black pepper
  • 1lb. brussels sprouts, trimmed, halved, quartered if large
  • Flaky sea salt (as garnish)

Instructions

  1. Place a rimmed baking sheet on middle rack in oven; preheat oven to 425°. Stir together olive oil, balsamic vinegar, honey, salt, and garlic in a medium bowl; season with freshly cracked black pepper. Taste mixture and add more honey if needed. Add Brussels sprouts along with any loose leaves; toss to coat.
  2. Carefully remove baking sheet from oven. Using tongs, arrange brussels sprouts cut side down on baking sheet. Roast until deeply browned underneath and tender, 25–30 minutes. Sprinkle with flaky sea salt.

Based off recipe from Bon Appétit.


Stuffed Delicata Squash with Quinoa, Cranberry and Pistaschio.

Ingredients

Squash

  • Delicata squash, sliced in half lengthwise and seeds removed (recipe for 3, but make as many or few as you like or have, adjust the stuffing quantity accordingly)
  • 1 tablespoon pure maple syrup or olive oil
  • 2 teaspoons thyme, fresh or dried (try substituting with rosemary from your CSA box!)

Quinoa Stuffing

  • 1 cup dried quinoa, rinsed well
  • 1 3/4 cup water
  • 1/2 – 3/4 cup dried cranberries
  • 1/2 – 3/4 cup pistachios
  • 1 shallot, finely diced (try substituting with onion from your box!)
  • salt & pepper to taste

Instructions

  1. Preheat oven to 375 degrees F. Line a baking sheet with parchment or silicon mat.
  2. Prep and roast the squash: Wash and dry squash. Slice each squash in half lengthwise, remove seeds. The seeds should come out easily by scraping the inside of the squash with a spoon. Lightly brush the inside of each squash with a little oil or maple syrup. Sprinkle with a bit of salt and herbs. Place on baking sheet cut side up. Bake in oven for 35 – 40 minutes, or until squash is tender and pierces easily with a fork.
  3. Quinoa Stuffing: In a medium pot, add quinoa and water, bring to a boil, cover, reduce heat to low and simmer for 15 minutes. Remove lid, fluff a fork and let set 10 minutes. Add pistachios, cranberries, shallots, salt, pepper. Toss well to combine.
  4. Assemble: Scoop quinoa into squash halves, place back in the oven for 10 minutes to warm if needed, and serve.

Recipe from The Simple Veganista


Pictures from Harvesting

In preparation for this Winter season.

Cabbage
Winter Squash
Onions drying
The carrot harvester in action

For the farm crew,

Starr

Summer CSA Week 18, 2022

The last share of the 2022 summer season!

Last week the leaves along the road were golden (pictured left) and this week there are more leaves on the ground than in the trees (pictured right). It is time for us to wrap up our 2022 delivery season. Winter shares will start November 14th. See below what to do with your Summer Share boxes. In your email inbox soon you will find a link to an online survey about how the Summer Share worked for you this season–thanks for taking the time to help us improve!

It has been a pleasure having you as part of the Food Farm family!


In your share this week:

Arugula – Beets – Brussels Sprouts – Red Cabbage – Carrots – Celery – Greens Mix – Onion – Sweet Red Peppers (not hot) – Yellow Potatoes – Rutabaga – Spinach – Winter Squash – Tomato – Thyme


What should I do with my CSA box now that the season is over?

I’m so glad you asked! You have two options:

  1. Bring your own bag or box to your CSA pick-up location. Take your produce and leave the CSA box for us.
  2.  Bring your empty Food Farm CSA share box back at your Please have your box back to your pickup site by next Thursday, October 20th, or bring bags with you to take your veggies home.

Returning your box helps us avoid buying more plastic. 


Beet Arugula Salad

Ingredients

  • 6 medium (2 lbs) beets
  • 5 oz (6 cups) baby arugula, rinsed and spun dry
  • 4 oz or 1/2 cup feta cheese or blue cheese, diced or crumbled
  • 1/2 cup pecans or walnuts, toasted
  • 1/2 cup dried cranberries

Balsamic Vinaigrette

  • 1/2 cup extra virgin olive oil
  • 3 Tbsp balsamic vinegar
  • 1 Tbsp dijon mustard (we love Grey Poupon brand)
  • 1 garlic clove, pressed or finely minced
  • 1/4 tsp salt
  • 1/8 tsp black pepper
  • Try adding minced rosemary and/or thyme

InstructionS

How to Cook Beets in an Instant Pot:

1. Wash and trim the beets so that the stems are about ½-inch long and the roots are no more than about 2 inches long.

2. Place basket insert into instant pot and add 1 cup water. Arrange the beets in a single layer over the insert.

3. Lock the lid and make sure the valve on the lid is pointed at the “Sealing” position. Press the “Pressure Cook” button and cook on high pressure for 15 minutes. (If you have smaller beets, it might take just 10 min to cook. Larger beets, however, will take 20 to 30 minutes to cook.)

Or without an Instant Pot:

1. If you don’t have an instant pot yet: Preheat the oven to 400˚F. Line the bottom of a medium rimmed baking sheet with foil. Wrap each beat in a sheet of foil, wrapping tightly to seal and arrange the beets on the lined baking sheet. Bake in a preheated oven for 1 hour or until largest beet is easily pierced. Remove from oven, unwrap and allow them to cool to room temperature then peel the skins (see Pro Tip Below) and slice into halves and then wedges.

2. Toast 1/2 cup pecans on a dry skillet, tossing frequently until golden and fragrant. Remove from heat and cool to room temperature.

3. Transfer the arugula to a large mixing bowl then add remaining salad ingredients: sliced beets, 1/2 cup feta cheese, 1/2 cup toasted pecans and 1/2 cup dried cranberries.

4. To make balsamic vinagreate, combine all dressing ingredients in a small jar and shake well to combine. Drizzle over salad to taste. If not serving salad right away, shake the dressing again just before drizzling over salad.

Recipe based off Natasha’s Kitchen.


Harvesting cabbages. We love throwing our food!
And there’s lots more harvesting to be done before snow comes!

For the farm crew,

Starr